Have you ever found yourself gazing up at the sky, lost in its mesmerizing beauty? The sky is like an expansive canvas, showcasing a stunning array of colors and patterns throughout the day. From the serene blues of a bright afternoon to the breathtaking pinks and oranges of a sunset, there is an endless source of inspiration just above us. Each moment the sky transforms presents a unique opportunity for artists to capture its essence in their work.
If you’ve longed to recreate that incredible beauty on paper, you’re in the right place! This step-by-step tutorial is designed to guide you through the art of how to draw the sky, no matter your skill level. Whether you’re a novice looking to hone your drawing abilities or an experienced artist wanting to explore a new subject, you’ll find valuable tips and techniques to help you succeed.
So, gather your art supplies and let your imagination take flight. As we embark on this creative journey together, you’ll learn how to blend colors, add depth, and ultimately bring the sky to life in your artwork. Let’s dive in and start creating your own sky masterpiece!
Materials Required
Before we begin, make sure you have the following materials:
- Drawing paper: Choose a high-quality paper that is suitable for your preferred drawing medium, such as graphite, colored pencils, or pastels.
- Pencils: A range of graphite pencils, including HB, 2B, 4B, and 6B, will allow you to achieve different shades of gray in your sky drawing.
- Eraser: A kneaded eraser is ideal for lifting graphite and creating subtle highlights in your artwork.
- Blending tools: A blending stump or tortillon can be used to blend and smooth out the graphite for a more realistic sky effect.
Now that we have all the necessary materials, let’s move on to the step-by-step process of drawing the sky.
Step 1: Prepare Your Drawing Surface
Before you start drawing, ensure that your drawing paper is clean and free from any smudges. You can use a soft cloth or a sheet of scrap paper to protect your drawing surface and prevent accidental smudging. This will provide a clean canvas for your sky drawing.
Step 2: Outline the Horizon Line
The horizon line is the line where the sky meets the land or any other objects in your artwork. Use a light pencil, such as an HB, to lightly draw a straight line across your paper. This line will serve as a guide for placing the elements in your sky drawing.
Step 3: Start with the Background Color
Begin by selecting the background color of your sky. If you’re drawing a daytime sky, start with a light blue color. If you’re drawing a sunset or sunrise, you may want to start with a light orange, pink, or purple color. Use light, feathery strokes to apply the color evenly across the sky area, leaving the area near the horizon line slightly lighter.
Step 4: Add Gradient to the Sky
To create a more realistic sky effect, add a gradient to your sky by transitioning from a lighter shade at the horizon to a darker shade towards the top. This will give the illusion of depth and make your sky drawing more visually appealing. Use a darker shade of your chosen color and gradually blend it into the lighter shade using gentle, overlapping strokes.
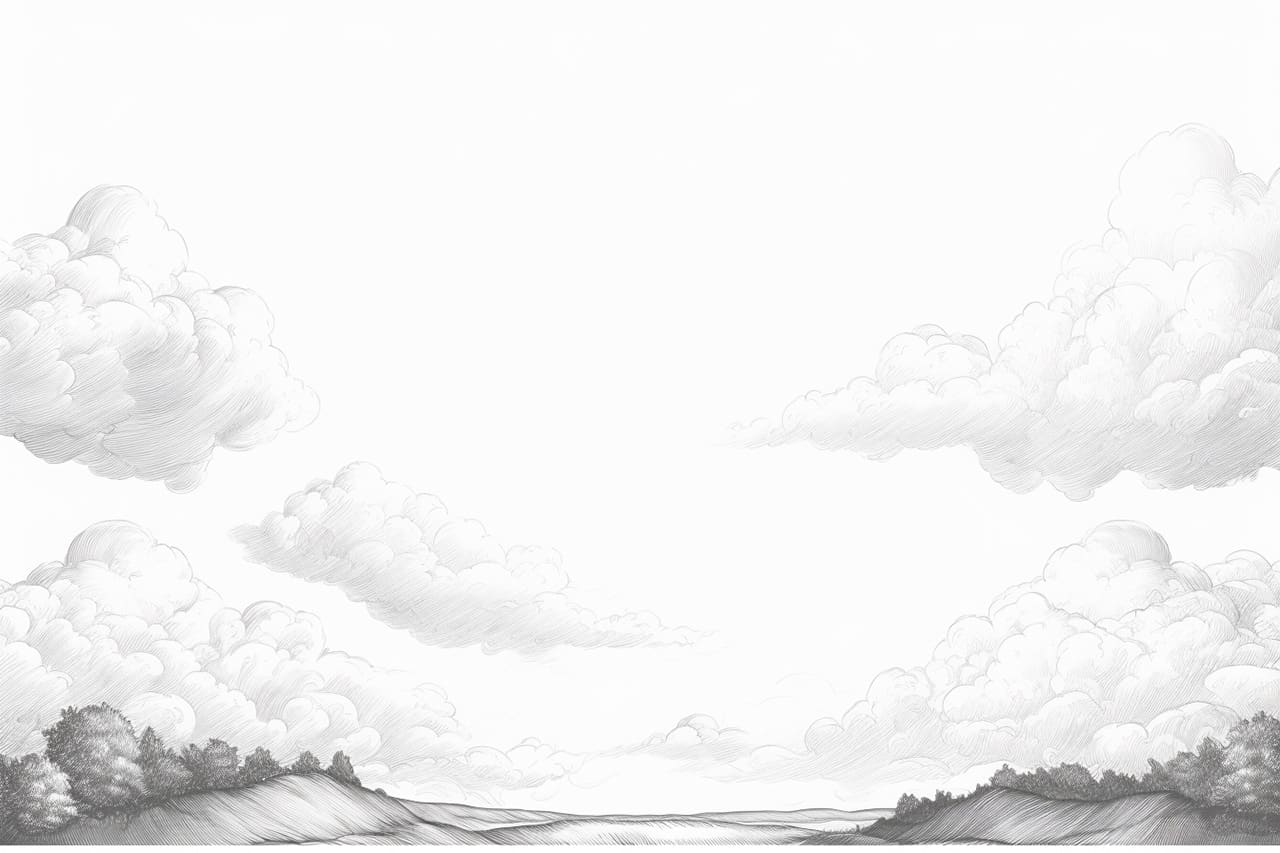
Step 5: Introduce Clouds or Other Elements
The sky is often adorned with beautiful clouds, birds, or other elements that add interest to your artwork. You can choose to include these elements or keep your sky drawing simple and focus solely on the sky itself. If you decide to add clouds, use a lighter shade of gray or white and create various shapes and sizes using soft, circular motions.
Step 6: Refine and Add Details
Once you have established the basic elements of your sky drawing, take a step back and assess the overall composition. Use a blending stump or tortillon to smooth out any harsh lines or edges, giving your sky a more natural and realistic appearance. If you want to add more depth and dimension to your sky, you can lightly shade the edges of the clouds or add subtle highlights to certain areas using an eraser.
Conclusion
Drawing the sky can be a rewarding and enjoyable experience. By following these step-by-step instructions, you can create a stunning sky drawing that captures the beauty and essence of the sky. Remember to experiment with different colors, shading techniques, and elements to make your artwork unique and personal. So grab your art supplies, look up at the sky for inspiration, and let your creativity soar!
Fun Facts About Skies
- The color of the sky changes based on the angle of the sun and the scattering of light; during sunset and sunrise, skies can turn brilliant shades of red and orange.
- A rainbow is a meteorological phenomenon caused by reflection, refraction, and dispersion of light in water droplets, resulting in a spectrum of light appearing in the sky.
- The sky is divided into different atmospheric layers, including the troposphere where weather occurs and the stratosphere which houses the ozone layer.
- Skies on other planets can look vastly different; for example, Mars often has pink skies due to dust, and Saturn might feature yellow or gold hues.
- The phrase “red sky at night, sailors’ delight; red sky in morning, sailors take warning” is based on weather patterns and can help predict weather changes.
- Pillars of light can sometimes be seen in the sky; these sun pillars occur when sunlight reflects off ice crystals in the atmosphere.
- No two skies are the same, as clouds, pollution, and weather elements constantly alter their appearance.
- Northern and Southern lights—auroras—are stunning natural displays of lights in the sky caused by the collision of solar wind particles with the Earth’s magnetic field.
- Contrary to popular belief, air is not blue; the blue color in our skies is due to Rayleigh scattering of sunlight.
- Starry skies offer a breathtaking backdrop at night, and clear areas away from city lights display a vast array of constellations and celestial bodies.
Suggestions for Scenes and Settings for Sky Drawings
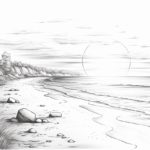
- Sunset Over the Ocean: Capture a dramatic scene with the sky adorned in warm tones reflecting on tranquil ocean waves.
- Stormy Skies: Illustrate a dynamic sky filled with dark, swirling clouds and bolts of lightning piercing through.
- Cityscape Under the Stars: Present a bustling cityscape with twinkling city lights below a clear, star-studded night sky.
- Rainbow Horizon: Draw a vibrant rainbow arching across a lush landscape, juxtaposed against a pale blue sky.
- Aurora Borealis: Visualize the Northern Lights spreading colorful, ethereal waves across the cold Arctic sky.
- Daytime Flight: Design a scene of fluffy clouds and a bright sun, with airplanes or birds gliding gracefully through the air.
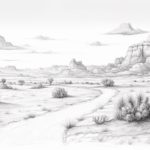
- Sunrise in the Mountains: Depict a breathtaking image of the first light of dawn illuminating rugged mountain peaks.
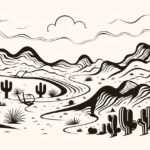
- Moonlit Desert Night: Illustrate a calm, moonlit night over a vast desert with a clear sky filled with stars.
- Cloud Watching: Show a peaceful afternoon with people lying in a field, watching and imagining shapes in passing clouds.
- Eclipse Drama: Represent the rare and awe-inspiring moment of a total solar eclipse casting shadows over a fascinated crowd.