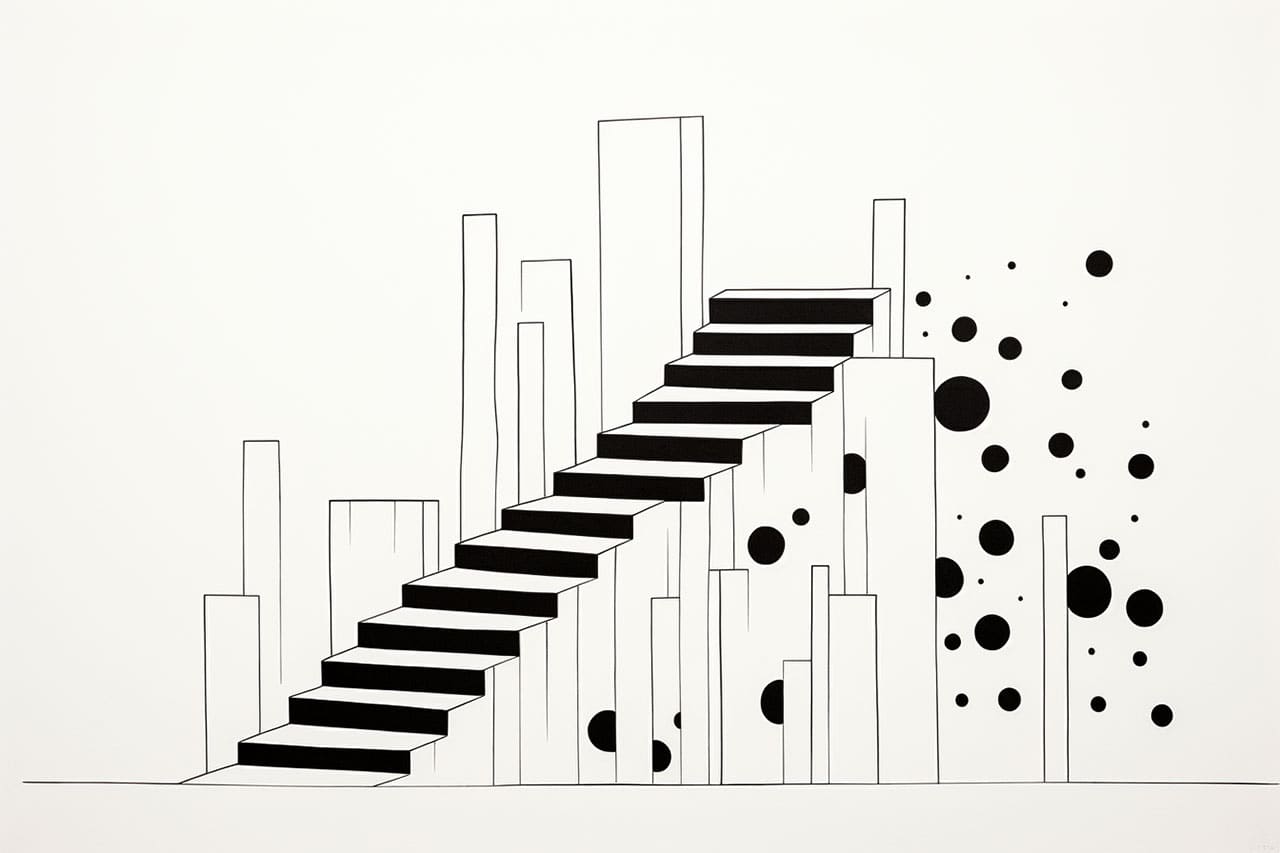
Drawing stairs may seem like a daunting task, but with the right techniques and a little practice, you’ll be able to create realistic and visually appealing staircases in your artwork. In this step-by-step guide, I will walk you through the process of drawing stairs from start to finish. So grab your pencils, paper, and let’s get started!
Materials Required
Before we begin, let’s gather the materials you’ll need:
- Drawing paper or sketchbook
- Pencil (preferably an HB or 2B)
- Eraser
- Ruler
- Optional: Colored pencils or markers for shading and adding depth
Now that you have everything you need, let’s dive into the steps of drawing stairs.
Step 1: Determine the Perspective
To draw stairs realistically, we need to establish the perspective from which we are viewing them. Decide whether you want the stairs to appear in one-point, two-point, or three-point perspective. This will determine the angle and placement of the stairs in your drawing.
Step 2: Sketch the Base Line
Start by drawing a straight horizontal line where the base of your stairs will be. Use a ruler to ensure accuracy. This line will serve as a reference point for the rest of the stairway.
Step 3: Determine the Stair Dimensions
Decide on the dimensions of your stairs. Consider the height and depth of each step. This will depend on the scale and style of your drawing. Use your ruler to mark the desired height and depth for each step along the base line.
Step 4: Outline the Staircase
Using the dimensions you determined in the previous step, draw the outline of the staircase. Start at the bottom of the base line and draw individual rectangular shapes for each step. Connect these rectangles with short vertical lines to form the risers. Ensure that each step is the same height and depth.
Step 5: Add Depth to the Steps
To make the stairs appear three-dimensional, add depth to each step. Draw additional lines parallel to the front edge of each step, indicating the thickness. These lines should be evenly spaced and extend from the top to the bottom of each step.
Step 6: Draw the Handrail and Banister
Next, add a handrail and banister to your staircase. Draw two parallel lines on one side of the stairs, following the angle of the steps. Connect the lines with vertical posts to create the banister. Then, draw a curved line above the posts to represent the handrail.
Step 7: Add Details and Texture
To make the stairs more realistic, add details and texture. Draw small lines on each step to represent the edges and corners. You can also add shading and highlights to create depth and dimension. Experiment with cross-hatching or stippling techniques to add texture to the steps and banister.
Step 8: Refine and Erase Guidelines
Take a moment to review your drawing and make any necessary adjustments. Erase any unnecessary guidelines or construction lines that are no longer needed. Use your eraser to clean up any stray marks or smudges.
Conclusion
Congratulations! You have successfully learned how to draw stairs using a step-by-step guide. Remember, practice is key to improving your drawing skills, so don’t be discouraged if your first attempt doesn’t turn out as expected. With patience and dedication, you’ll be able to create stunning staircase drawings in no time.
So grab your materials and start practicing. Before you know it, you’ll be able to tackle more complex staircases and incorporate them into your artwork. Happy drawing!