Welcome to this step-by-step guide on how to draw Rosa Parks. Rosa Parks was a prominent figure in the Civil Rights Movement, known for her refusal to give up her seat on a segregated bus in Montgomery, Alabama. In this tutorial, we will break down the process of drawing Rosa Parks into simple and easy-to-follow steps. So grab your art supplies and let’s get started!
Materials Required
Before we begin, make sure you have the following materials:
- Paper
- Pencil
- Eraser
- Fine-tip black marker or pen
- Colored pencils or markers (optional)
Now that we have everything we need, let’s dive into the drawing process.
Step 1: Basic Shapes
To start, we will create a basic framework for the portrait. Begin by drawing an oval shape for Rosa Parks’ head. Then, sketch a vertical line intersecting the oval shape. This line will help us maintain proper proportions as we add facial features later on. Finally, lightly draw a horizontal line near the bottom of the oval to mark the placement of the eyes.
Step 2: Facial Features
Next, we will focus on drawing Rosa Parks’ facial features. Using the horizontal line as a guide, draw two almond-shaped eyes above the line. Add a small curved line for the nose and a slightly curved line for the mouth. Remember to keep your lines light at this stage, as we will refine them later.
Step 3: Hair and Headscarf
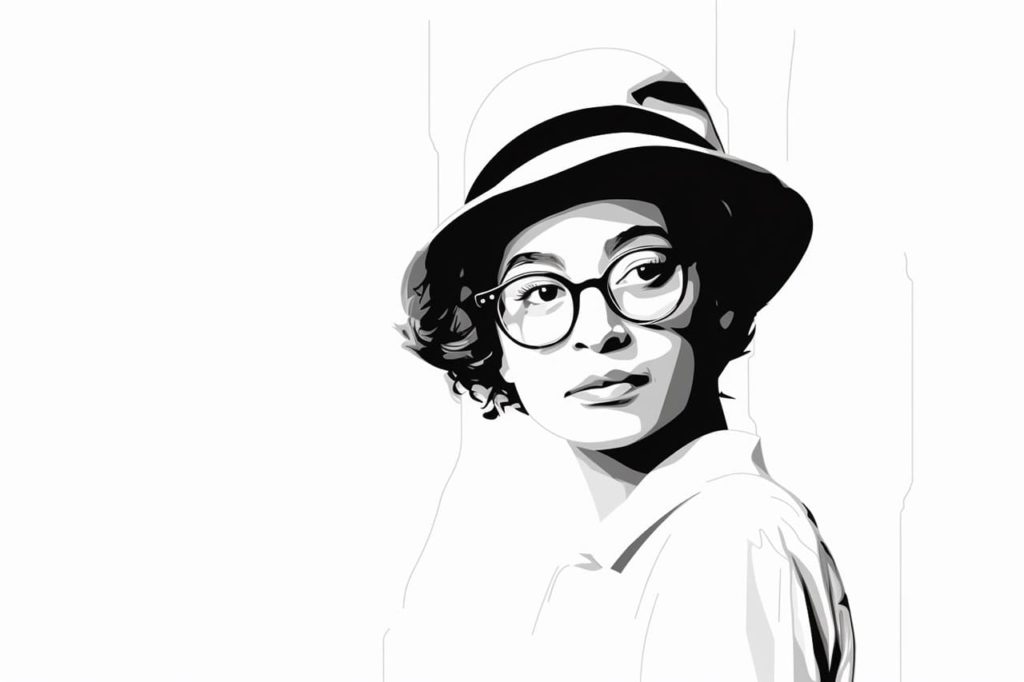
Rosa Parks was often depicted wearing a headscarf, so let’s draw that next. Start by drawing the general shape of her hair, which should frame her face and extend slightly below her head. Then, add the headscarf by drawing a curved line across the top of her head and connecting it to the sides of her face. You can add some folds and details to the headscarf to give it more depth.
Step 4: Refining the Facial Features
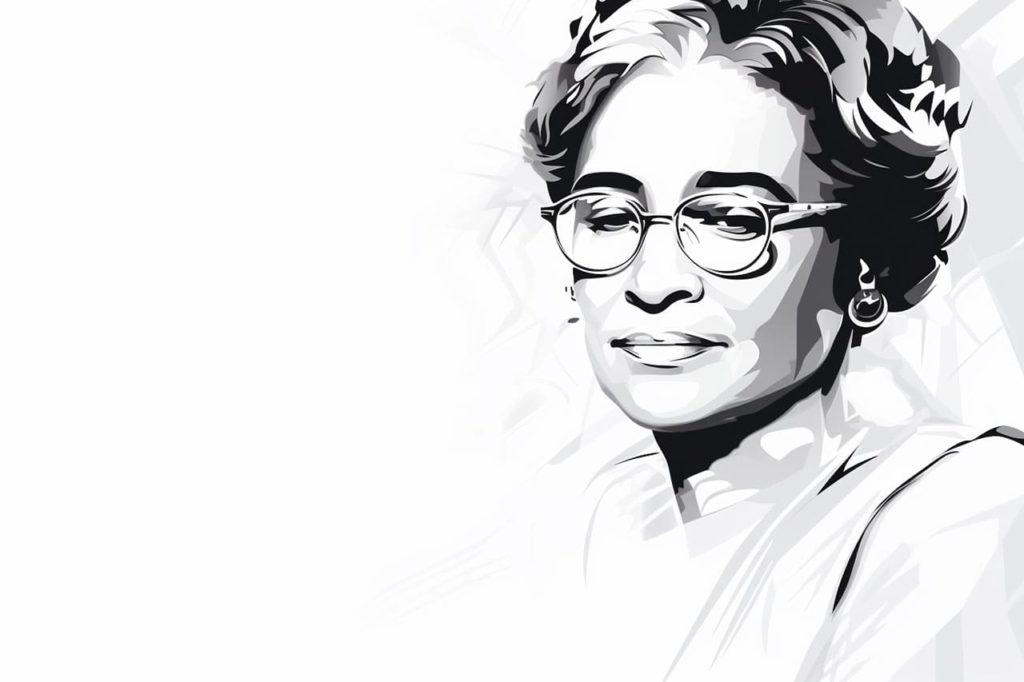
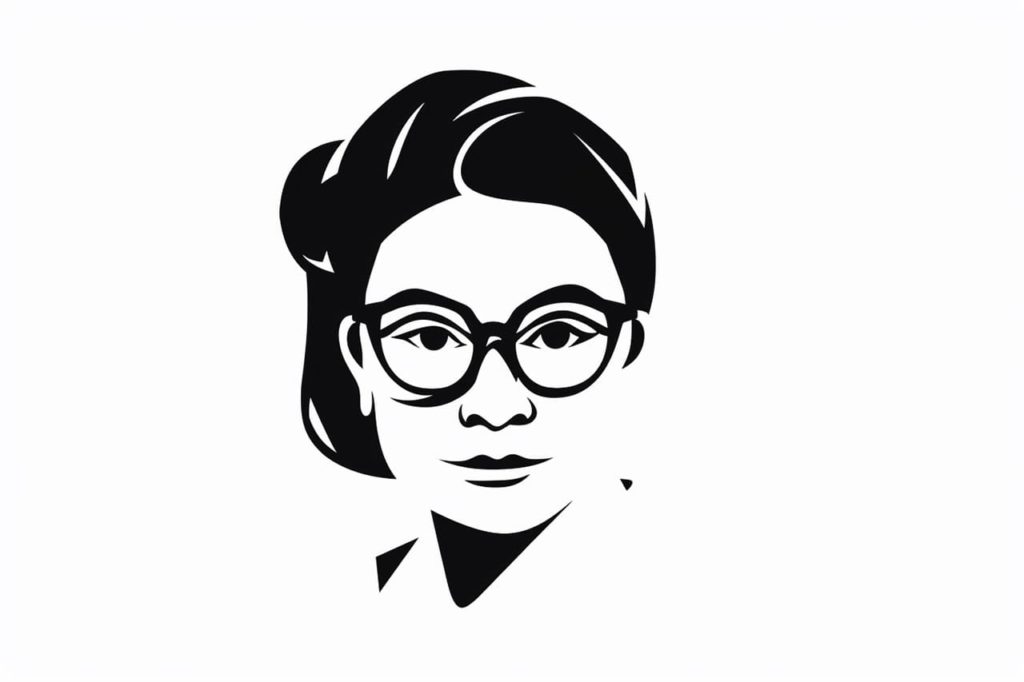
Now that we have the basic structure in place, it’s time to refine Rosa Parks’ facial features. Start by adding more definition to the eyes by drawing the irises, pupils, and eyelashes. You can also add eyebrows above the eyes to give her expression. Next, add details to the nose and lips to make them more realistic. Take your time with this step, as these details can greatly enhance the likeness of your drawing.
Step 5: Clothing
Rosa Parks’ iconic image often includes her wearing a simple dress. Draw the outline of the dress, paying attention to the folds and contours of the fabric. Add some lines to indicate the neckline and sleeves. If you’re using colored pencils or markers, you can start adding color to the dress at this stage.
Step 6: Final Touches
To complete your drawing of Rosa Parks, go over your pencil lines with a fine-tip black marker or pen. This will give your drawing a clean and finished look. Erase any remaining pencil marks, taking care not to erase the marker lines. If you’re using colored pencils or markers, you can continue to add color and shading to the various elements of the drawing. Experiment with different techniques to bring your drawing to life.
Conclusion
In this tutorial, we have learned how to draw Rosa Parks step-by-step. By breaking down the process into simple and easy-to-follow steps, you can create a realistic portrait of this influential figure in the Civil Rights Movement. Remember to take your time and practice regularly to improve your drawing skills. With dedication and patience, you can create beautiful artwork that pays tribute to historical figures like Rosa Parks. If you’d like to try to draw another historical figure, try drawing Harriet Tubman.
Gallery of Drawings of Rosa Parks