Are you a popcorn enthusiast? If so, you’ll be delighted to learn that drawing popcorn can be an enjoyable and fulfilling artistic endeavor! Not only does it allow you to express your creativity, but it also offers an opportunity to refine your drawing skills in a relaxing and engaging way. Whether you’re looking to capture the poppable snack for a school project or simply want to impress friends and family with your artistic flair, this tutorial will guide you through each step of the process.
In this comprehensive, step-by-step guide, we’ll cover everything from the initial sketch to adding the final details that make your drawing truly pop! You’ll start by laying down the fundamental shapes before gradually building up to more intricate elements like shading, texture, and highlights. With each step, you’ll learn not just how to represent popcorn visually, but also how to enhance your overall drawing technique.
So gather your drawing materials, find a cozy spot, and let’s embark on this artistic journey together. Grab your pencil and paper, and prepare to bring the world of tasty popcorn onto your canvas!
Materials Required
Before we begin, make sure you have the following materials at hand:
- Drawing paper: Choose a smooth-surfaced paper that is suitable for sketching and shading.
- Pencils: Have a range of pencils with different lead hardness, such as HB, 2B, 4B, and 6B.
- Eraser: A kneaded eraser is recommended for easy removal of mistakes without smudging.
- Sharpener: Keep your pencils sharp for precise lines and details.
Now that you have your materials ready, let’s dive into the steps of drawing popcorn!
Step 1: Sketch the Basic Shapes
Start by lightly sketching an oval shape on your paper. This will form the basis of your popcorn kernel. Don’t worry about making it perfect at this stage; we will refine it later. Repeat this process several times, creating multiple ovals to represent different kernels of popcorn. Vary their sizes and angles for a more realistic look.
Step 2: Add Dimension with Shadows
To create a sense of depth and texture, add shadows to your popcorn kernels. Identify a light source in your drawing, such as a lamp or the sun, and imagine where the shadows would fall. Using a pencil with a softer lead, shade the sides of each kernel that are away from the light source, leaving the areas closest to the light source lighter. This will give your popcorn a three-dimensional appearance.
Step 3: Refine the Shape of the Kernels
Now that you have added shadows, it’s time to refine the shape of your popcorn kernels. With a harder pencil, start by darkening the outline of each kernel. Pay attention to the irregular shapes and curves that make popcorn kernels unique. Add bumps and ridges to mimic the texture of real popcorn. Remember, each kernel should have its own distinct shape and size.
Step 4: Add Details to the Kernels
To make your popcorn kernels more realistic, add some extra details. Draw tiny lines and curves on the surface of each kernel to represent the creases and imperfections. You can also add small dots or dots connected by short lines to mimic the cracks and popped portions of the kernels. These subtle details will give your popcorn a more authentic look.
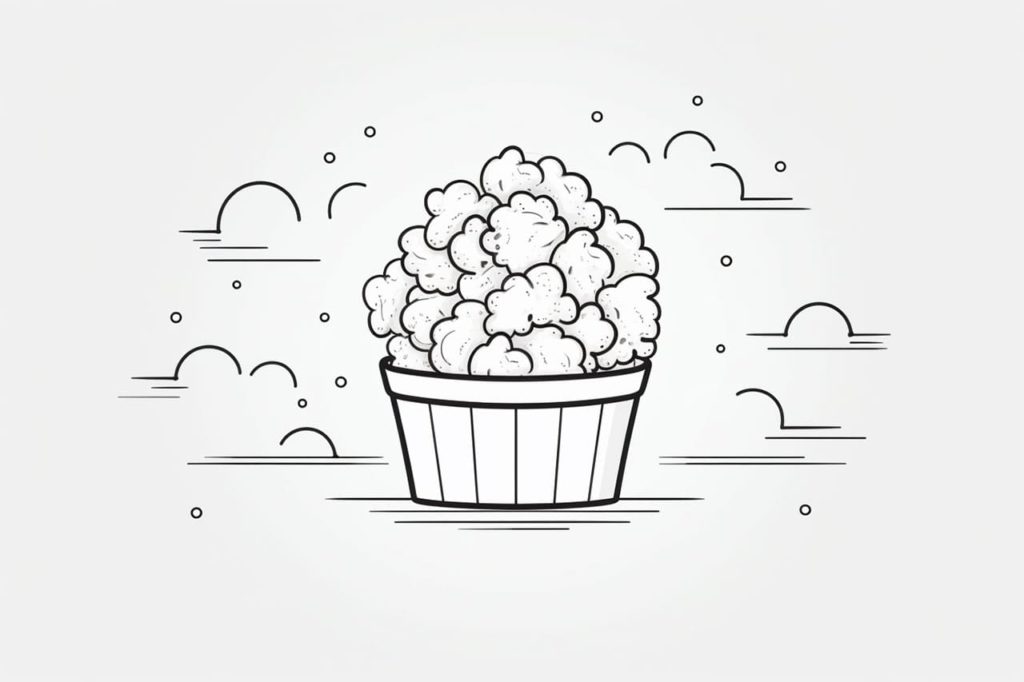
Step 5: Draw the Popcorn Container
Now that you have drawn the popcorn kernels, it’s time to create a container for them. Start by drawing a slightly curved line at the bottom of your paper to represent the base of the container. Then, draw two vertical lines extending upwards from each end of the curved line to form the sides of the container. Connect the top ends of the vertical lines with a slightly curved line to complete the container’s outline.
Step 6: Add Texture to the Container
To give your popcorn container a realistic appearance, add some texture. Draw short horizontal lines across the container’s surface, mimicking the ridges and patterns commonly found on popcorn boxes. Pay attention to the perspective and adjust the size of the lines accordingly. These details will bring your popcorn container to life.
Step 7: Add Shadows and Highlights
To make your drawing more vibrant, it’s important to add shadows and highlights. Determine the light source in your drawing and imagine where the shadows would fall on the container. Shade those areas with a softer pencil, gradually building up the darkness to create a smooth transition. Additionally, use a white colored pencil or a white gel pen to add highlights on the container’s surface, giving it a shiny and reflective appearance.
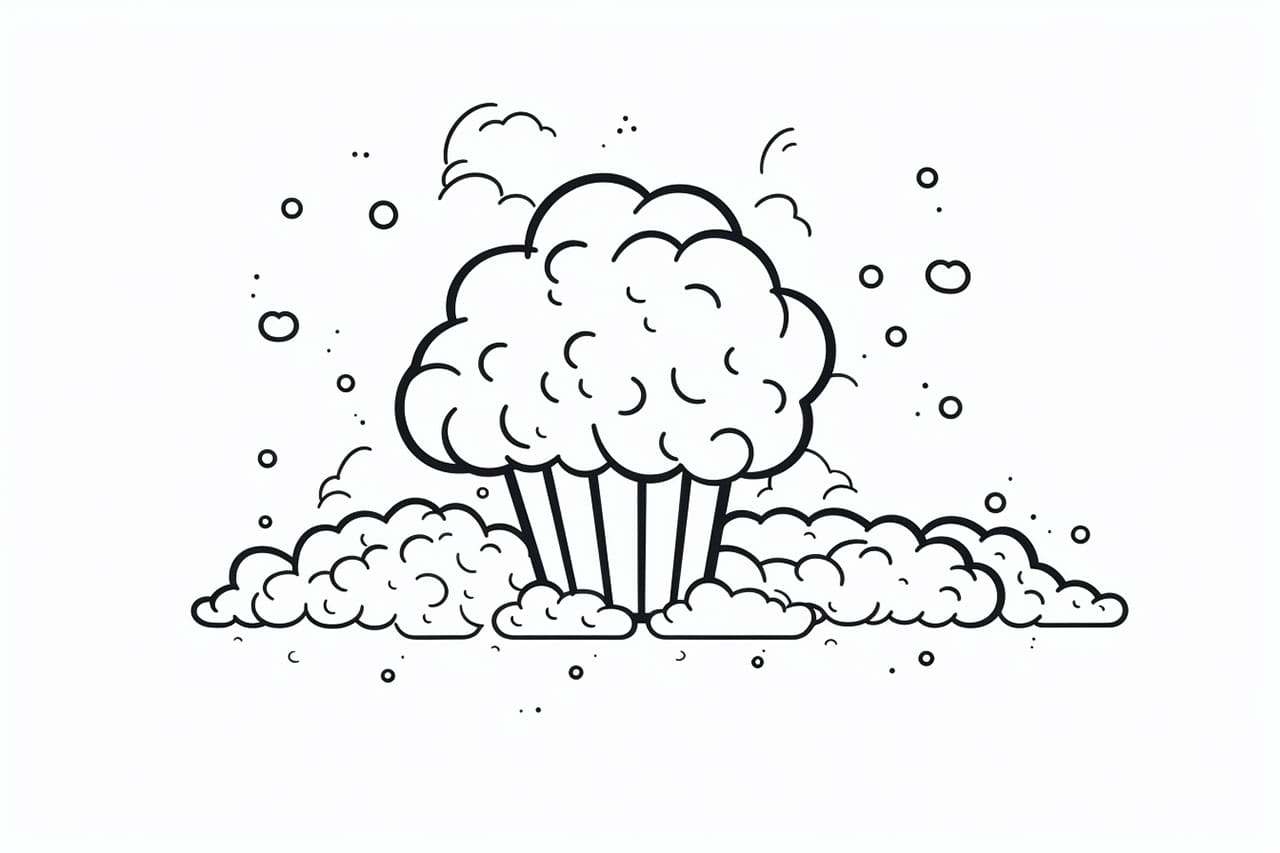
Step 8: Hints of Popcorn Overflowing
To make your drawing more dynamic, consider adding a few popcorn kernels overflowing from the container. Draw partially popped kernels or fully popped ones outside the container, nestled beside it or falling over the edges. This will give a sense of movement and make your drawing more interesting.
Step 9: Finalize the Details
Before considering your drawing complete, take some time to evaluate it and add any final touches. Check for any areas that need more shading or highlighting. Assess the overall balance of your drawing and make any necessary adjustments. Pay attention to the smallest details, such as creases in the container or subtle variations in the popcorn kernels. These finishing touches will elevate the realism of your drawing.
Conclusion
Congratulations! You have successfully learned how to draw popcorn. By following these step-by-step instructions, you have created a realistic representation of one of the most beloved snacks. Remember to practice regularly and experiment with different shading techniques to further improve your drawing skills. Keep pushing yourself and don’t be afraid to explore your own unique style. Happy drawing!
Gallery of Popcorn Drawings