Plaid is a classic pattern that’s not only stylish but also fun to create. Whether you want to add a touch of plaid to your artwork or create an entire plaid design, this step-by-step guide will help you master the technique. As an expert artist and drawing instructor, I’ll provide clear, concise instructions to guide you through the process. So let’s dive in and learn how to draw plaid!
Materials Required
Before we begin, let’s gather the materials you’ll need for this project:
- Drawing paper or sketchbook
- Pencil
- Ruler
- Eraser
- Colored pencils, markers, or any other coloring tools of your choice
Now that we have everything we need, let’s get started!
Step 1: Start with a Grid
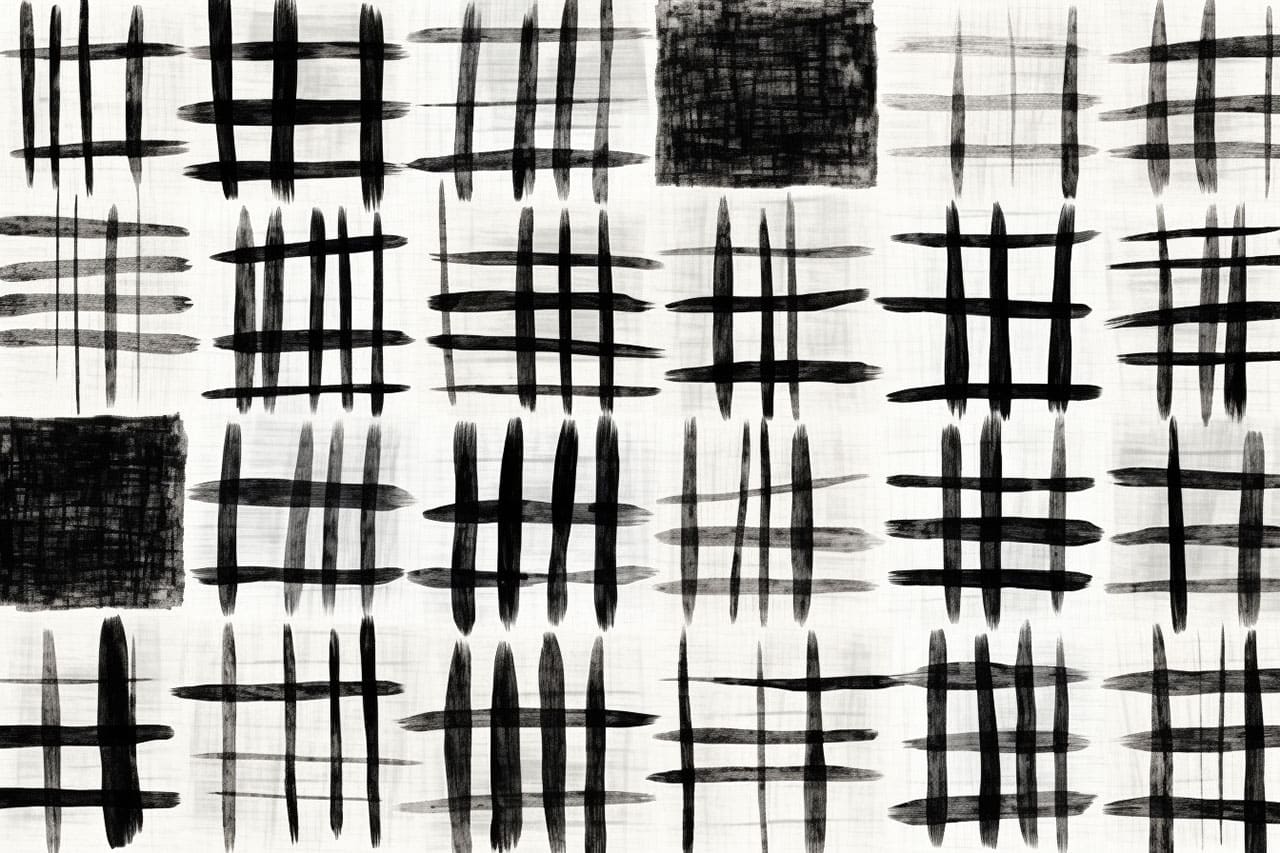
To create a plaid pattern, we’ll begin by drawing a grid on our paper. Use a ruler and a pencil to draw horizontal and vertical lines, evenly spaced apart. The size and spacing of the lines will determine the size and density of your plaid. Play around with different line widths and spacing to achieve the desired effect.
Step 2: Add Diagonal Lines
Next, we’ll add diagonal lines to our grid. These lines will intersect the horizontal and vertical lines we drew earlier. Start at one corner of the grid and draw diagonal lines at a 45-degree angle, crossing over the existing lines. Repeat this process until you’ve added diagonal lines to the entire grid.
Step 3: Choose Your Colors
Now it’s time to decide on the colors for our plaid pattern. Plaid usually consists of a few main colors and some secondary colors for contrast. Select the colors you’d like to use and keep them handy.
Step 4: Color the Grid
Using your chosen coloring tools, start filling in the squares of the grid with your main colors. It’s best to work row by row, ensuring consistency in the pattern. Alternate between colors to create the classic plaid effect. Remember to take your time and color within the lines for a neat and polished look.
Step 5: Add Secondary Colors
Once you’ve colored the entire grid with the main colors, it’s time to add some secondary colors for contrast. Select a few squares in the grid and fill them with your chosen secondary colors. This will add depth and visual interest to your plaid pattern.
Step 6: Add Shading (Optional)
If you want to take your plaid pattern to the next level, you can add shading to create a more realistic effect. With a lighter shade of the main colors, lightly color one side of each square to create a subtle gradient. This will give your plaid a three-dimensional appearance.
Step 7: Fine-Tune and Refine
Take a step back and evaluate your plaid pattern. This is the perfect time to make any adjustments or corrections. If you notice any uneven coloring or spacing, use your eraser to clean up and refine the pattern. Pay attention to detail, as it’s the small touches that make a plaid design stand out.
Conclusion
Congratulations! You’ve successfully learned how to draw a plaid pattern. Remember, practice makes perfect, so don’t be discouraged if your first attempt doesn’t turn out exactly as you envisioned. With time and practice, you’ll master the art of drawing plaid and be able to create beautiful designs with ease.
In this article, we explored step-by-step instructions to draw plaid, from creating a grid to adding colors and refining the pattern. So grab your materials and start experimenting with different plaid patterns and color combinations. Have fun and let your creativity shine!
Gallery of Plaid Drawings
Fun Facts About Plaid
- The word “plaid” comes from the Scottish Gaelic “plaide,” meaning blanket or mantle, reflecting its traditional use as a woolen wrap in Scotland—learn more about its origins at Zelouf Fabrics.
- Plaids are closely linked to Scottish tartans, which are specific patterns representing different clans or families, each with unique color and line arrangements—explore the connection at Tartan Vibes Clothing.
- Each tartan plaid pattern is distinct, featuring its own combination of colors and intersecting lines that symbolize clan identity, as detailed by the Scotland Kilt Collection.
- Plaid patterns are popular not only in apparel but also in home décor items such as blankets, curtains, and upholstery, adding warmth and texture.
- The crisscrossed horizontal and vertical bands in plaids are created by weaving threads of different colors at right angles, forming the characteristic checkered design—discover the weaving process at the University of Kentucky Extension.
- Plaids have been used in fashion for centuries, gaining particular popularity during the 19th and 20th centuries as a symbol of heritage and style.
- In the United States, “plaid” refers broadly to the pattern, while in Scotland, “tartan” is the correct term specifically for clan-associated designs.
- Plaids come in a wide range of color combinations, from traditional reds and greens to modern, bold hues, allowing versatile styling options.
- Plaids can be woven from various materials including wool, cotton, flannel, and synthetic fibers, making them suitable for different uses and climates.
- Plaids are a timeless design often symbolizing tradition, heritage, and a sense of coziness, which contributes to their enduring popularity.
Suggestions for Scenes and Settings for Plaid Drawings
- A cozy armchair draped with a plaid blanket beside a crackling fireplace.
- A fashionable character wearing a plaid scarf, standing in a bustling autumn city street.
- A picnic scene with a classic plaid tablecloth spread under a shady tree in a sunny park.
- A stack of wrapped holiday gifts, each box topped with a different plaid pattern and ribbon.
- A group of friends bundled in plaid shirts, roasting marshmallows around a campfire.
- An inviting café setting with plaid-patterned cushions on window seats and steaming mugs of coffee.
- A countryside landscape with a scarecrow dressed in a plaid shirt standing in a golden field.
- A vintage suitcase covered in plaid fabric, ready for an adventure.
- A set of mismatched plaid pillows piled on a rustic wooden bench.
- A loyal dog wearing a plaid bandana, sitting on a porch in the golden hour light.