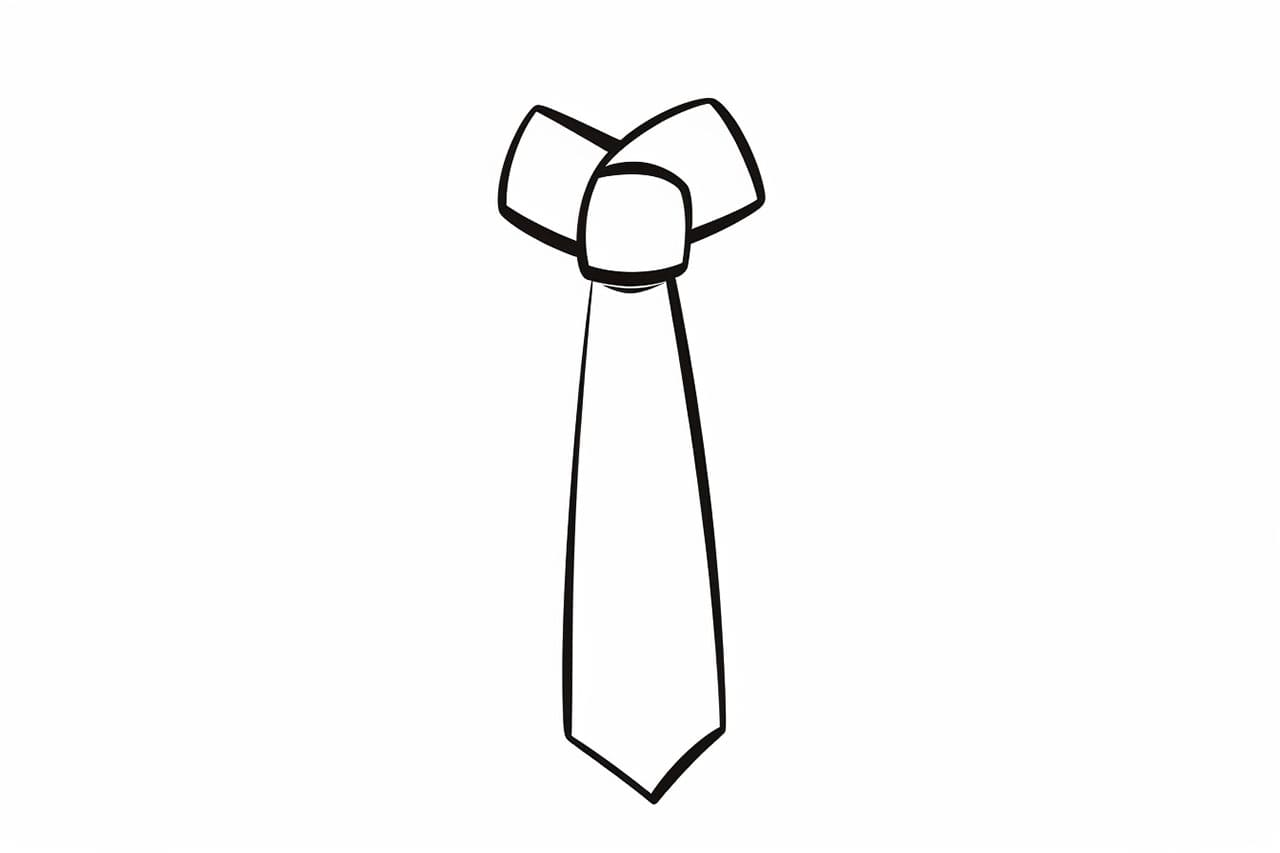
In this step-by-step tutorial, we will learn how to draw a tie. Whether you want to add a tie to a fashion illustration, create a stylish avatar, or simply practice your drawing skills, this guide will help you create a clean and polished tie design. So, grab your pencils and let’s get started!
Materials Required
To draw a tie, you will need the following materials:
- Paper
- Pencil
- Eraser
- Ruler
- Colored pencils or markers (optional)
Now that you have your materials ready, let’s dive into the step-by-step instructions.
Step 1: Draw the Outline of the Tie
Start by drawing a straight vertical line down the center of your paper. This line will serve as the backbone of your tie. Adjust the length of the line according to how long you want your tie to be.
Step 2: Add the Wide End of the Tie
At the bottom of the vertical line, draw a horizontal line that extends to the right. This line will represent the wide end of the tie. Make sure to leave some space at the end for the tip.
Step 3: Shape the Wide End
Now, draw two diagonal lines that connect the wide end of the tie to the center line. These lines should start at the bottom corners of the wide end and slant inward toward the center. Imagine you are drawing an elongated triangle.
Step 4: Form the Narrow End
Next, draw a slightly curved line that starts from the top of the center line and extends diagonally to the left. This line will form the narrow end of the tie. Make sure to leave some space at the end for the tip, just like you did with the wide end.
Step 5: Add Depth to the Tie
To give your tie more dimension, draw two parallel lines that run along the edges of the wide end. These lines should gradually converge as they reach the center line, creating a tapered effect.
Step 6: Create the Tie Tip
At the end of both the wide and narrow ends, draw a small triangle to represent the tips of the tie. Make the tips slightly rounded for a more realistic look.
Step 7: Incorporate Patterns or Texture
If you want to add some personality to your tie, now is the time to get creative with patterns or texture. You can draw stripes, dots, or any other design element that you like. Use your imagination and have fun with it!
Step 8: Refine and Erase
Go over your drawing and refine any rough edges or lines that need improvement. Pay attention to the overall shape and proportions of the tie. Once you are satisfied with the result, use an eraser to remove any unnecessary guidelines or mistakes.
Step 9: Color the Tie (Optional)
If you want to take your drawing to the next level, you can add some color to your tie. Use colored pencils or markers to bring your design to life. Experiment with different color combinations and shading techniques to make your tie look more realistic.
Conclusion
Drawing a tie may seem daunting at first, but with the right techniques, it can be an enjoyable and rewarding experience. By following the step-by-step instructions in this tutorial, you can create a stylish and well-proportioned tie design. Remember to practice regularly and have fun with your drawings. Now go ahead and show off your new skills by incorporating ties into your fashion illustrations or creating unique tie designs of your own!