Welcome to this step-by-step tutorial on how to draw a muscle man. Whether you’re an aspiring artist or just looking to improve your drawing skills, this guide will help you create a powerful and dynamic muscular figure. By following these simple instructions, you’ll be able to capture the strength and definition of the human form. So, let’s get started!
Materials Required:
Before we begin, gather the following materials:
- Paper: Choose a high-quality drawing paper that can handle pencil or pen strokes.
- Pencil: Use a range of pencils such as HB, 2B, and 4B for shading.
- Eraser: Have a kneaded eraser handy for small details and corrections.
- Sharpener: Keep a pencil sharpener nearby to maintain a sharp point.
Now that you have everything you need, let’s dive into the step-by-step process of drawing a muscle man.
Step 1: Basic Framework
Start by drawing a basic stick figure or wireframe of the muscle man. Use light and simple lines to sketch the overall proportions and pose. Focus on the gesture and balance of the figure. This step is crucial for establishing the pose and positioning of the muscles later on.
Step 2: Torso and Abdomen
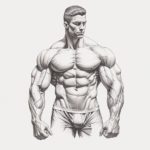
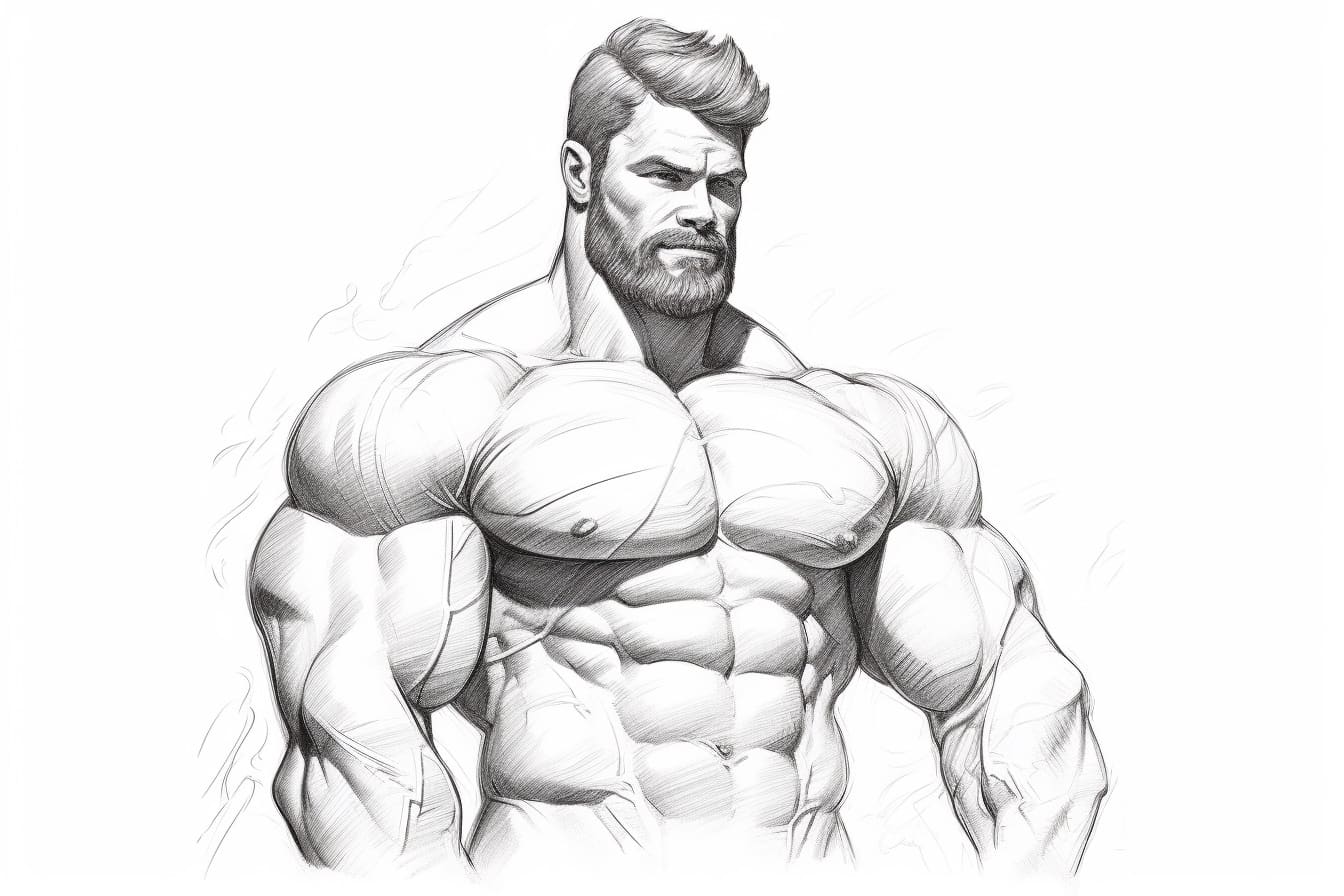
Once you have the basic framework in place, start adding bulk to the torso and abdomen. Sketch the chest, emphasizing the pectoral muscles, and define the abdominal muscles. Pay attention to the curves and contours of the body. Remember, muscle groups overlap, so make sure to indicate the overlapping areas accurately.
Step 3: Shoulders and Arms
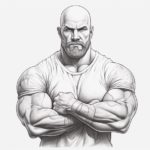
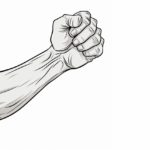
Next, work on the shoulders and arms. Draw the deltoid muscles on each shoulder, giving them a rounded, three-dimensional appearance. Add the biceps and triceps to the arms, following the natural flow of the muscles. Keep in mind that the arm muscles will appear more defined when the arm is flexed.
Step 4: Neck and Upper Back
Move on to the neck and upper back. Sketch the trapezius muscles to define the neck and shoulder areas. They should appear broad and well-developed for a muscular figure. Pay attention to the natural curves and exaggerate them slightly to accentuate the muscles.
Step 5: Legs
Now let’s focus on the legs. Draw the quadriceps muscles on the front of the thigh and the hamstring muscles on the back. The calf muscles, known as the gastrocnemius, should be prominent and well-defined. Pay attention to the proportions and angles of the legs to maintain a balanced and proportionate figure.
Step 6: Finalizing the Muscles
Refine the muscles by adding more detail and definition. Study reference images or your own body if possible to capture the nuances of each muscle group. Pay attention to the shading and highlights to create depth and make the muscles appear more realistic. Use cross-hatching or subtle shading techniques to add volume and texture to the muscles.
Step 7: Facial Features and Hair
Add the facial features and hair to complete the muscle man drawing. Keep the facial structure strong and masculine, paying attention to the jawline and cheekbones. Add hair details based on the desired style, whether it’s short, long, or even bald. Remember to use light lines at first, and gradually darken them as you refine the details.
Conclusion
By following this step-by-step tutorial, you should now have a good foundation for drawing a muscle man. Remember to practice regularly, study from real-life references, and experiment with different poses and angles. With time and dedication, you’ll be able to master the art of drawing muscular figures. Happy drawing!