Welcome to this step-by-step guide on how to draw a My Little Pony character! Whether you’re a fan of the show or just love drawing cute and colorful characters, this tutorial will help you bring your favorite pony to life on paper. With a few simple steps and some practice, you’ll be creating your own unique pony creations in no time.
Materials Required
Before we get started, make sure you have the following materials:
- Pencil
- Eraser
- Paper
- Colored pencils or markers (optional)
Now that you have everything you need, let’s begin!
Step 1: Sketch the Basic Shape
Start by drawing a large oval shape in the center of your paper. This will be the head of your pony. It doesn’t have to be perfect, so feel free to adjust the shape as you go.
Step 2: Add the Body and Legs
Extend two lines down from the bottom of the head to create the body of the pony. Then, draw four lines extending from the bottom of the body to create the legs. You can make the legs as long or short as you like, depending on the pose you want your pony to have.
Step 3: Draw the Tail and Mane
Using curved lines, draw the tail and mane of your pony. The tail can be long and flowing or short and fluffy, while the mane can be styled in various ways. Get creative and experiment with different shapes and sizes!
Step 4: Add the Facial Features
Now it’s time to bring your pony to life by adding its facial features. Start by drawing two large, expressive eyes. Add eyelashes for a more feminine look, or leave them out for a more neutral appearance. Then, draw a small, curved line for the smile or mouth of your pony. Finally, add two small circles on top of the head for the ears.
Step 5: Refine the Shape and Details
Take a moment to refine the overall shape of your pony and add any additional details. You can smooth out any rough lines and adjust the proportions of the body, legs, and head. Don’t be afraid to experiment and make changes until you’re happy with the result.
Step 6: Add Color (Optional)
If you want to add color to your drawing, grab your colored pencils or markers and start coloring! My Little Pony characters are known for their vibrant and varied color palettes, so don’t be afraid to get creative. You can either stick to the original colors of the show or invent your own unique color scheme.
Conclusion
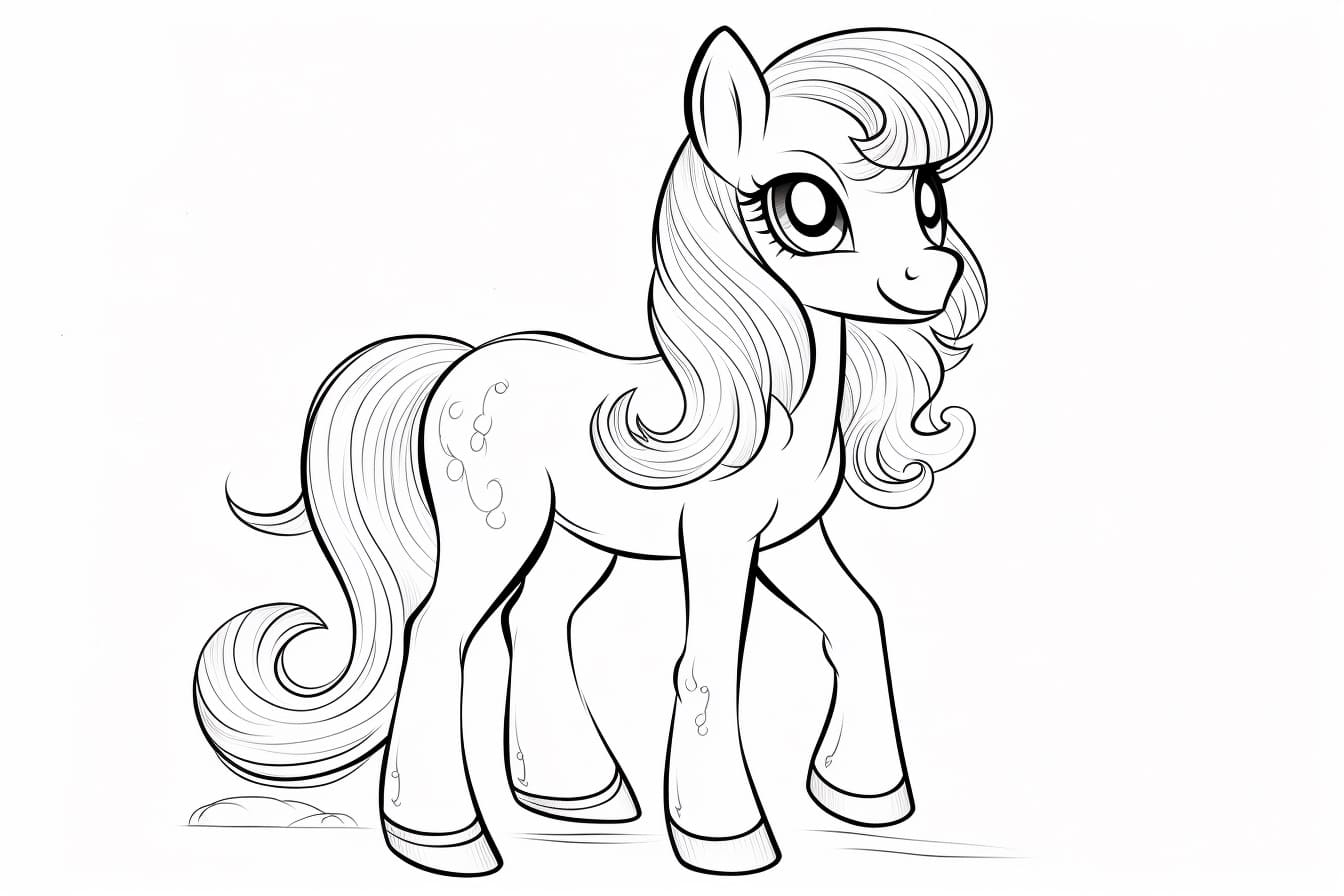
Congratulations! You’ve successfully learned how to draw a My Little Pony character. By following these step-by-step instructions, you can now create your very own adorable ponies on paper. Remember, practice makes perfect, so keep drawing and exploring different poses, designs, and expressions. Happy drawing!