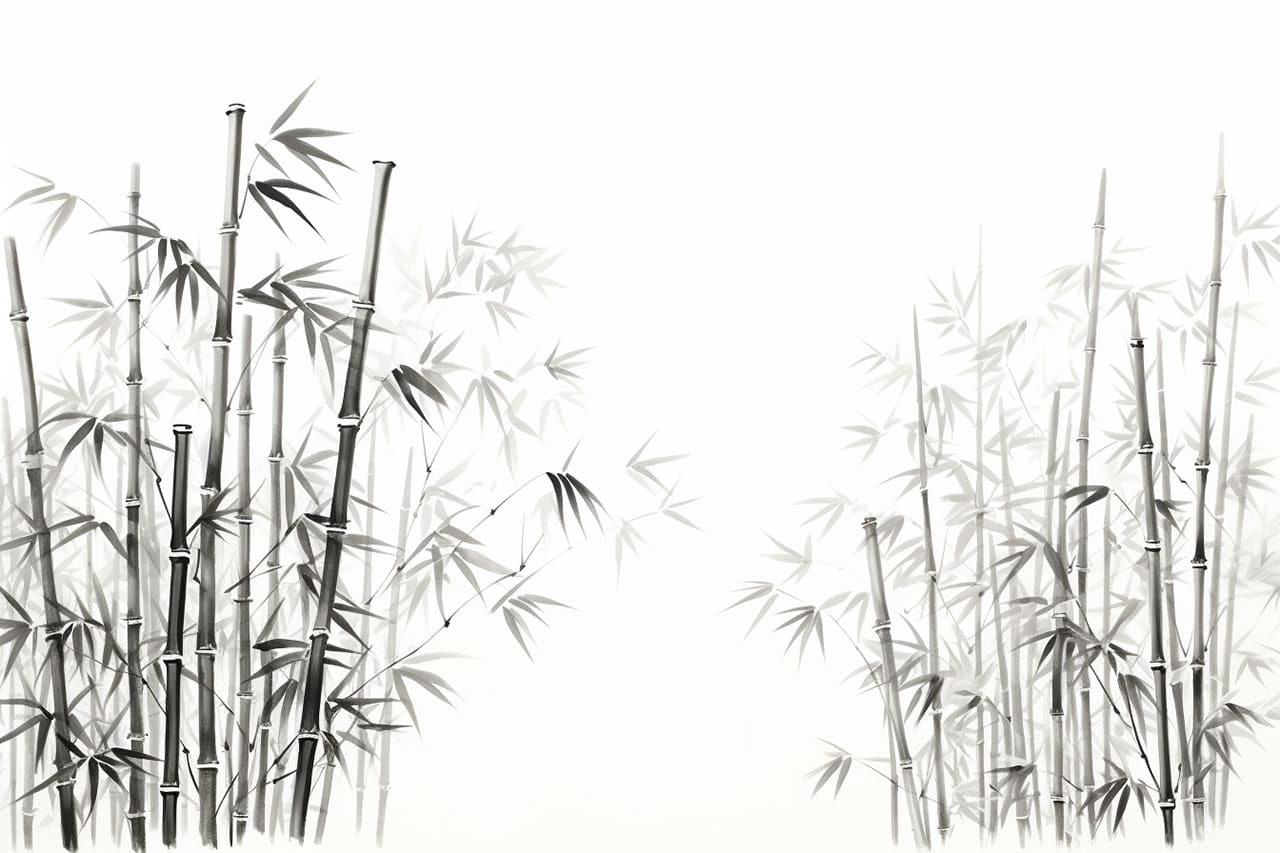
Drawing bamboo can be a rewarding and fulfilling experience. The elegant and graceful nature of bamboo makes it a popular subject for artists. In this step-by-step guide, I will show you how to draw bamboo with simple and easy-to-follow instructions. By the end of this tutorial, you will be able to create a realistic representation of this beautiful plant. So grab your drawing materials and let’s get started!
Materials Required
Before we begin, make sure you have the following materials:
- Drawing paper
- Pencil (HB or 2B)
- Eraser
- Fine-tipped pen or marker (optional)
- Colored pencils or markers (optional)
Now that we have our materials ready, let’s dive into the step-by-step process of drawing bamboo.
Step 1: Start with the Main Stalk
Begin by drawing the main stalk of the bamboo. Start at the bottom of the paper and draw a vertical line. This will serve as the foundation for our bamboo plant. Make the line slightly curved to give it a more organic and natural look.
Step 2: Add Joints and Nodes
Next, add joints and nodes to the main stalk. These are the points where the branches of the bamboo emerge. Draw small, horizontal lines at regular intervals along the main stalk. These lines should vary in length and angle to create a more realistic effect. Remember to keep the lines relatively light so they can be easily erased later.
Step 3: Sketch the Branches
Now it’s time to sketch the branches of the bamboo. From each joint and node, draw curved lines extending outward. These lines will represent the branches. Make sure to vary the length and thickness of the branches to add depth and dimension to your drawing.
Step 4: Define the Leaves
Bamboo leaves are long and narrow, resembling blades of grass. To draw the leaves, start at the top of each branch and draw a series of parallel lines extending outward. These lines should be slightly curved and taper towards the tip of the branch. Add more leaves to each branch, staggering their placement to create a natural and flowing appearance.
Step 5: Add Details
To make your bamboo drawing more realistic and lifelike, add some details. Use your pencil or a fine-tipped pen to add texture and shading to the main stalk and branches. You can also add small imperfections, such as bumps or irregularities, to give your bamboo a more natural look.
Step 6: Erase Excess Lines
After adding the necessary details, erase any excess lines that are no longer needed. Use a soft eraser to gently remove the guidelines and sketchy lines while preserving the main features of your drawing.
Step 7: Color (Optional)
If you prefer a colored drawing, you can now bring your bamboo to life by adding colors. Use colored pencils or markers to color the stalk, branches, and leaves. Experiment with different shades of green to create depth and variation. Don’t forget to blend and layer the colors to achieve a more realistic look.
Conclusion
Drawing bamboo can be a calming and enjoyable artistic endeavor. By following these simple steps, you can create a stunning representation of this elegant plant. Remember to take your time, practice, and explore different techniques to develop your unique style. With patience and dedication, you will be able to draw bamboo with confidence and skill. So grab your drawing materials and start creating!