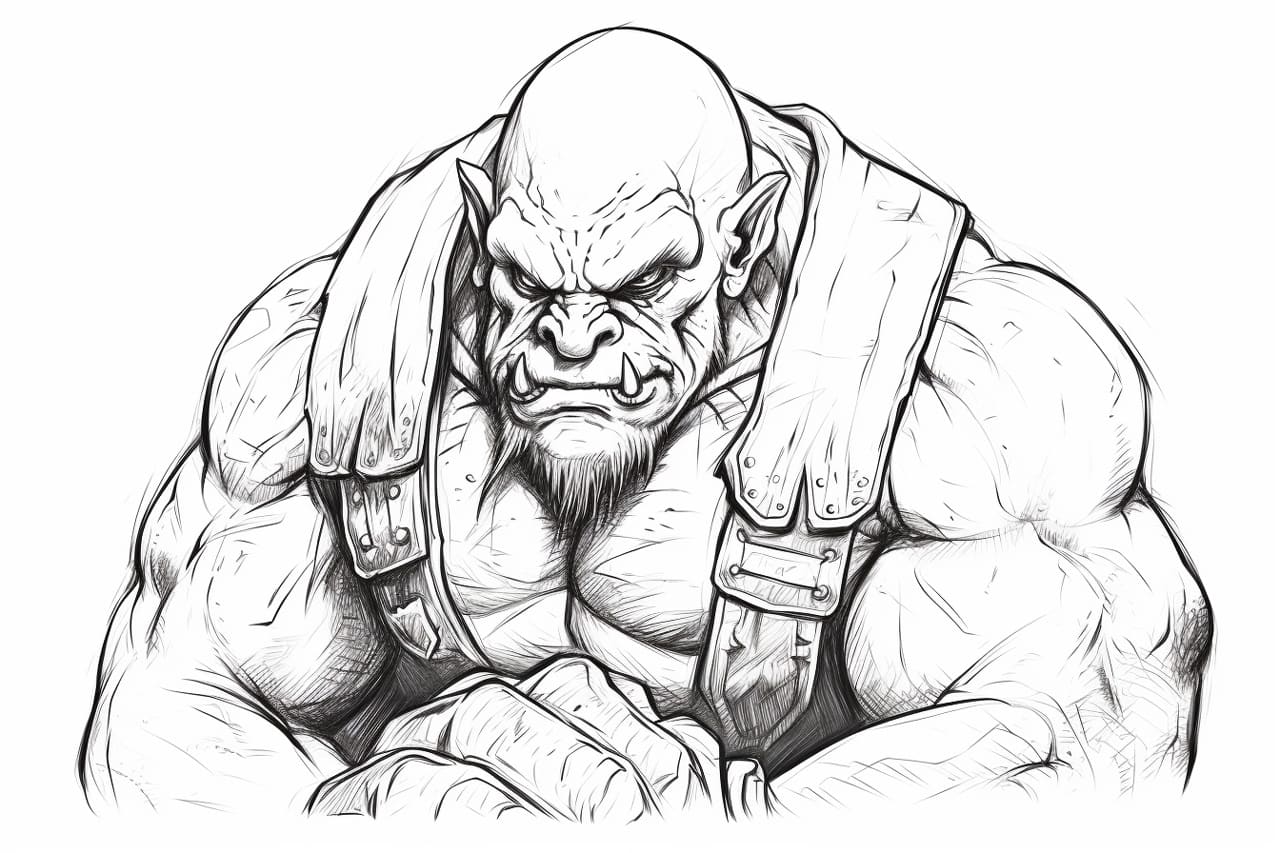
Drawing an Ogre can be a thrilling and imaginative experience, allowing you to explore the depths of your creativity and bring a mythical creature to life on paper. Ogres are often depicted as fearsome and powerful beings, with their imposing size, sharp teeth, and rugged appearance. In this tutorial, we will delve into the enchanting world of fantasy art and learn how to capture the essence of an Ogre through our pencils and brushes. Whether you are a seasoned artist looking to expand your portfolio or a beginner eager to embark on a new artistic journey, this guide will provide the tools and techniques needed to create your menacing Ogre masterpiece. So grab your drawing supplies and embark on an epic adventure into fantasy art!
Materials Required
To draw an ogre, you will need the following materials:
- Drawing paper or sketchbook
- Pencils (different grades for shading and detailing)
- Eraser
- Sharpener
- Drawing pens or markers (optional for outlining)
- Colored pencils, markers, or pastels (optional for adding color)
- Reference images of ogres for inspiration and guidance
You can create a detailed and imaginative drawing of an ogre with these materials. Remember to have fun and let your creativity flow!:
How to Draw an Ogre: a Step-by-step Guide
Step 1: Gather Your Materials
- Prepare a pencil or pen for sketching.
- Get a piece of paper or a sketchbook.
- Have an eraser handy for any mistakes.
Step 2: Sketch the Basic Shape
- Start by drawing a large oval shape for the Ogre’s head.
- Draw a more petite, elongated oval below the head for the torso.
- Add two smaller ovals for the arms and two more for the legs.
Step 3: Define the Features
- Add a smaller oval or circle within the head for the Ogre’s face.
- Sketch two small circles for the eyes and a larger, wider oval for the mouth.
- Draw two large, pointed ears on either side of the head.
- Add a large, bumpy nose in the center of the face.
Step 4: Refine the Body
- Connect the torso to the arms and legs with simple lines to create basic shapes.
- Add more detail to the arms and legs by shaping them with muscles and defining fingers and toes.
- Give the Ogre a hunched posture by rounding the back and shoulders.
Step 5: Add Details
- Draw in the Ogre’s hair with wild, untamed lines.
- Add texture to the skin by sketching rough, bumpy patches.
- Include additional features like horns, tusks, or scars to give the Ogre more character.
Step 6: Finalize and Refine
- Go over your sketch and refine any lines that need adjusting.
- Erase any unnecessary guidelines or overlapping lines.
- Add shading to give your Ogre dimension and depth, focusing on areas where shadows naturally fall.
Step 7: Add Color (Optional)
- If you wish to add color, choose a palette that suits the Ogre’s appearance (typically earth tones and greens).
- Use colored pencils, markers, or digital tools to bring your Ogre to life with color.
Step 8: Sign and Date
- Once satisfied with your drawing, sign your name and date the artwork to mark its completion.
Step 9: Share Your Artwork
- Show your Ogre drawing to friends, family, or online communities to receive feedback and appreciate your creativity.
- Consider creating a series of fantasy creatures or characters to expand your drawing skills and portfolio.
Conclusion
Great job on completing your drawing of the Ogre! Your attention to detail and creativity shine through in your work. Remember that practice makes perfect, so keep honing your skills and pushing yourself to try new techniques. Don’t be afraid to experiment and continue exploring your artistic style. Keep up the fantastic work, and believe in your abilities as an artist. I can’t wait to see what you create next!
Fun Facts About Ogres
- Ogres are often depicted as significant, humanoid creatures with an intimidating appearance, but they can also be portrayed as comical and dim-witted in some stories and folklore.
- In traditional folklore, Ogres are known for their love of eating humans, particularly children. They are often depicted as fearsome and dangerous creatures lurking in the wilderness.
- Despite their fearsome reputation, Ogres are sometimes portrayed as having a softer side, such as in the character Shrek from the animated movie franchise, who is lovable and kind-hearted.
- Ogres are often associated with fairy tales and fantasy literature, where they serve as villains or antagonists to the main characters.
- In some cultures, Ogres are believed to possess magical powers or abilities, such as shape-shifting or invisibility.
- Ogres are often depicted as living in caves or remote areas, away from human civilization. They are solitary creatures who prefer to be left alone.
- The word “ogre” is believed to have originated from the French word “ogier,” which means “fierce” or “terrible.”
- Ogres have been featured in various forms of media, including books, movies, and video games, making them a popular and enduring creature in popular culture.
Suggestions for Scenes and Settings for Ogre Drawings
Here are some specific suggestions for scenes and settings for drawings of an Ogre:
- Ogre in a dense, misty forest: Show the Ogre towering over twisted trees and thick undergrowth, with mist swirling around, creating an eerie atmosphere.
- Ogre in a rocky mountain pass: Capture the Ogre navigating cliffs and jagged rocks, with a storm brewing in the background to add drama to the scene.
- Ogre in a ruined castle: Illustrate the Ogre exploring the crumbling ruins of an ancient fortress, with moss-covered walls and broken towers surrounding them.
- Ogre in a swamp: Depict the Ogre wading through murky waters, with twisted trees and tangled vines in the background, creating a sense of foreboding.
- Ogre in a village at night: Show the Ogre lurking in the shadows of a medieval town, with flickering torches lighting up the cobblestone streets and frightened villagers peering out from their windows.
- Ogre in a barren wasteland: Illustrate the Ogre standing amidst desolate, cracked earth and skeletal trees, with a dark, stormy sky overhead to emphasize the desolation of the scene.
- Ogre in a mystical cave: Capture the Ogre exploring a cavern filled with glowing crystals and mysterious runes carved into the walls, creating an otherworldly and magical atmosphere.
- Ogre in a snowy wilderness: Depict the Ogre trudging through deep snowdrifts, with icy winds whipping around them and snow-capped mountains looming in the distance.
- Ogre in a haunted graveyard: Illustrate the Ogre standing among twisted tombstones and gnarled trees, with ghostly apparitions floating around them, adding a spooky element to the scene.
- Ogre in a Fantastical City: Show the Ogre towering over a bustling cityscape filled with incredible architecture and bustling crowds, creating a sense of wonder and awe at the Ogre’s presence in such a vibrant setting.

