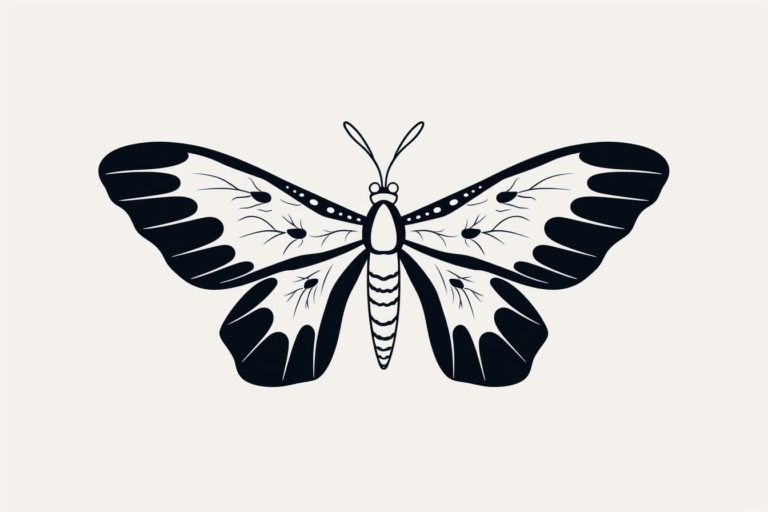
How to Draw a Moth
Drawing can be a great way to express your creativity and enhance your artistic skills. If you are interested in …
We use cookies to help you navigate efficiently and perform certain functions. You will find detailed information about all cookies under each consent category below.
The cookies that are categorized as "Necessary" are stored on your browser as they are essential for enabling the basic functionalities of the site. ...
Necessary cookies are required to enable the basic features of this site, such as providing secure log-in or adjusting your consent preferences. These cookies do not store any personally identifiable data.
Functional cookies help perform certain functionalities like sharing the content of the website on social media platforms, collecting feedback, and other third-party features.
Analytical cookies are used to understand how visitors interact with the website. These cookies help provide information on metrics such as the number of visitors, bounce rate, traffic source, etc.
Performance cookies are used to understand and analyze the key performance indexes of the website which helps in delivering a better user experience for the visitors.
Advertisement cookies are used to provide visitors with customized advertisements based on the pages you visited previously and to analyze the effectiveness of the ad campaigns.
How to Draw Almost Anything
Drawing can be a great way to express your creativity and enhance your artistic skills. If you are interested in …
Drawing is a skill that anyone can learn with practice and guidance. In this step-by-step tutorial, you will learn how …

Whether you’re an aspiring artist or just looking to have some fun, drawing a pretzel can be a delightful and …
Drawing can be both a fulfilling pastime and a valuable skill, and what better way to practice than by creating …

Welcome to this step-by-step tutorial on how to draw an acorn! Whether you’re a beginner or an experienced artist, learning …
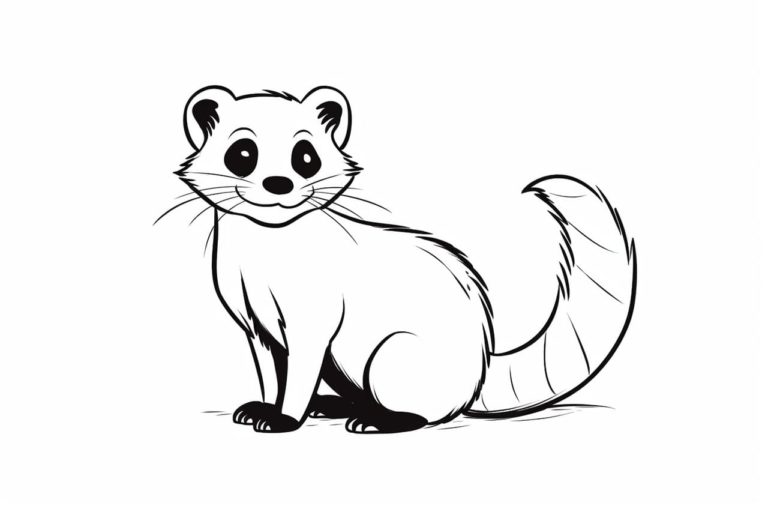
Ferrets are delightfully curious, endlessly energetic, and undeniably cute—qualities that make them a perfect subject for your next drawing adventure. …
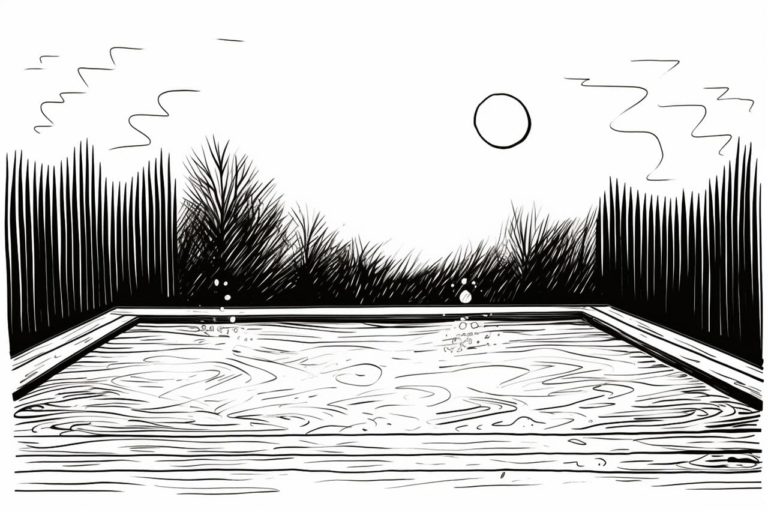
Do you want to learn how to draw a pool? Whether you’re an aspiring artist or just looking for a …
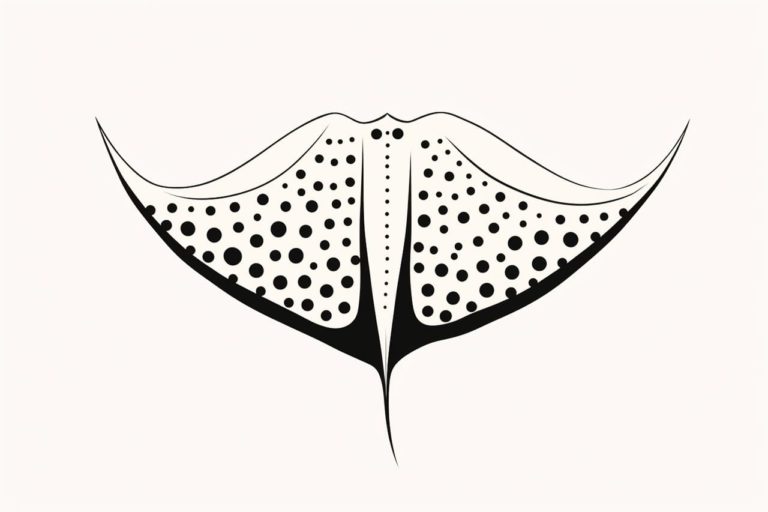
Stingrays are elegant and fascinating creatures that inhabit the ocean waters. With their flat bodies and long, slender tails, they …
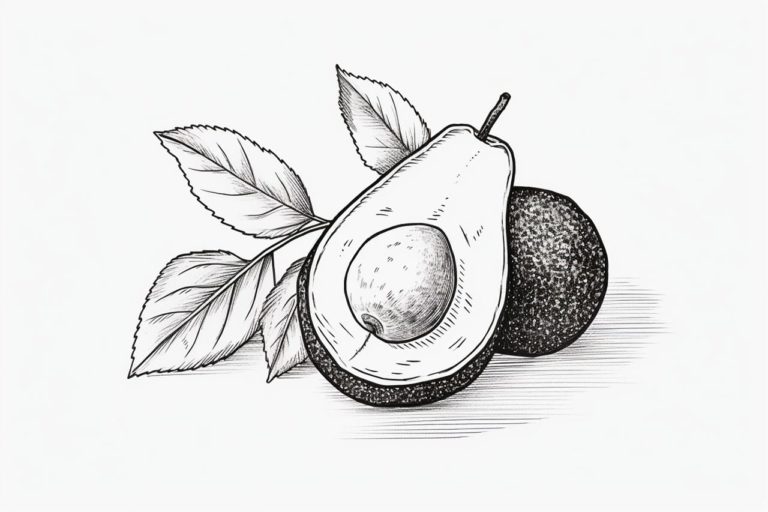
Welcome to this step-by-step guide on how to draw an avocado! Whether you’re a beginner just getting into drawing or …

Welcome to this step-by-step guide on how to draw a nutcracker! In this tutorial, we will break down the process …