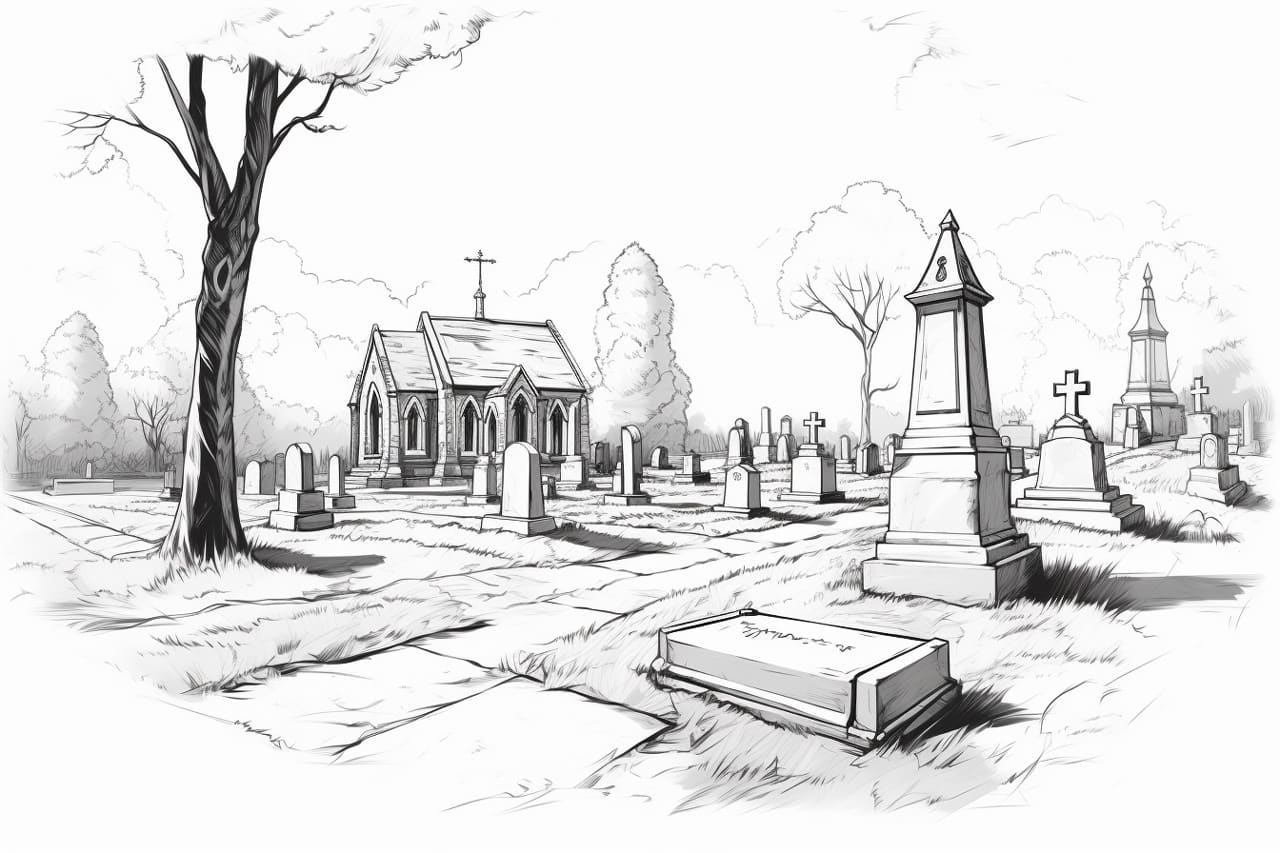
Drawing a cemetery can be a powerful and evocative way to express emotions or capture a spooky atmosphere. Whether you are an experienced artist looking to delve into a new subject matter or a beginner eager to try your hand at drawing, this step-by-step guide will walk you through the process of creating your own cemetery artwork. So grab your drawing materials and let’s get started!
Materials Required
Here are the materials you will need for this drawing:
- Paper: Choose a high-quality drawing paper that can handle your preferred drawing medium. A heavier paper weight, such as 90 lb (or 140 gsm) or higher, works well for most mediums.
- Pencils: Have a set of graphite pencils ranging from light (2H or 4H) to dark (4B or 6B) to achieve different levels of shading and texture in your drawing.
- Erasers: Include both a kneaded eraser for lifting graphite and a regular eraser for making precise corrections.
- Pencil Sharpener: Keep your pencils sharp for detailed and clean lines.
- Drawing Board: Use a drawing board or a hard surface to provide stability for your paper while drawing.
- Reference Photos: Find images of cemeteries that inspire you to use as references during the drawing process.
- Optional: Charcoal or ink pens to add depth and texture to your drawing.
Step 1: Choose Your Composition
Before starting your drawing, decide on the composition of your cemetery scene. Consider the placement of graves, tombstones, trees, and other elements. You can create a focal point by positioning a key feature in the foreground or using leading lines to draw the viewer’s eye. Sketch a light outline to plan the overall arrangement of your drawing.
Step 2: Sketch the Ground
Begin by lightly sketching the ground where the cemetery will be situated. Use gentle strokes to create the contours and shape of the land. Remember to consider perspective and add depth by making the ground closer to the viewer larger than the background.
Step 3: Add Tombstones and Grave Markers
Next, start sketching the tombstones and grave markers. These can come in various shapes and sizes, so experiment with different designs to create an interesting and diverse cemetery. Pay attention to the proportions and angles of the tombstones, making sure they align with the perspective of the drawing.
Step 4: Draw the Details
Once you have the basic shapes of the tombstones, start adding details such as names, dates, and epitaphs. Use a finer pencil or a pen for these small details. Look up reference photos or invent your own inscriptions to add a personal touch to each tombstone.
Step 5: Create a Sense of Depth
To give your drawing depth, add shading and shadows to the tombstones and the ground. Observe the direction of the light source in your reference photo and imagine how it would cast shadows on the elements in your drawing. Use light pencil strokes to gradually build up the shading, focusing on capturing the highlights and darkest areas.
Step 6: Incorporate Trees and Vegetation
Cemeteries are often surrounded by trees and vegetation, which add to the atmosphere. Sketch the trees in the background, making sure to vary their shapes and sizes. Pay close attention to the details of branches, leaves, and the intricate textures they create. Use light pencil strokes to suggest foliage without overwhelming the tombstones.
Step 7: Finalize the Details and Texture
Once you are satisfied with the overall composition and elements of your cemetery drawing, it’s time to focus on smaller details and textures. Add more definition to the tombstones and grave markers by carefully shading and refining the pencil strokes. Highlight and darken certain areas to create a realistic three-dimensional effect. You can also add texture to the ground and foliage by using cross-hatching or stippling techniques with your pencils or pens.
Conclusion
Drawing a cemetery can be a captivating and artistic endeavor. By following these step-by-step instructions, you can create a visually striking piece that evokes a range of emotions. Remember to choose your composition wisely, pay attention to details, and use shading and texture to bring your artwork to life. Let your creativity guide you as you draw, and enjoy the process of capturing the atmosphere and essence of a cemetery on paper.
So, gather your materials, find inspiration in the beauty and mystery of cemeteries, and begin your drawing journey today!


