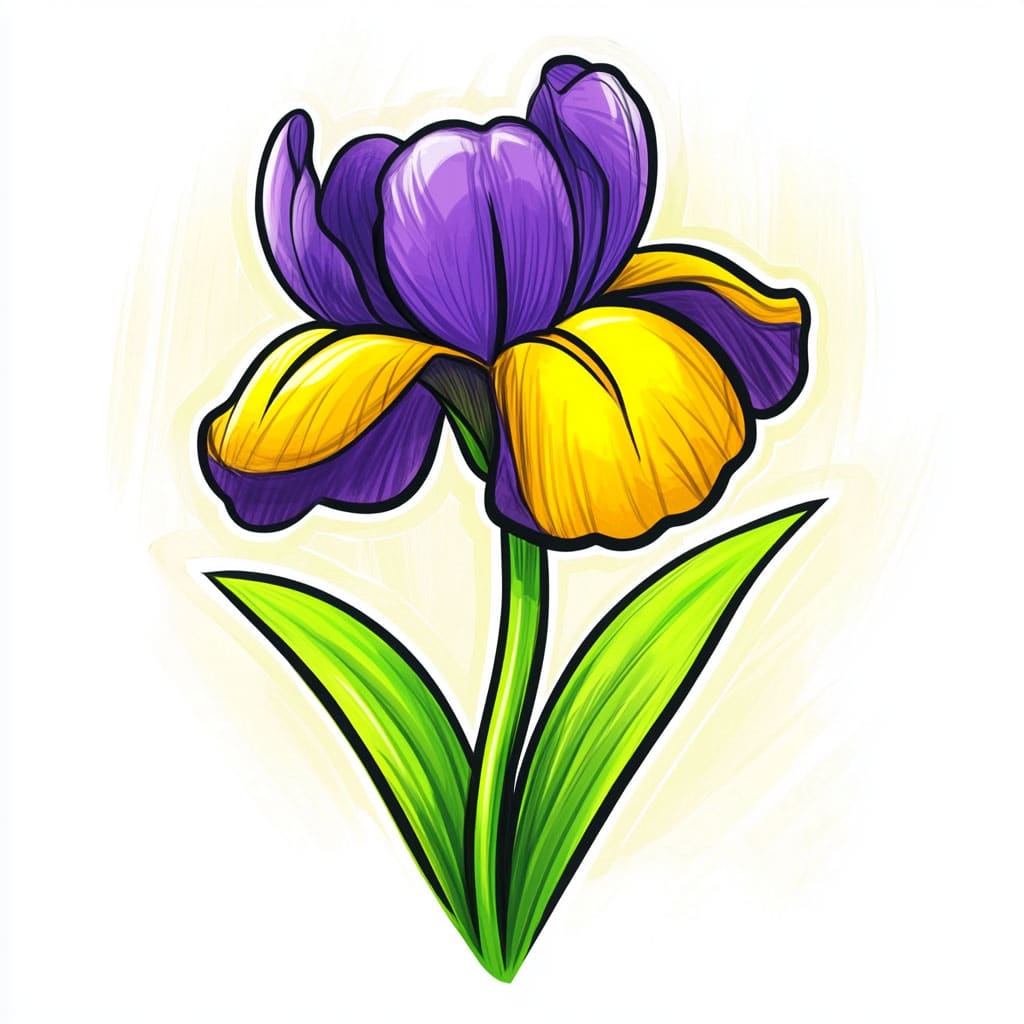
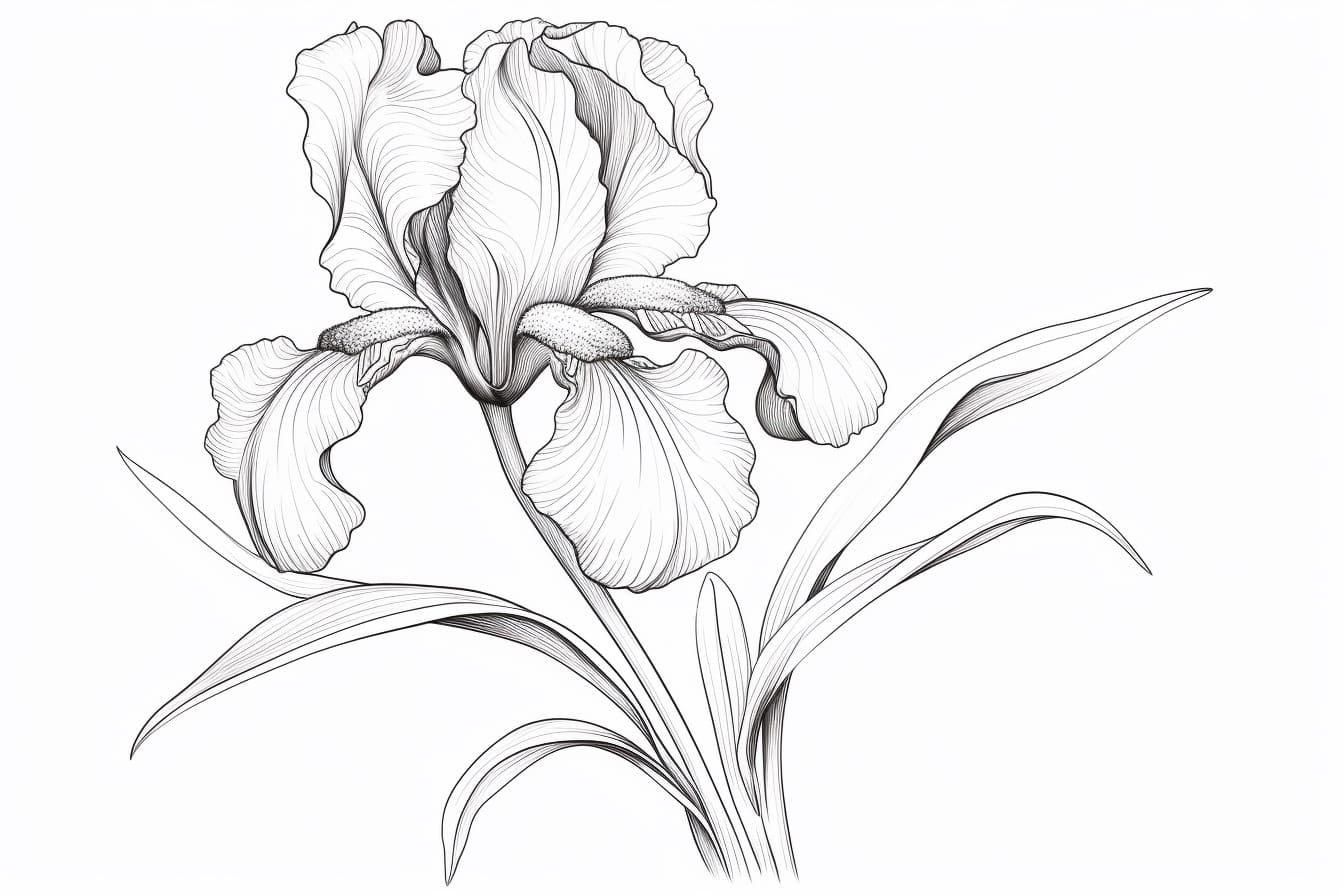
Drawing an Iris flower can be a truly captivating experience, as you delve into the intricate details and enchanting beauty of this elegant bloom. The Iris, with its delicate petals and vibrant colors, offers a wonderful subject for artists of all levels to explore and capture on paper. In this tutorial, we will delve into the step-by-step process of how to draw an Iris flower, from sketching out the basic shapes to adding the intricate details that make this flower so unique. So grab your drawing supplies and let’s embark on a creative journey to bring the beauty of the Iris flower to life on your canvas!

Learn How to Draw Flowers Step-by-Step
This simple and straightforward guide teaches you how to draw many different kinds of flowers with step-by-step instructions. It’s perfect both for total beginners and experienced artists who want to expand their skills.
Materials Required
To draw an iris flower, you will need the following materials:
- Drawing paper or sketchbook
- Pencil (preferably HB or 2B for sketching)
- Eraser (either kneaded or rubber eraser)
- Fine tip black pen or marker (optional for outlining)
- Colored pencils, markers, or watercolor pencils (for adding color)
- Reference image of an iris flower (for guidance)
These materials will help you create a detailed and colorful drawing of an iris flower.
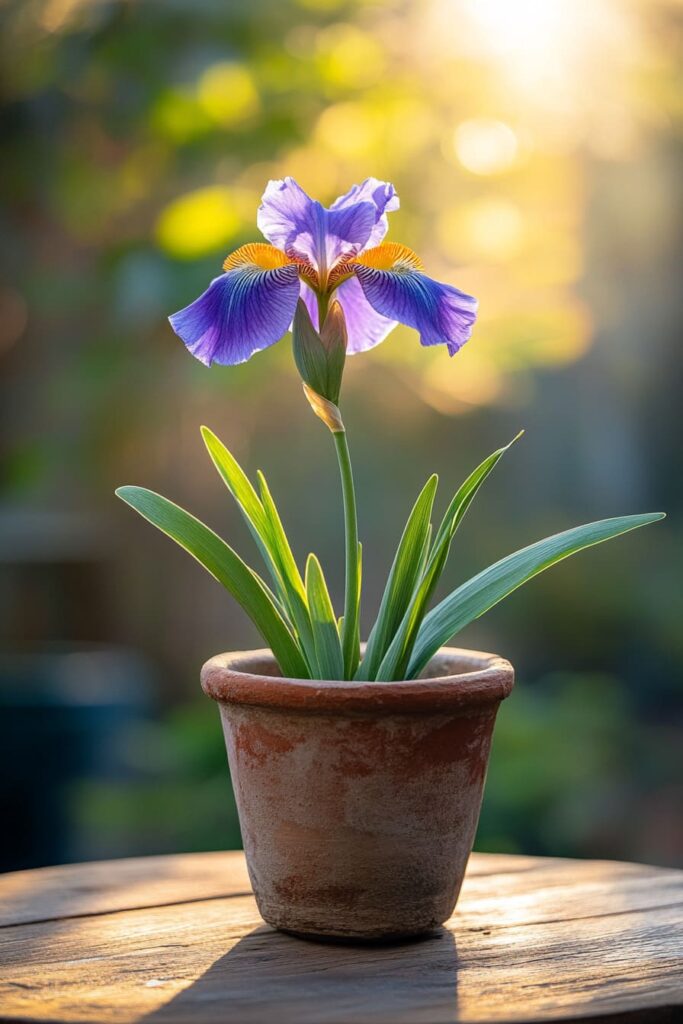
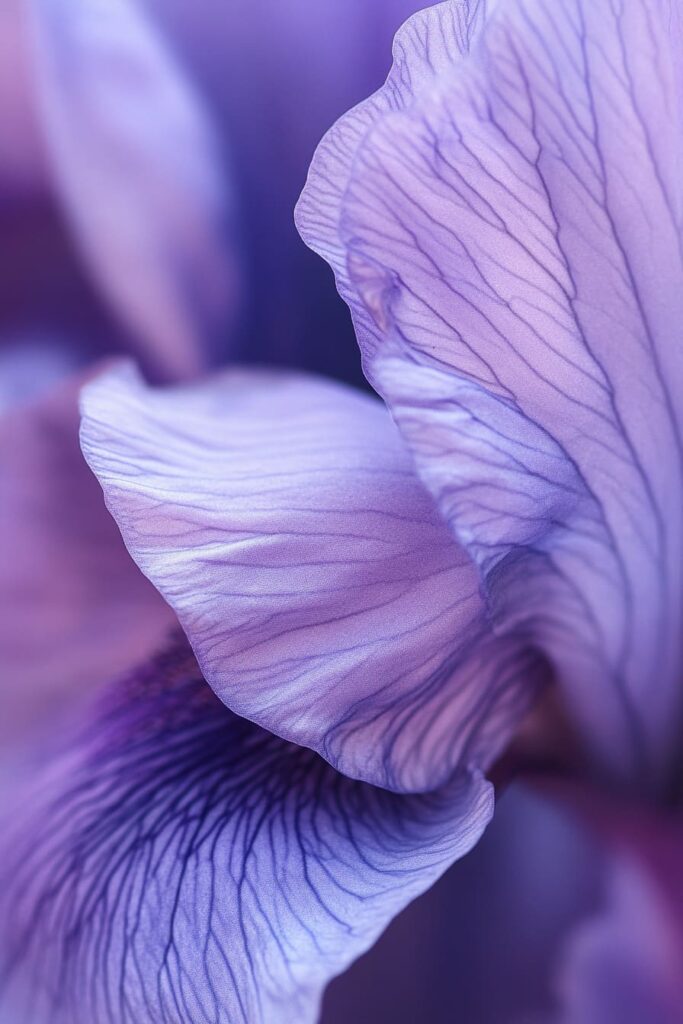
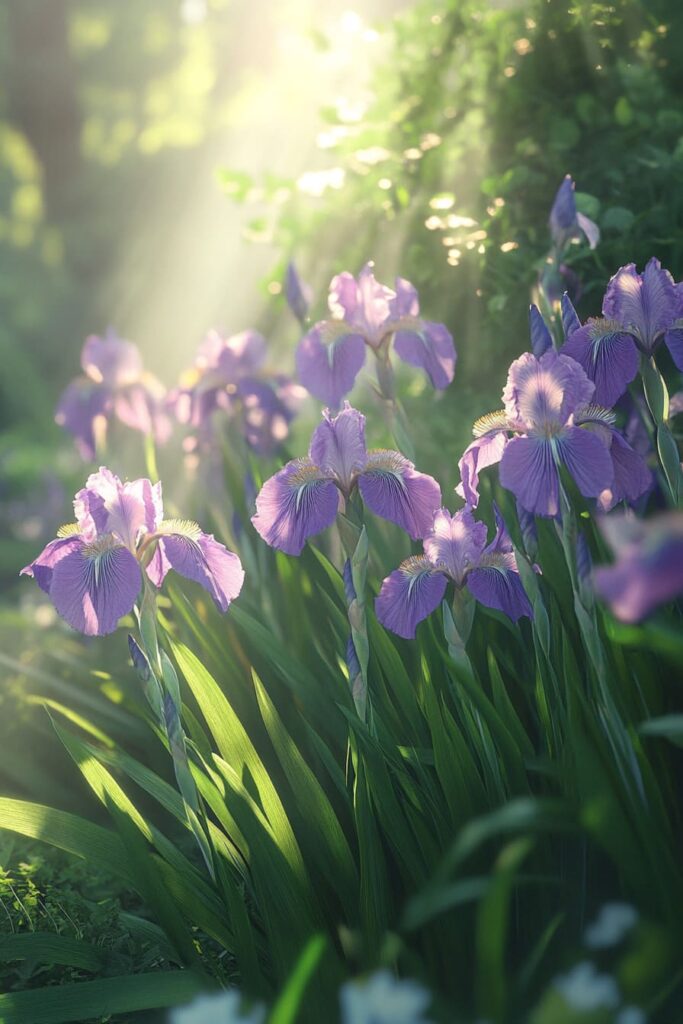
Photo References of an Iris Flower
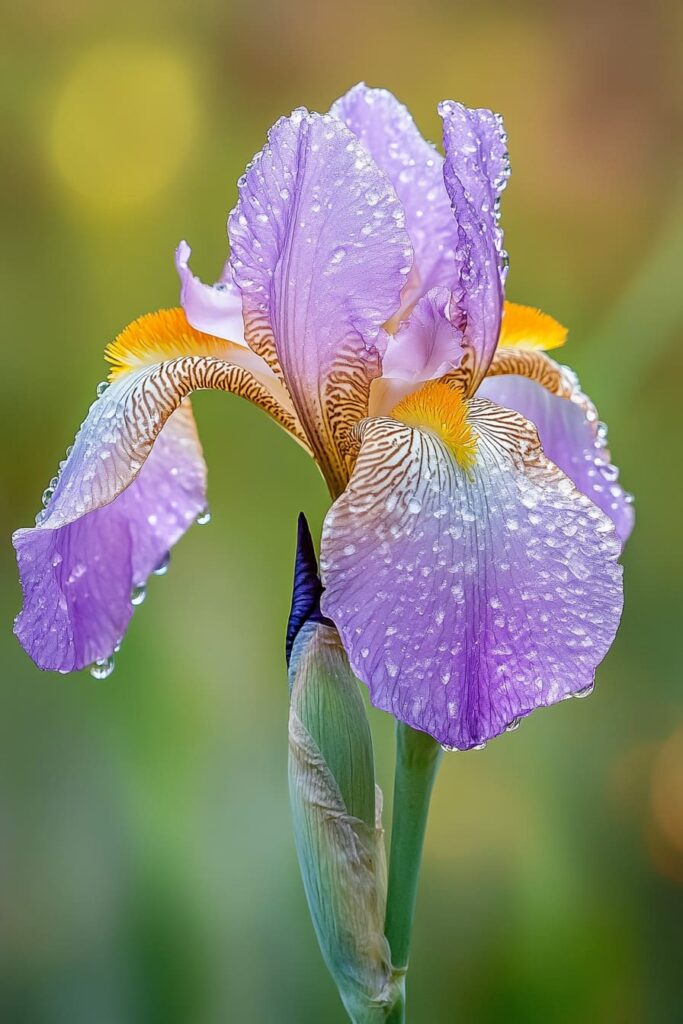
How to Draw an Iris Flower: a Step-by-step Guide
Step 1: Arm Yourself with Art Supplies
First things first, let’s round up the essentials for your Iris flower masterpiece. You’ll need a trusty pencil, a good eraser for those “creative adjustments,” some quality drawing paper, and a set of colored pencils or markers. And don’t forget a reference photo of an Iris flower to guide you—think of it as your floral GPS. If you can find a high-res photo, even better. Set up your workspace with good lighting and maybe a coffee (or tea!) to get you in the zone.
Step 2: Map Out the Flower’s Form
Time to dive in! Start by lightly sketching the Iris’s basic shape. Begin with a simple circle in the center to represent the heart of the flower. Around this circle, add some elongated ovals that radiate outward for the petals. The idea here isn’t perfection; it’s about laying down a rough blueprint so you can visualize the size, shape, and flow of the flower. The Iris has that beautiful, open shape, so keep it loose and natural.
Step 3: Shape Up Those Petals
Now for the fun part—adding character to each petal! Iris petals are distinct: they’re long, slender, and often have pointed, ruffled edges. Start shaping each petal, letting them overlap slightly for that realistic layered effect. Don’t be afraid to add a few gentle curves and soft ripples to the edges. The Iris is a bit of a drama queen in the flower world, so let those petals have some flair.
Step 4: Craft the Center’s Intricate Details
Now let’s zoom in on the Iris’s center, where all the delicate details live. Here, you’ll sketch the stigma and stamen, which add that lovely floral anatomy. These parts are small but mighty—place them carefully, using light lines to keep things delicate. A little shading here will give that three-dimensional look, helping your Iris bloom right off the page. Think of it as giving the flower its personality.
Step 5: Polish Your Sketch
Take a step back and give your sketch a once-over. This is your chance to refine those lines, erase any extra scribbles, and perfect the proportions. Double-check with your reference photo to make sure you’re capturing the Iris’s unique elegance. This refining process is like giving your sketch a mini makeover, cleaning it up and getting it ready for the spotlight.
Step 6: Bring It to Life with Color
Now for the big reveal—color! Iris flowers come in a rainbow of colors, from deep purples and blues to soft pinks and vibrant yellows. Pick your palette, then start by layering light colors as a base. Gradually build up to richer, darker shades, adding depth to the petals. Pay attention to those subtle color shifts—maybe there’s a hint of yellow at the base of a purple petal, or a darker hue along the edges. This is where your Iris really comes to life, each layer adding that touch of realism.
Step 7: Add the Final Flourishes
To wrap things up, add any last details to really make your Iris pop. Maybe a few gentle highlights, a touch of shadow, or even a light background to ground your flower. Consider adding a few blades of grass or leaves to give it context—just enough to complement your main star. Take a step back, give it a final look, and make any tiny tweaks for balance. This step is like giving your Iris a little polish before sending it out into the world.
Step 8: Practice and Play Around
If your Iris didn’t turn out exactly as you envisioned, don’t sweat it! Each drawing is a stepping stone on the path to mastery. Try drawing the Iris from different angles, experimenting with colors, or even sketching different types of Iris flowers. The more you practice, the more you’ll start to see those petals and shapes with an artist’s eye. Nature’s full of inspiration, so get out there and let your skills blossom!
Blooming Wrap-Up: Your Iris Awaits
In conclusion, drawing an Iris Flower can be a rewarding and enjoyable experience for artists of all levels. By following the step-by-step instructions and practicing regularly, you can capture the beauty and intricate details of this elegant flower. Remember to observe the shapes, lines, and colors carefully, and allow your creativity to shine through in your interpretation of the Iris. With patience and dedication, you can create stunning botanical illustrations that showcase your artistic skills and passion for the natural world. Keep practicing and experimenting with different techniques to further enhance your drawing abilities and bring your Iris Flowers to life on paper.
Fun Facts About Iris Flowers
- The name “Iris” is derived from the Greek word for rainbow, which is a fitting name for these flowers that come in a wide range of colors.
- Irises are perennial plants that belong to the Iridaceae family, and there are over 200 species of irises found in nature.
- Irises have been cultivated for thousands of years and have been a popular subject in art and literature throughout history.
- The iris flower has three petals that stand upright, known as “standards,” and three petals that hang down, known as “falls.”
- Irises are known for their distinctive sword-like foliage, which adds a structural element to garden designs even when the flowers are not in bloom.
- Irises are often associated with meanings such as faith, wisdom, courage, and hope, making them popular choices for gifts and decorations with symbolic significance.
- Some irises are fragrant and can add a delightful scent to a garden or floral arrangement.
- Irises are versatile flowers that can be grown in various climates and conditions, making them a popular choice for gardeners around the world.
- Irises have been hybridized extensively, resulting in a wide range of cultivars with different colors, sizes, and bloom times to choose from.
- The iris is the state flower of Tennessee and the national flower of France, symbolizing royalty, power, and majesty in various cultures.
Suggestions for Scenes and Settings for Iris Flower Drawings
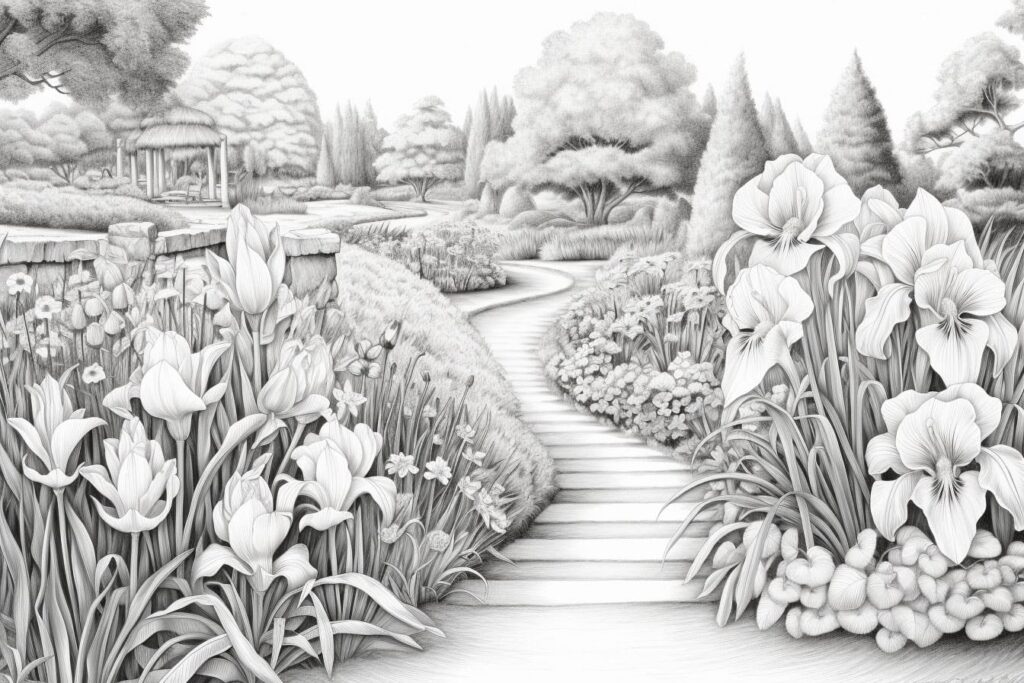
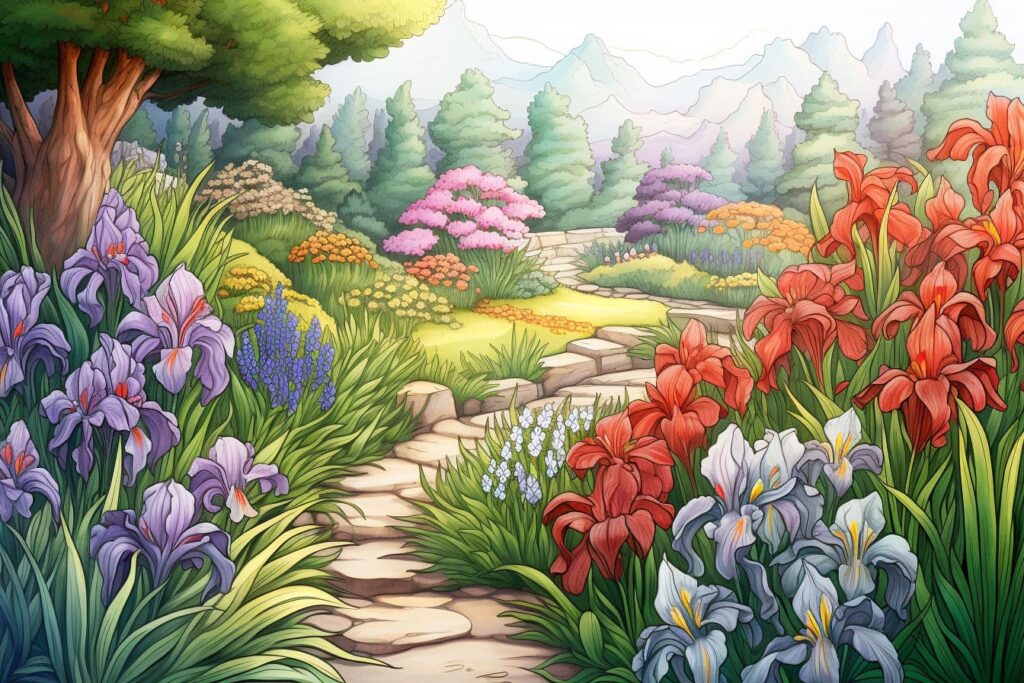
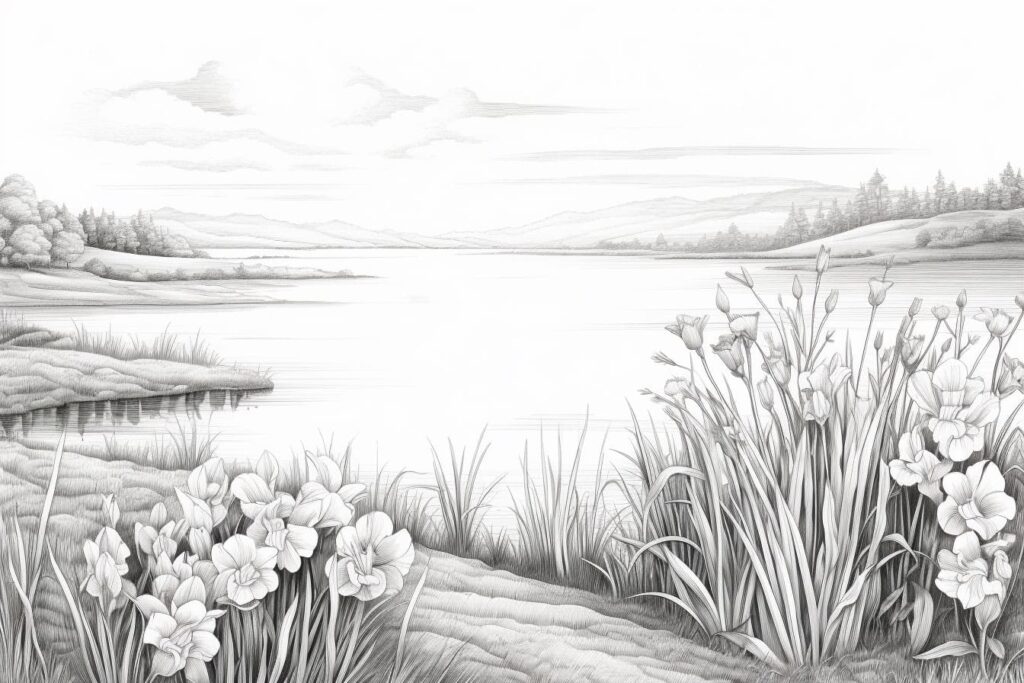
Here are some specific suggestions for scenes and settings for drawings of Iris Flowers:
- Iris Garden: Create a detailed drawing of a lush garden filled with vibrant irises of different colors and sizes. Add a charming stone path winding through the garden to guide the viewer’s eye through the scene.
- Iris Field at Sunset: Depict a serene scene of a vast field covered in blooming irises, with the warm glow of the setting sun casting a golden light over the flowers. Capture the peaceful atmosphere and the beauty of nature.
- Iris Bouquet in a Vintage Vase: Draw a still life composition featuring a bouquet of irises arranged in a vintage vase. Pay attention to the delicate details of the flowers and the ornate design of the vase to create a visually appealing artwork.
- Iris Pond: Imagine a tranquil pond surrounded by tall irises in full bloom. Include reflections of the flowers on the water’s surface and maybe even a few lily pads floating nearby to add interest to the composition.
- Iris Butterfly Garden: Combine the beauty of irises with the whimsy of butterflies in this drawing idea. Picture a garden filled with irises attracting colorful butterflies, creating a lively and enchanting scene.
- Iris Fairy Tale Forest: Let your imagination run wild and create a magical forest scene where irises grow abundantly. Add mystical elements like fairies, unicorns, or other mythical creatures interacting with the flowers to bring the scene to life.
- Iris Botanical Illustration: For a more scientific approach, consider creating a detailed botanical illustration of an iris flower, focusing on accurately depicting its structure and intricate patterns. This type of drawing can be both informative and artistic.
- Iris Abstract Art: Experiment with creating an abstract interpretation of irises using bold colors, geometric shapes, and expressive brushstrokes. Play with different textures and patterns to give your artwork a contemporary and unique look.
I hope these suggestions inspire you to create beautiful drawings of Iris Flowers in various captivating scenes and settings!



 Flower Power