Welcome to this step-by-step guide on how to draw an angel. Whether a beginner or an experienced artist, this tutorial will walk you through creating a beautiful angel drawing. Angels have long been a popular subject in art, symbolizing purity, grace, and protection. So, let’s grab our pencils and get started!
Materials Required
To begin drawing an angel, you will need the following materials:
- Drawing paper or sketchbook
- Pencils (HB, 2B, 4B)
- Eraser
- Ruler
- Fine-tip black pen or marker (optional)
- Colored pencils or markers (optional)
With these materials ready, let’s begin our angel drawing!
Step 1: Sketching the Basic Guideline
Start by lightly sketching a circle for the angel’s head. Then, draw a vertical line down the circle’s center and a horizontal line across the middle. These lines will act as a guide for positioning the facial features. Next, draw a smaller circle below the head for the angel’s body and two lines extending downwards for the legs.
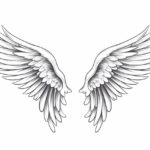
Step 2: Drawing the Wings
Extend two curved lines from the angel’s upper back, forming the wings’ shape. Angels are often depicted with large, feathery wings. Depending on your preference, you can make the wings as elaborate or as simple as you like.
Step 3: Adding the Facial Features
Now, let’s add the facial features to our angel. Start by drawing two almond-shaped eyes along the horizontal guideline. Then, draw a small oval-shaped nose in the center, slightly below the eyes. Below the nose, draw a curved line for the mouth. Finally, add two small circles for the ears, positioned between the eyes and the nose.
Step 4: Sketching the Hair
Angels are often portrayed with flowing, long hair. Sketch the outline of the hair, starting from the sides of the head and extending downwards. You can add more details to the hair later on.
Step 5: Drawing the Body
Using the guideline we drew earlier, sketch the angel’s body. Start by adding the neck, shoulders, and arms. Then, remove the shape of the dress, flowing down from the shoulders. Remember to keep the lines light and loose for now, as we will refine them later.
Step 6: Adding Details to the Wings
Next, let’s add some details to the wings. Angels are typically depicted with feathers on their wings. You can draw curved lines to represent the feathers, starting from the center of each wing and extending outward. Add as many feathers as you like, and feel free to get creative with their placement.
Step 7: Refining the Facial Features
We must refine the facial features now that we have the basic shapes. A darker pencil or pen outlines the eyes, nose, and mouth. Add eyelashes and eyebrows for a more defined look. You can also add some shading around the eyes and on the cheeks to give the angel a gentle, ethereal appearance.
Step 8: Adding Details to the Hair and Dress
It’s time to add more details to the angel’s hair and dress. Use curved lines to create strands of hair, adding volume and texture. You can also draw loose curls or waves to make the hair look more natural. Add folds and creases for the dress to give it a sense of movement.
Step 9: Refining the Body and Wings
Refine the angel’s body and wings by adding more definition and details. A darker pencil or pen outlines the body’s shape and wings. Add more feathers to the wings, paying attention to the direction and flow. You can also add shading to create depth and dimension.
Step 10: Adding Final Touches
Now that we have the main elements in place review your drawing and make any necessary adjustments. Erase any unwanted guidelines or stray lines. Add any final details to enhance the overall look of your angel drawing. You can also use colored pencils or markers to add color if desired.
Conclusion
Congratulations! You have successfully learned how to draw an angel. Following these step-by-step instructions, you have created a beautiful angel drawing that captures the grace and elegance often associated with these celestial beings. Remember, practice makes perfect, so don’t be afraid to experiment and refine your technique. Enjoy the process, and have fun creating your unique angel drawings!
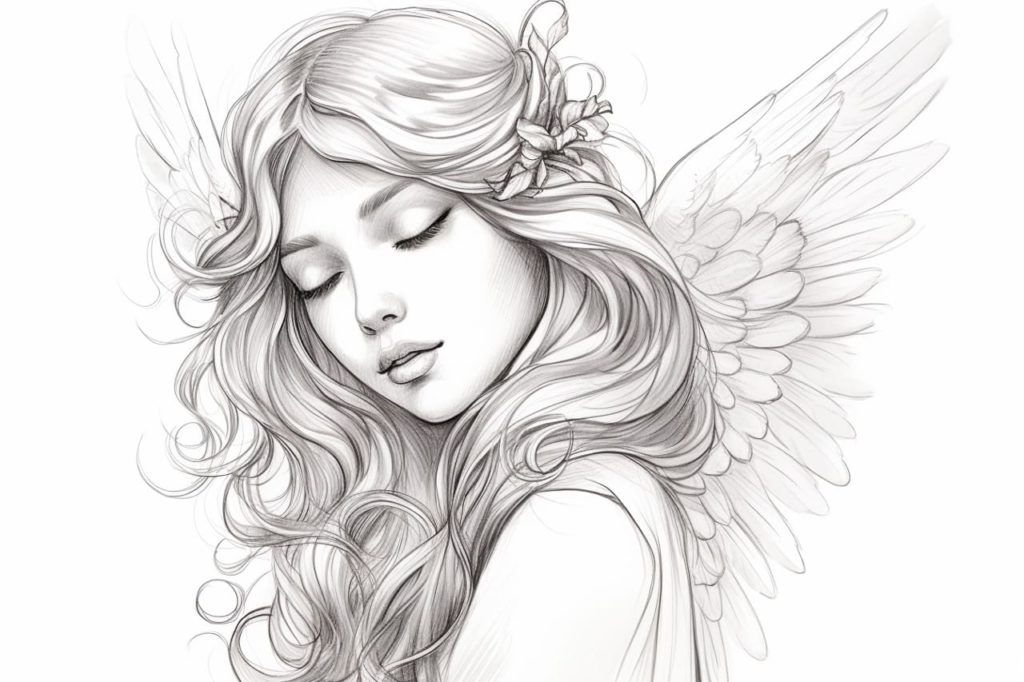
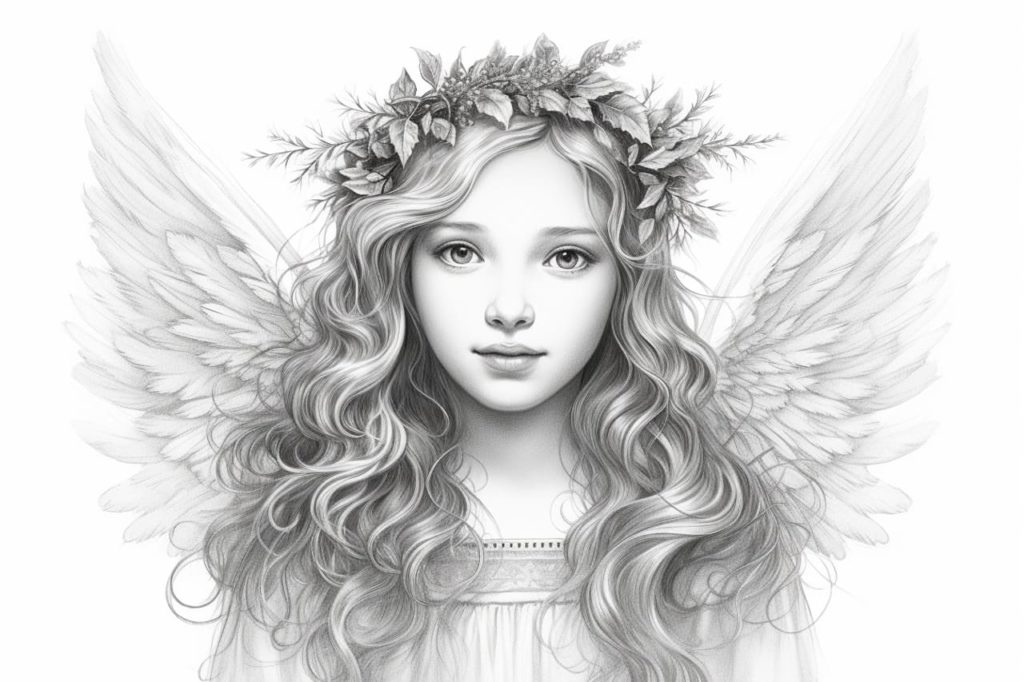
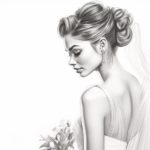
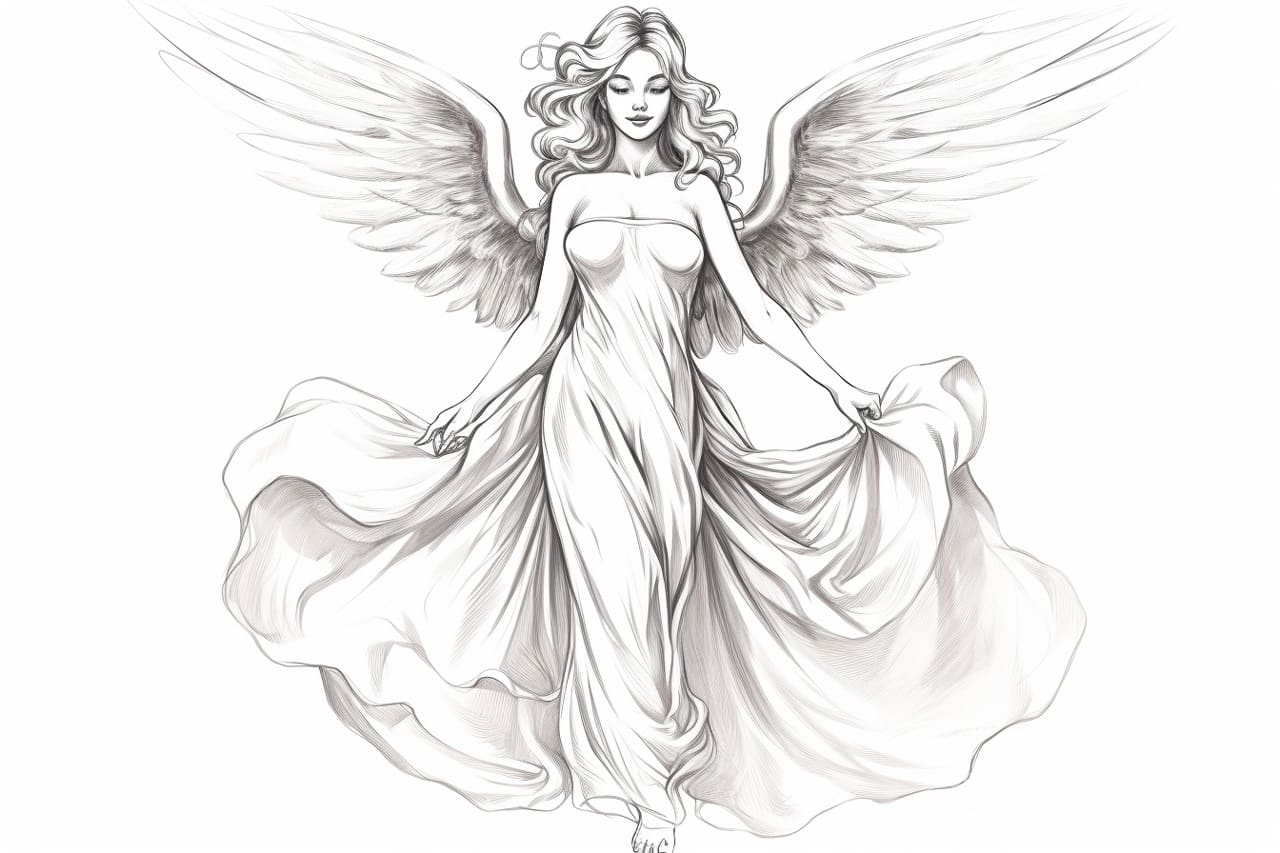
Gallery of Angel Drawings