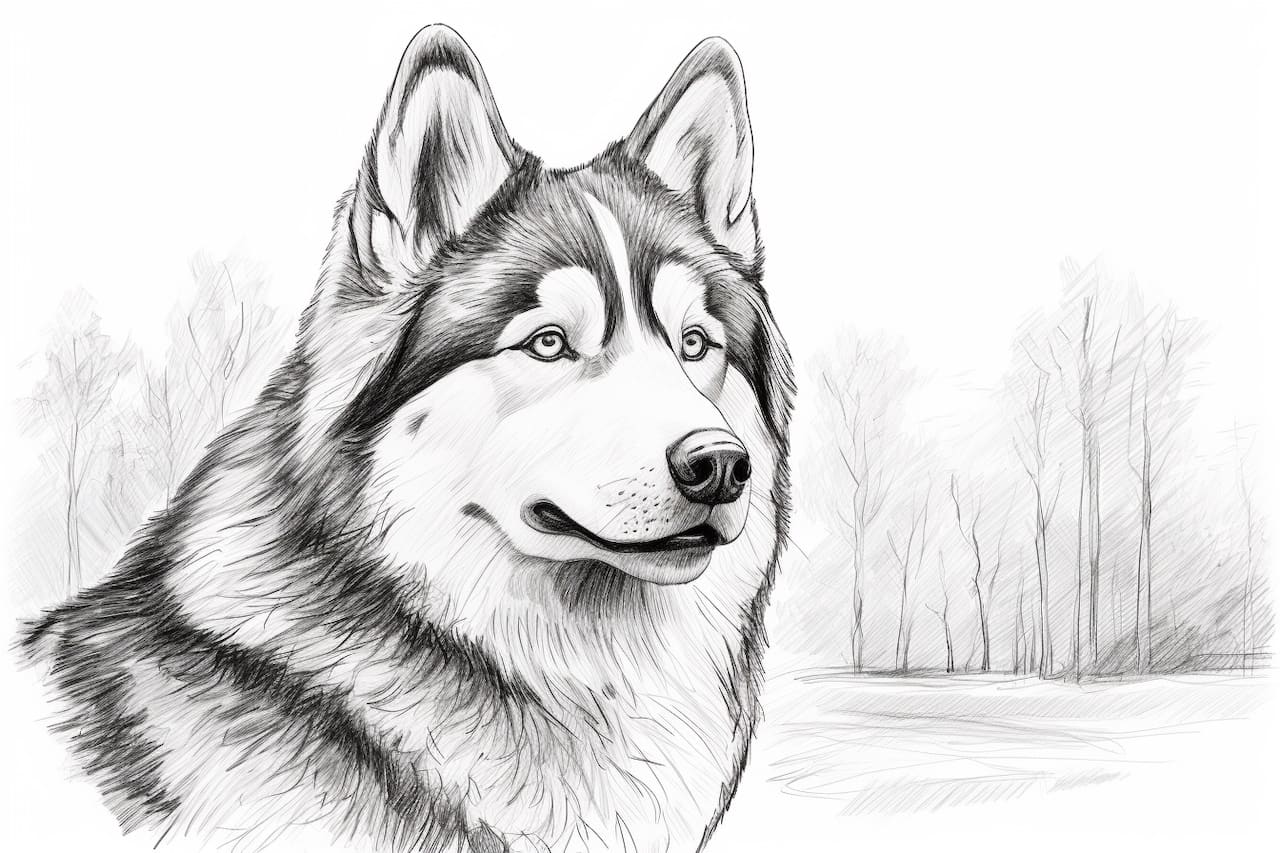
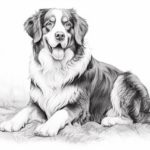
Are you a dog lover and an art enthusiast? If so, you’ll be excited to learn how to draw an Alaskan Malamute. This step-by-step guide will take you through the process of capturing the strength and beauty of this beloved breed on paper. With basic drawing skills and a passion for dogs, you can create a stunning portrait of an Alaskan Malamute that will make any dog lover proud. So, grab your drawing materials, and let’s get started!
Materials Required
Before we begin, let’s gather all the materials you’ll need to draw an Alaskan Malamute:
- Drawing paper: Choose a smooth, heavyweight paper suitable for pencil or charcoal drawings.
- Pencils: Get a range of graphite pencils, including HB, 2B, 4B, and 6B, for shading and adding details.
- Eraser: Have a kneaded eraser or vinyl eraser handy to correct any mistakes.
- Blending tools: A blending stump or tortillion can be used to smudge and soften pencil lines.
- Reference photo: Find a clear, high-resolution photo of an Alaskan Malamute to reference for your drawing.
- Optional: Colored pencils or pastels, if you want to add color to your drawing.
Now that you have all the necessary materials, let’s dive into the step-by-step process of drawing an Alaskan Malamute.
Step 1: Outline the basic shape
Start by lightly sketching an oval shape for the head of the Alaskan Malamute. Add a large circle for the body, connecting it to the head with a curved line. Don’t worry about details at this stage; focus on getting the proportions right.
Step 2: Add the facial features
Now, let’s work on the details of the face. Add two almond-shaped eyes, a triangular nose, and a smiling mouth to give your Malamute a friendly expression. Take your time to get the placement and size of these features just right.
Step 3: Define the ears
Alaskan Malamutes have distinct, triangular ears. Add these to your drawing, making sure they sit upright on top of the head. Pay attention to the angle and position of the ears to capture the breed’s alert and attentive look.
Step 4: Draw the body and limbs
Using the basic shapes as a guide, start adding more definition to the body and limbs of the Alaskan Malamute. Use long, curved lines to indicate the muscular build and strong posture of this breed. Take note of the reference photo to accurately portray the Malamute’s body proportions.
Step 5: Add fur texture and details
Alaskan Malamutes have a thick double coat, so it’s important to capture the texture of their fur in your drawing. Use short, overlapping lines to create the appearance of fur. Pay attention to the direction in which the fur grows and adjust your pencil strokes accordingly. Add details like wrinkles, shading around the eyes, and a fluffy tail to bring your Malamute to life.
Step 6: Refine and add shading
Now that you have the basic outline and details of the Alaskan Malamute, it’s time to add shading to give your drawing depth and dimension. Start by identifying the light source in your reference photo and shade the areas that would be in shadow accordingly. Use a range of pencils to create different values and blend them together with a blending stump for a smooth transition.
Step 7: Add the finishing touches
To complete your drawing, take a step back and assess the overall composition. Make any necessary adjustments to proportions or details. Add any additional shading or highlights to enhance the realism of your Alaskan Malamute. Don’t forget to sign your masterpiece!
Conclusion
Congratulations on successfully drawing an Alaskan Malamute! By following these step-by-step instructions and using your artistic skills, you’ve created a beautiful portrait of this majestic breed. Remember, practice makes perfect, so keep honing your drawing skills and experimenting with different techniques. Whether you’re drawing for personal enjoyment or to share with others, your Alaskan Malamute drawing is sure to impress. Happy drawing!

