Zombies have become extremely popular in recent years, appearing in movies, TV shows, and even video games. If you’re a fan of zombies and want to learn how to draw a zombie face, you’ve come to the right place! In this tutorial, I will guide you through the step-by-step process of creating a terrifying and realistic zombie face. So grab your drawing materials and let’s get started!
Materials Required
To complete this drawing, you will need the following materials:
- Pencil: Use a pencil with a soft lead (such as a 2B or 4B) to create light and dark shading easily. You can also use a mechanical pencil if you prefer.
- Eraser: Have a good quality eraser handy to correct any mistakes or lighten areas too dark.
- Paper: Use a smooth and sturdy paper, such as drawing paper or bristol board, to give your drawing a polished look.
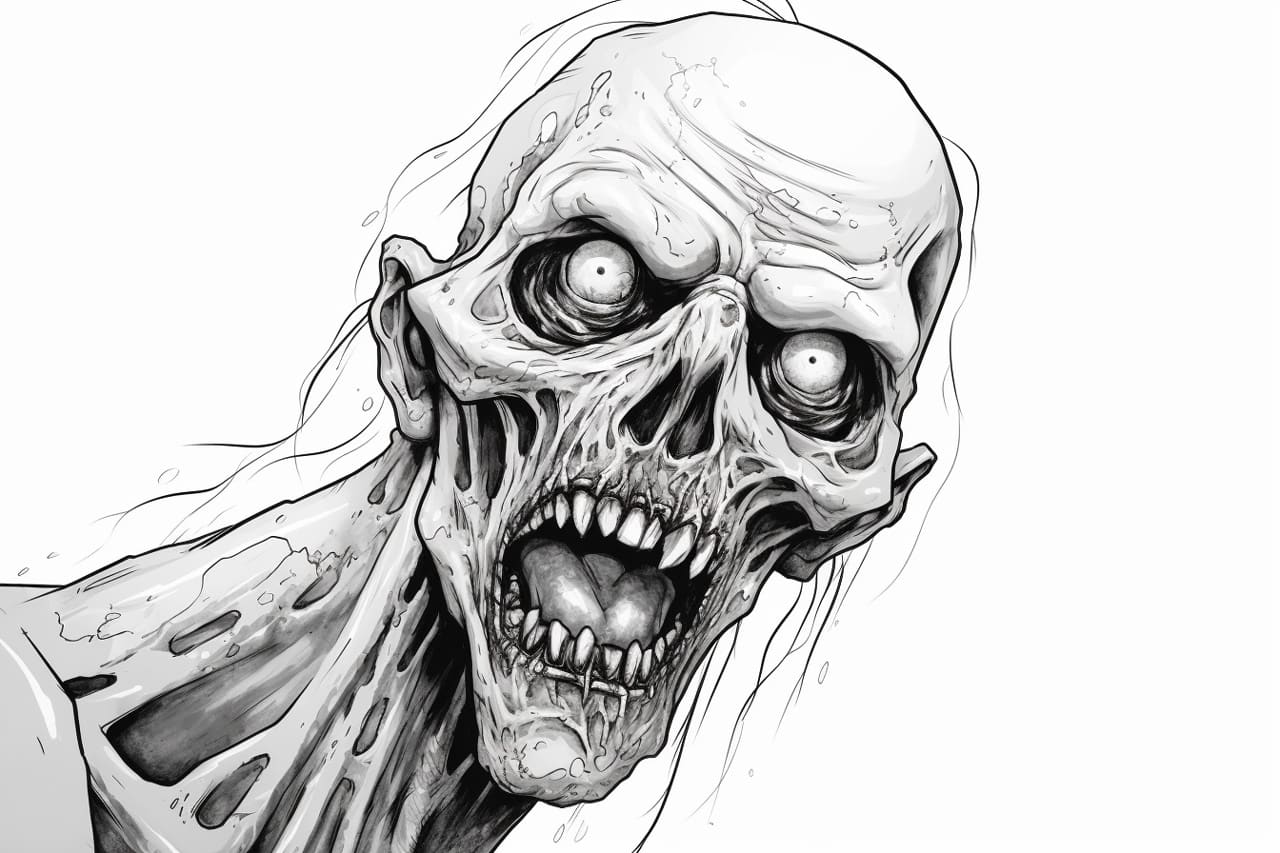
- Reference Image: Find a reference image of a zombie face that you like. You can search online or use a zombie character from a movie or TV show as inspiration.
Now that you have your materials ready, let’s dive into the step-by-step process of drawing a zombie face!
Step 1: Sketch the Basic Shape
Start by lightly sketching the basic shape of the head using simple shapes like ovals or circles. Zombies often have distorted and decayed features, so don’t worry about making it look perfect. Use light lines to keep it loose and easy to adjust.
Step 2: Add Facial Features
Next, add the facial features of the zombie. Start with the eyes, keeping in mind that zombies typically have sunken and bloodshot eyes. Add some wrinkles, scars, or other details around the eyes to enhance the zombie look. Then, sketch the nose, which can be rotting or missing parts. Finally, draw the mouth, giving it a wide and menacing grin with sharp or missing teeth.
Step 3: Create Depth with Shadows
You need to add shadows to make your zombie face look more three-dimensional. Start by identifying the main light source in your reference image. Then, shade the areas that are away from the light source, such as under the eyes, around the nose, and in the mouth. Use a darker pencil or apply more pressure to create darker shadows. Gradually build up the shading, keeping it lighter in areas closer to the light source.
Step 4: Bring out the Decay
Zombies are known for their decaying appearance, so let’s bring that to life in your drawing. Sketch some cracks or peeling skin on the face, especially around the forehead, cheeks, and chin. You can also add some exposed bone or missing flesh to give it a more gruesome look. Be creative and don’t be afraid to experiment with different textures and levels of decay.
Step 5: Detail the Features
Now it’s time to add more details to your zombie face. Look closely at your reference image and add any additional features such as scars, stitches, or patches of exposed muscle. Pay attention to the texture and make your lines and shading match the underlying structure. Remember, the more details you add, the more realistic and terrifying your zombie face will become.
Step 6: Refine and Adjust
Take a step back and look at your drawing as a whole. Assess the proportions, shapes, and details. Make any necessary adjustments to ensure that everything looks balanced and realistic. You can use your eraser to lighten any areas that are too dark or correct any mistakes that you notice.
Conclusion
Drawing a zombie face may seem challenging at first, but with some practice and patience, you can create a terrifying and realistic masterpiece. Remember to start with a basic shape, add facial features and shadows, bring out the decay, detail the features, and refine your drawing. Keep experimenting and adding your unique touch to make your zombie face truly stand out. Happy drawing, and enjoy bringing your undead creation to life!