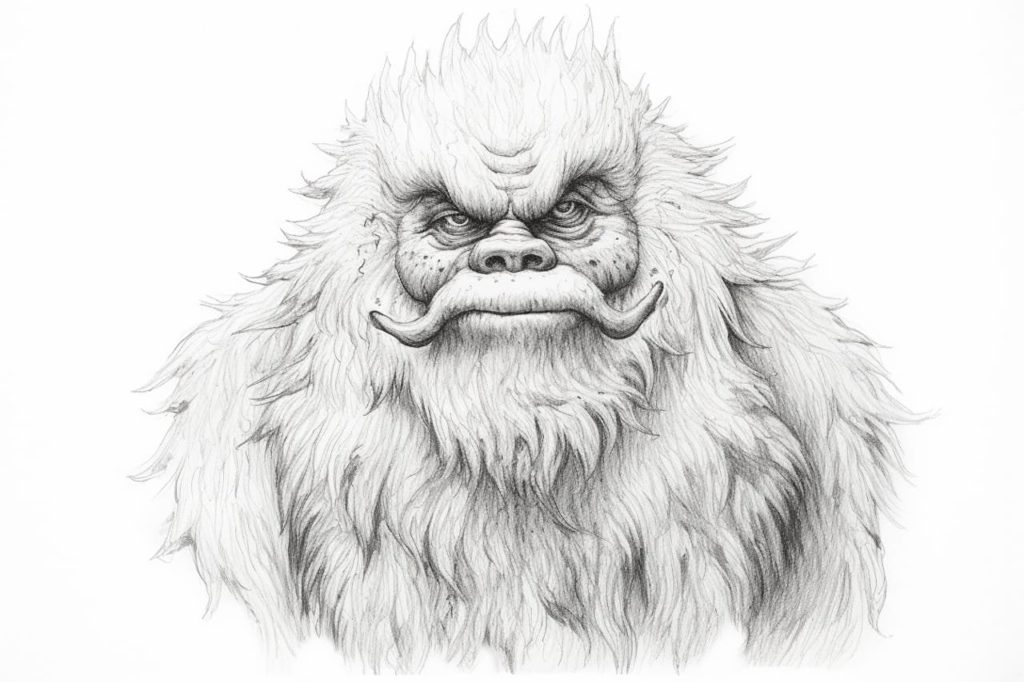
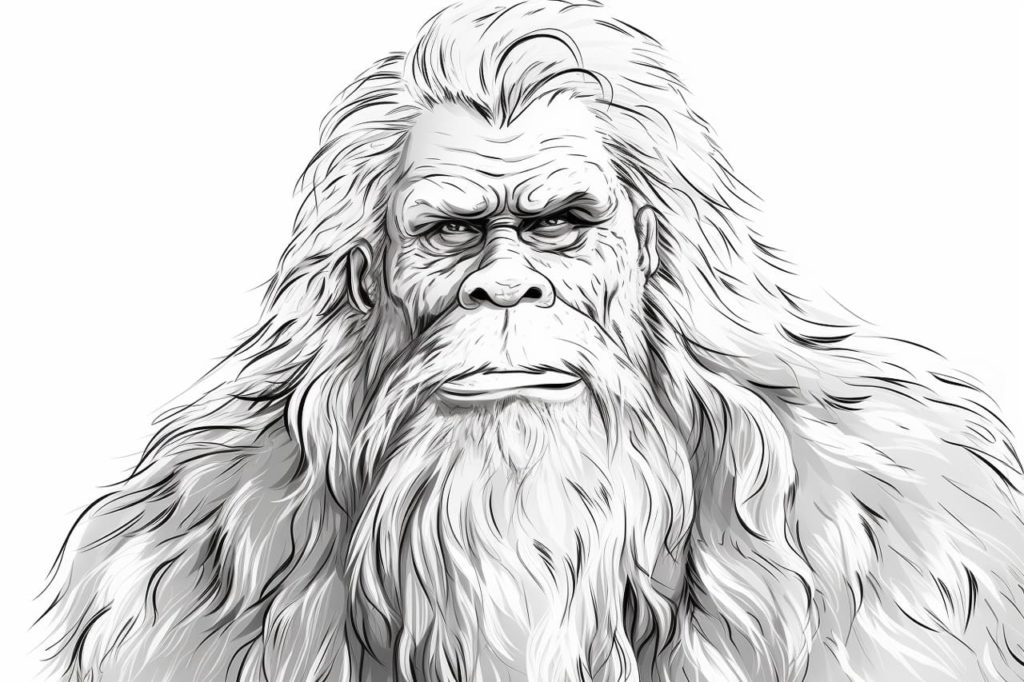
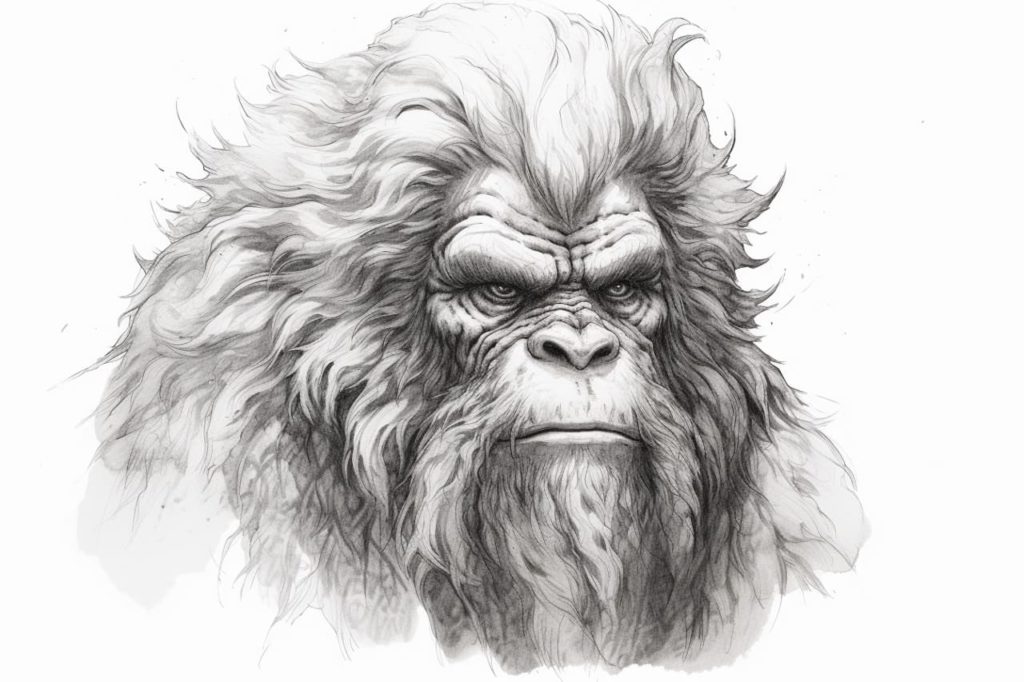
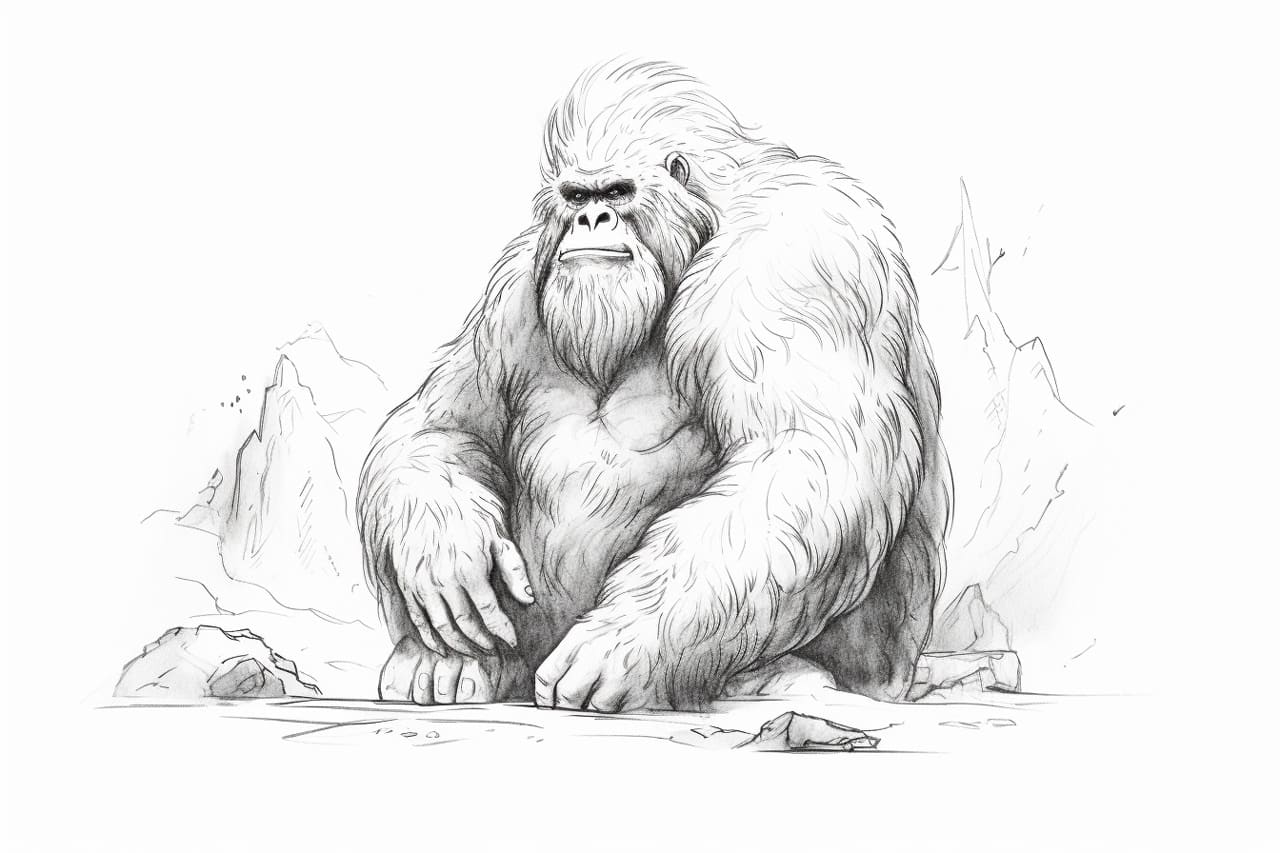
Welcome to this step-by-step guide on how to draw a yeti! Whether you’re an experienced artist or just a beginner, this tutorial will help you create an adorable and charming image of this legendary creature. So grab your art supplies and let’s get started!
Materials Required
Before we begin, gather the following materials:
- Pencil
- Eraser
- Drawing paper
- Fine-tip marker or pen
- Colored pencils or markers (optional)
Now that you have your materials ready, let’s dive into the steps!
Step 1: Basic Shape
Start by sketching a large oval shape in the center of your paper. This oval will form the yeti’s body. Don’t worry about making it perfect at this point – just make sure it’s proportionate to the size of the yeti you want to draw.
Step 2: Head and Face
Draw a smaller oval shape at the top of the body, slightly overlapping with it. This will be the yeti’s head. Then, sketch two circles inside the head to represent the eyes. Place them evenly apart and slightly towards the outer edges of the head. Add a small curved line below the eyes to create the yeti’s nose.
Step 3: Ears and Hair
On each side of the head, draw two curved lines that extend upwards to form the yeti’s ears. Add some jagged lines inside the ears to give them a furry texture. Next, draw a few hair-like strokes on top of the yeti’s head to create a sense of shaggy fur. Remember to keep the lines loose and uneven to achieve the desired effect.
Step 4: Body Details
Now it’s time to add some details to the yeti’s body. Draw two small circles towards the bottom of the oval to serve as the yeti’s feet. Then, sketch two curved lines on either side of the body to create the arms. Add small ovals at the end of each arm to represent the hands. To complete the body, draw a curved line connecting the feet.
Step 5: Face Details
Refine the yeti’s face by adding more details. Draw two small dots inside the eyes to form the pupils. Above the eyes, sketch two curved lines that meet in the middle to create the yeti’s distinctive brow line. Add a curved line below the nose to indicate the mouth. You can also add a few short lines on either side of the mouth to represent the yeti’s teeth.
Step 6: Fur Texture
To give the yeti a furry texture, draw short, curved lines all over its body. Pay attention to the direction of the lines and vary their length and thickness to create a more realistic effect. Take your time with this step, as it can greatly enhance the overall appearance of your drawing.
Step 7: Finalizing the Outline
Once you are satisfied with the basic shape and details of your yeti, carefully go over the lines you want to keep with a fine-tip marker or pen. This will help your drawing stand out and make it easier to erase any unwanted pencil marks later on.
Step 8: Color (optional)
If you prefer a colored yeti drawing, use your favorite colored pencils or markers to bring it to life. Experiment with different shades and textures to achieve the desired look. Remember to have fun and let your creativity shine through!
Conclusion
Congratulations! You have successfully learned how to draw a yeti step-by-step. By following these instructions and adding your personal touch, you can create an adorable yeti illustration that captures the imagination. We hope you enjoyed this tutorial and feel inspired to explore your artistic abilities further. Happy drawing!
Gallery of Yeti Drawings
