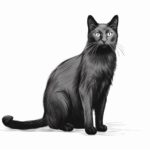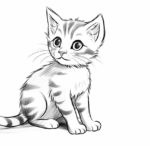
Welcome to this step-by-step tutorial on drawing a cat face! Whether you’re an experienced artist looking to practice your skills or a beginner wanting to learn how to draw, this guide will provide you with easy-to-follow instructions to create a cute and realistic cat face. So grab your materials, follow along, and soon you’ll be creating adorable cat drawings!
Materials Required
Before we begin, make sure you have the following materials ready:
That’s it! With just these basic materials, you’ll be all set to start drawing your cat face.
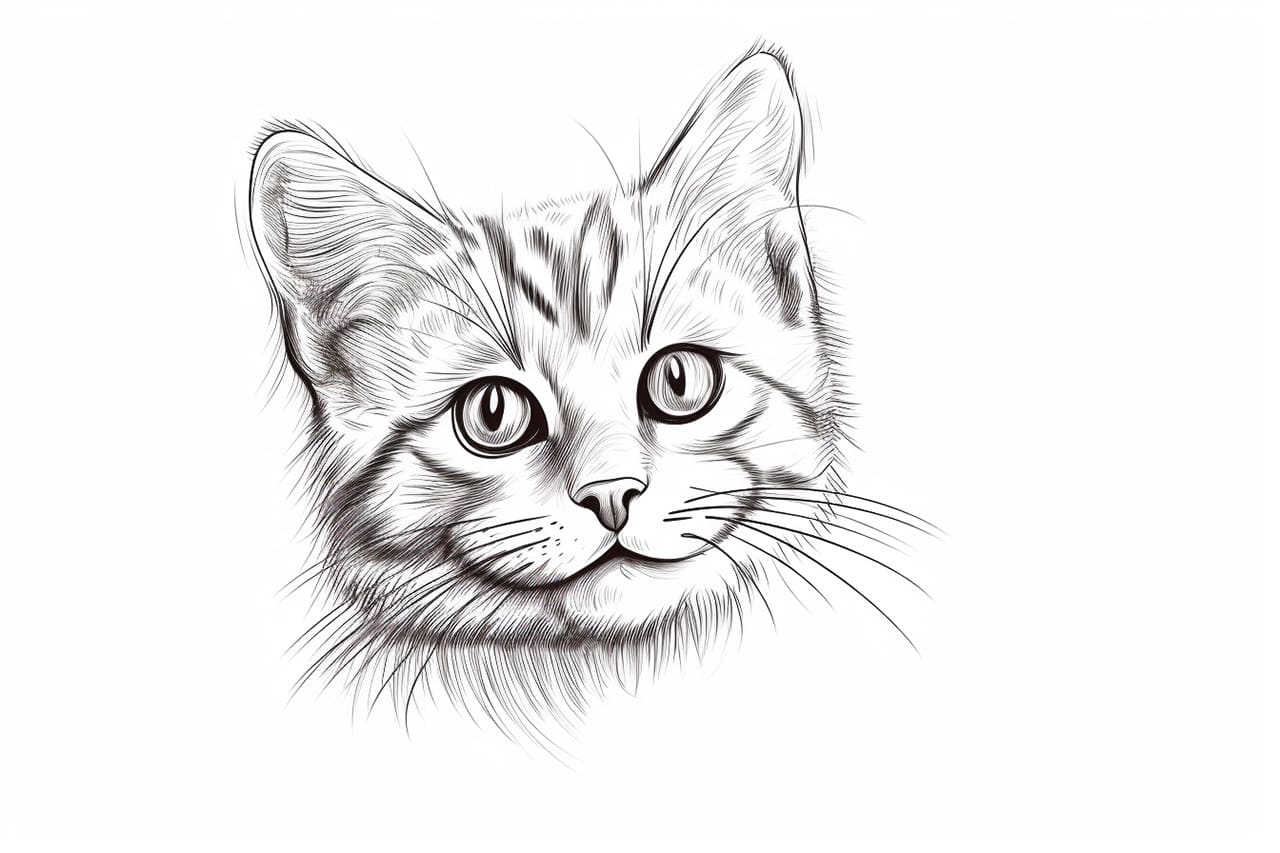
Step 1: Draw the Outline of the Head
Begin by drawing a lightly curved horizontal line across the center of your paper. This line will serve as a guide for positioning the different elements of the cat face. Now, draw two curved lines extending from each end of the horizontal line, creating an oval shape. This oval will be the outline of the cat’s head.
Step 2: Add the Ears
Next, at the top of the oval, draw two triangle shapes that will represent the cat’s ears. Make sure to position them symmetrically on each side of the head. The size and shape of the ears can vary depending on the cat breed you want to draw. For a typical cat face, triangular ears are a good choice.
Step 3: Draw the Eyes
Moving on to the eyes, place two circles within the oval, one on each side. These circles should be slightly oval-shaped, and you can make them as big or small as you like. Leave some space between the eyes to give your cat a more realistic look. Once the circles are drawn, add smaller circles inside them to represent the pupils.
Step 4: Add the Nose and Whiskers
Now it’s time to draw the cat’s nose. At the center of the face, just below the eyes, draw an upside-down triangle. This will form the base of the nose. Then, add a small curved line at the top of the triangle to complete the nose shape.
Next, draw three curved lines on each side of the nose to represent the cat’s whiskers. These lines should extend outward, creating a fan-like shape. Make sure to draw them on both sides of the nose to maintain symmetry.
Step 5: Create the Mouth and Chin
Below the nose, draw a slightly curved line to form the mouth of the cat. You can choose to make the mouth open or closed, depending on the expression you want to give your cat. If you prefer a closed mouth, simply draw a small curved line to indicate the lips. For an open mouth, draw a wider, curved line.
To complete the face, draw a curved line under the mouth to represent the cat’s chin. This line should connect to the bottom of the oval shape you drew in the first step.
Step 6: Add Details to the Eyes
To make the eyes more expressive, add some details. Draw small curves above and below each eye to indicate the eyelids. You can also add a small shaded area at the top of each eye to give a sense of depth. Don’t forget to erase any unwanted lines or guide marks once you’re done.
Step 7: Draw the Fur and Whiskers
Now it’s time to add some fur texture to your cat’s face. Starting from the outline of the head, draw short and quick strokes outward. These strokes should be irregular and vary in length to create a natural fur appearance. Continue this technique throughout the entire head, including the ears.
To finish off the drawing, darken the whiskers and add some extra details if desired. You can add more lines and strokes to enhance the fur texture or use colored pencils or markers to bring your cat to life with color!
Conclusion
Congratulations! You have successfully learned how to draw a cat face. By following these step-by-step instructions, you can now create adorable cat drawings with ease. Remember to practice regularly to improve your skills and try experimenting with different cat breeds or expressions.
Drawing a cat face can be a delightful and rewarding experience, allowing you to capture the beauty and charm of these beloved animals. So grab your pencil and paper, and enjoy the art of creating cute cat faces!