Are you interested in learning how to draw a fish tank? Creating a realistic and detailed fish tank drawing can be a fun and rewarding artistic project. With a few simple steps, you can bring to life a vibrant underwater world filled with colorful fish, aquatic plants, and bubbling water.
In this step-by-step tutorial, we will guide you through the process of drawing a fish tank. Whether you are a beginner or an experienced artist looking to refine your skills, this guide will help you create a stunning fish tank drawing.
Materials Required
To get started, gather the following materials:
- Drawing paper or sketchbook
- Pencil (preferably HB or 2B)
- Eraser
- Fine-tipped markers or colored pencils
- Ruler
- Compass
With these materials ready, let’s dive into the steps of drawing a fish tank.
Step 1: Sketch the Outline
Begin by lightly sketching the outline of the fish tank on your drawing paper. Use your ruler to create straight lines for the top, bottom, and sides of the tank. You can choose any size or shape for your tank, depending on your creative vision.
Step 2: Add the Base
Next, draw the base of the fish tank. This is the bottom part where the water will sit. Make sure to draw it proportionally to the size of the tank. Use your ruler to create straight lines if needed.
Step 3: Draw the Waterline
Now, draw the waterline inside the tank. This is where the surface of the water will be. Keep in mind that the waterline should be slightly curved to create a realistic effect. Use your ruler to draw this line accurately.
Step 4: Add Decorations
To make your fish tank more interesting, add some decorations. These can include rocks, corals, or plants. Use your imagination and place them strategically within the tank. Sketch them lightly, so you can make changes if needed.
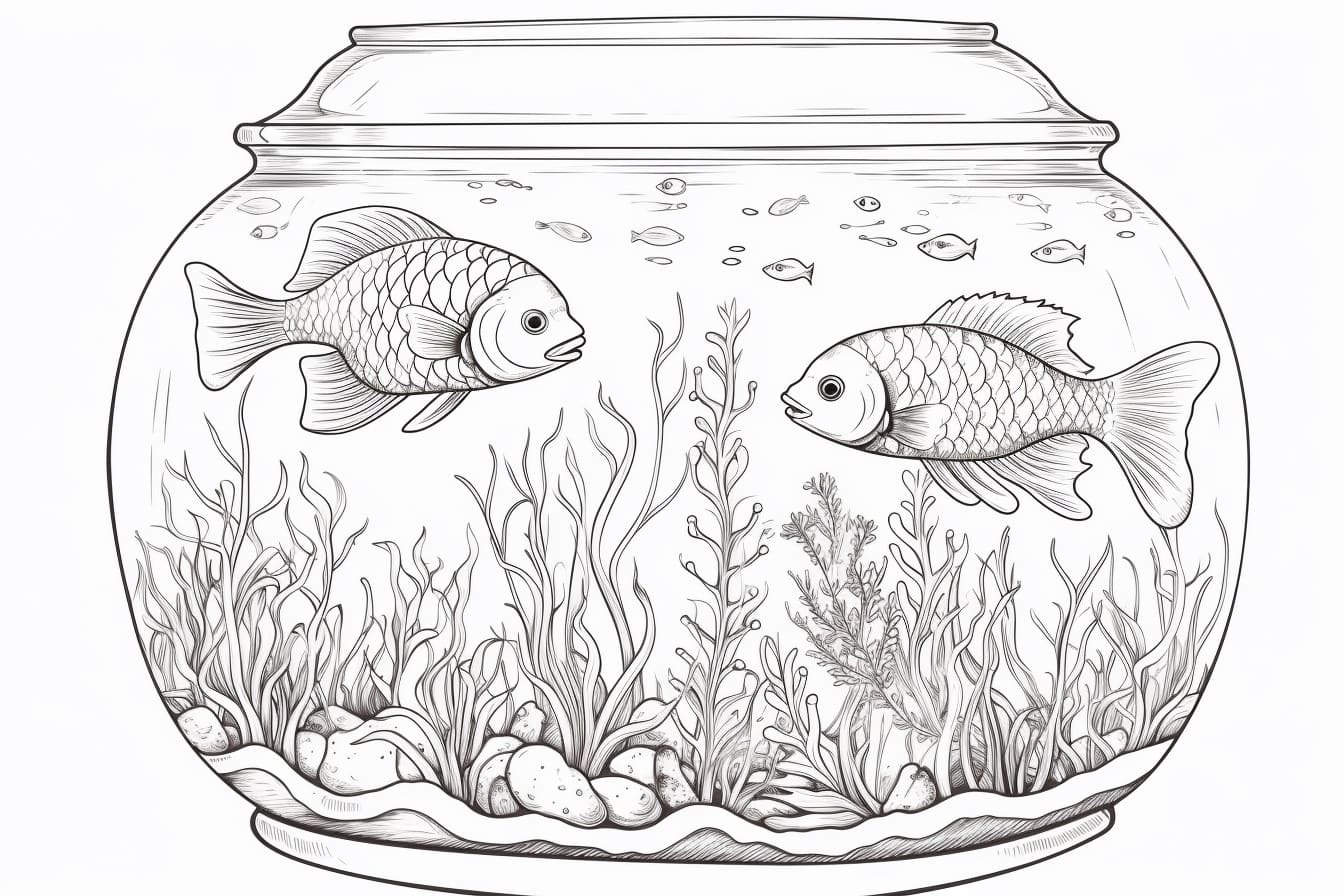
Step 5: Draw the Fish
The most exciting part! Draw the fish swimming inside the tank. Start by sketching their bodies using basic shapes like ovals or triangles. Then, add the fins, tail, and details to each fish. You can draw multiple fish of different shapes, sizes, and colors to create a lively scene.
Step 6: Add Details
Now, it’s time to add details to your fish tank drawing. Use your pencil to create shading and texture to give depth and dimension to the fish, decorations, and tank. Focus on areas where shadows and highlights would naturally occur.
Step 7: Outline with a Marker or Colored Pencil
Once you are satisfied with your pencil drawing, it’s time to outline it with a fine-tipped marker or colored pencil. This will make your drawing more defined and polished. Start by outlining the tank, then the decorations, and finally the fish.
Step 8: Erase the Pencil Lines
Once the ink or colored pencil has dried, carefully erase any remaining pencil lines. Take your time and be gentle to avoid smudging or damaging your drawing.
Step 9: Add Color
Finally, it’s time to bring your fish tank to life with color. Use your markers or colored pencils to add vibrant shades to the fish, decorations, and plants. Play with different color combinations and techniques to create a visually appealing and realistic effect.
Congratulations! You have successfully created a beautiful fish tank drawing. We hope this tutorial has inspired you to explore your artistic abilities and create many more stunning works of art.
Conclusion
Drawing a fish tank can be a delightful and creative experience. By following these step-by-step instructions, you have learned how to create a realistic and eye-catching fish tank drawing. Remember to have fun, experiment with different techniques, and let your imagination swim freely.
So gather your materials and start sketching your own underwater world today!