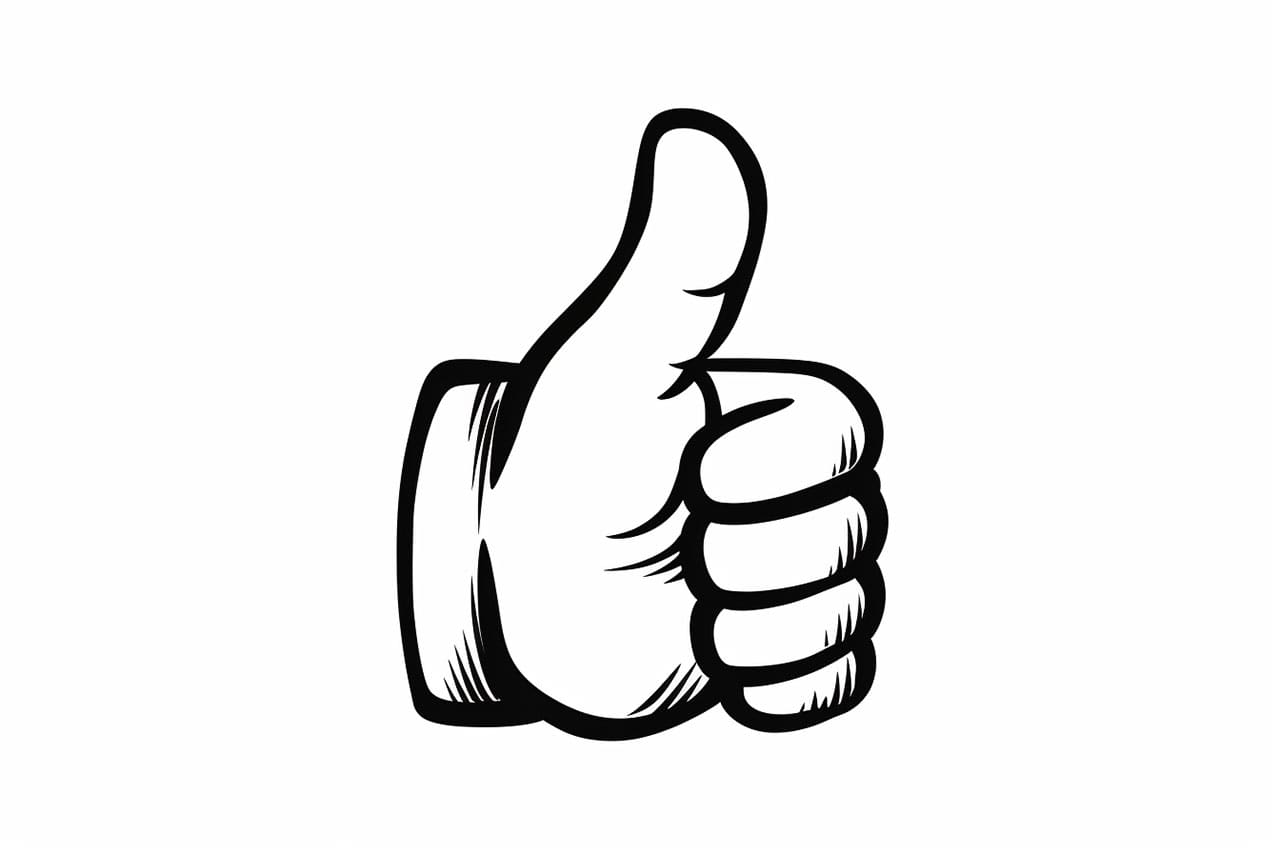
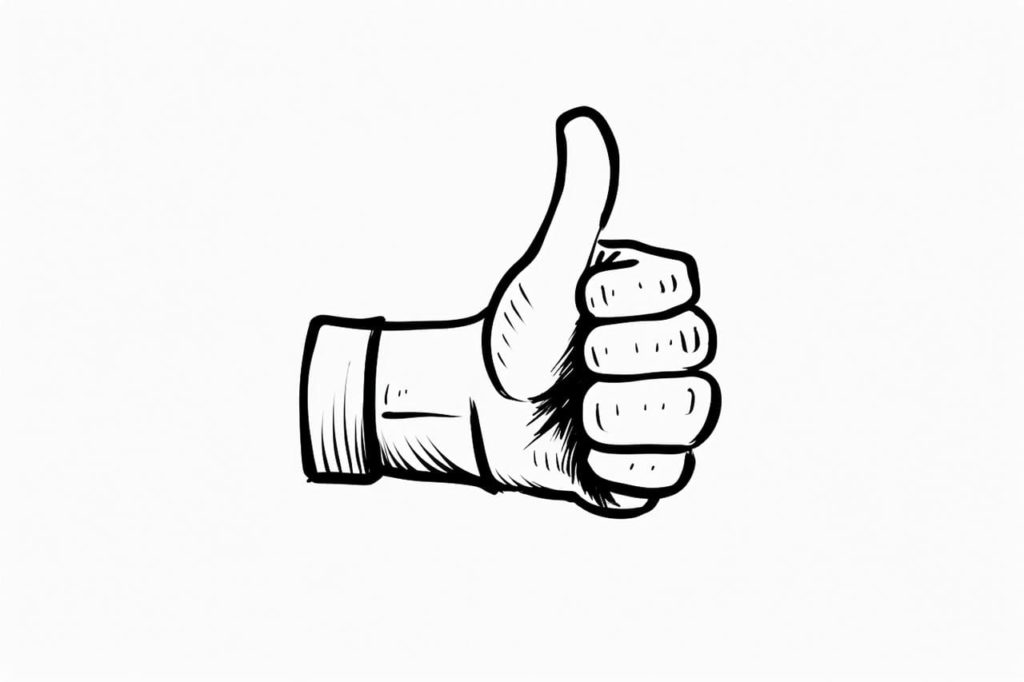
Welcome aspiring artists and enthusiasts! In this step-by-step guide, we will explore the art of how to draw a thumbs up. The thumbs up is a universal symbol of approval and positivity, and being able to draw it with confidence will add a touch of charm to your artwork. Whether you are a beginner or an experienced artist looking to enhance your skills, this tutorial will provide you with clear and concise instructions to create a thumbs up that will impress.
Materials Required
Before we dive into the drawing process, let’s ensure we have all the necessary materials. Here’s a list of what you’ll need:
- A pencil
- A piece of paper
- An eraser
- Optional: markers or colored pencils if you wish to add some color to your drawing
Now that we have everything we need, let’s get started on creating our thumbs up masterpiece!
Step 1: Draw a Guideline
To begin, lightly draw a vertical line down the center of your paper. This guideline will help us maintain symmetry and proportion as we proceed with our drawing.
Step 2: Create the Thumb
At the top of the guideline, draw a circular shape slightly tilted to the right. This will serve as the base of our thumb. Remember, perfection is not necessary at this stage, as we will be refining our drawing as we progress.
Step 3: Outline the Thumb
Using the circular shape as a reference, sketch the outline of the thumb. The shape should be slightly wider at the bottom and taper towards the top, resembling a slightly curved trapezoid.
Step 4: Define the Knuckle
Next, draw a small curve near the bottom of the thumb to represent the knuckle. This curve will give our thumb a realistic and three-dimensional appearance.
Step 5: Add the Folds
To make our thumb look more natural, add a few curved lines near the knuckle area. These lines will represent the folds of skin and contribute to the overall realism of our drawing.
Step 6: Shape the Thumb Nail
Now, let’s focus on the top portion of the thumb. Draw a small semi-circle in the center of the thumb to create the nail. Ensure that the nail aligns with the overall shape of the thumb.
Step 7: Draw the Forefinger
To the right of the thumb, sketch a long and slightly curved line to represent the forefinger. The length and curvature should be such that it appears as though the forefinger is adjacent to the thumb.
Step 8: Outline the Forefinger
Using the initial line as a guide, outline the shape of the forefinger. The width of the forefinger should be slightly narrower than the thumb, and it should taper towards the top.
Step 9: Add the Knuckle and Folds
Similar to the thumb, draw a small curved line at the bottom of the forefinger to depict the knuckle. Follow this by adding a few slightly curved lines to indicate the folds of skin on the forefinger.
Step 10: Draw the Thumb Joint
Beneath the forefinger, draw a small circular shape to represent the joint that connects the thumb and the forefinger. This joint adds structural integrity to our thumbs up gesture.
Step 11: Refine and Erase
Now that we have sketched the basic structure of our thumbs up, take a moment to step back and assess your drawing. Make any necessary adjustments to ensure that the proportions and overall shape of the hand gesture are accurate. Once you are satisfied, gently erase any unnecessary guidelines.
Step 12: Add Details and Shadows
To bring our thumbs up to life, add some details and shadows. Enhance the nails by adding subtle curves to give them a natural shape. Use hatching or cross-hatching techniques to create shadows and depth in the areas where the thumb overlaps the forefinger.
Tip: When drawing a thumbs up, start by breaking the hand down into simple shapes before adding details. Begin with a rounded rectangle for the palm and a trapezoid for the thumb, ensuring the thumb is angled outward to convey a clear gesture of approval. Use light pencil strokes to sketch these shapes, allowing you to adjust proportions easily. As you refine the drawing, pay attention to the curves and contours of the fingers, particularly the knuckles and joints, which can be emphasized with subtle shading. Finally, don’t hesitate to use your eraser to clean up any unnecessary lines or to adjust the shapes until they feel just right; this process is essential for achieving a polished look!
Conclusion
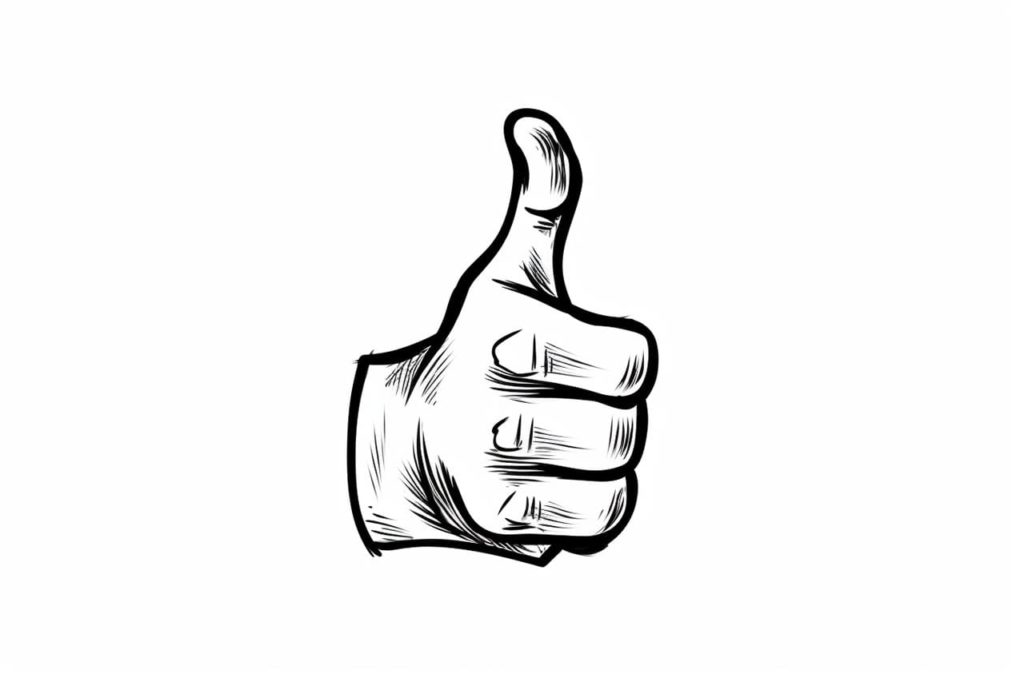
Congratulations on successfully drawing a thumbs up! By following these step-by-step instructions, you have created a simple yet powerful symbol that can be incorporated into any artwork. Remember, practice is key, and with time, you will become more proficient in capturing the essence of the thumbs up gesture. Continue to experiment with different angles, hand positions, and styles to further develop your artistic skills. Now, go forth and spread positivity through your creative endeavors!
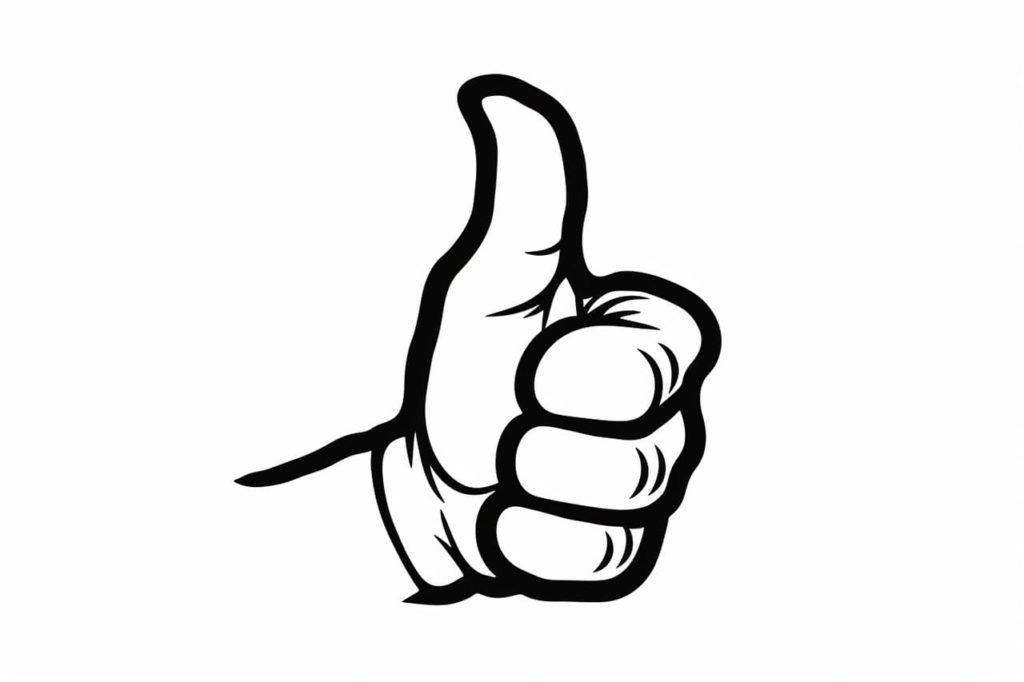
Gallery of Thumbs Up Drawings
Fun Facts about Thumbs Up
- The thumbs up gesture is widely recognized as a symbol of approval, agreement, or encouragement in many cultures around the world. Its modern meaning in the West gained prominence through 20th-century military and media usage, as detailed in Time’s history of the gesture.
- In Ancient Rome, crowds used thumb gestures to signal their wishes for the fate of gladiators in the arena. Interestingly, historical evidence suggests that a thumbs up may have actually signaled death, while a concealed thumb indicated mercy—contrary to what modern movies often show. You can read more about this myth in Tastes of History.
- The gesture is so iconic that it has its own emoji: . The thumbs up emoji was introduced in Unicode 6.0 in 2010, reflecting the gesture’s evolution into digital communication. For more on emoji history, see the Unicode Emoji Charts.
- In some countries, such as Greece and parts of the Middle East, a thumbs up can be considered rude or offensive, so its meaning is not universal. To avoid cultural faux pas, check out this guide on gesture gaffes around the world.
- The phrase “thumbs up” has been used in English since at least the 1800s to mean “all is well” or “go ahead,” with its origins traceable in historical dictionaries and literature.
- Pilots in World War II, especially the Flying Tigers in China, popularized the thumbs up as a signal to indicate that they were ready for takeoff. This aviation tradition is discussed in the Wikipedia article on thumb signals.
- The human thumb is opposable, which allows for the distinctive thumbs up gesture and is a key factor in the development of fine motor skills—a unique anatomical feature among primates.
- In American Sign Language (ASL), a thumbs up can mean “good” or “yes,” depending on the context, often accompanied by facial expressions for clarity.
- The thumbs up gesture is often used in photographs and selfies as a quick way to convey happiness or approval, making it a staple in visual media.
- Some animals, like certain primates, also have opposable thumbs, but only humans use the thumbs up as a symbolic gesture for communication.
Suggestions for Scenes and Settings for Thumbs Up Drawings
- A cheerful cartoon character giving a thumbs up in front of a rainbow.
- A group of friends celebrating with multiple hands showing thumbs up.
- An astronaut floating in space giving a thumbs up with planets in the background.
- A thumbs up emerging from a gift box as a symbol of surprise and approval.
- A sports player on the field giving a thumbs up after scoring a goal.
- A thumbs up reflected in a mirror for a self-affirmation scene.
- A thumbs up surrounded by colorful confetti to show celebration.
- An animal with a human-like hand giving a thumbs up in a whimsical forest.
- A thumbs up in front of a chalkboard, as if a teacher is encouraging students.
- A thumbs up hand holding a paintbrush, ready to create more art.