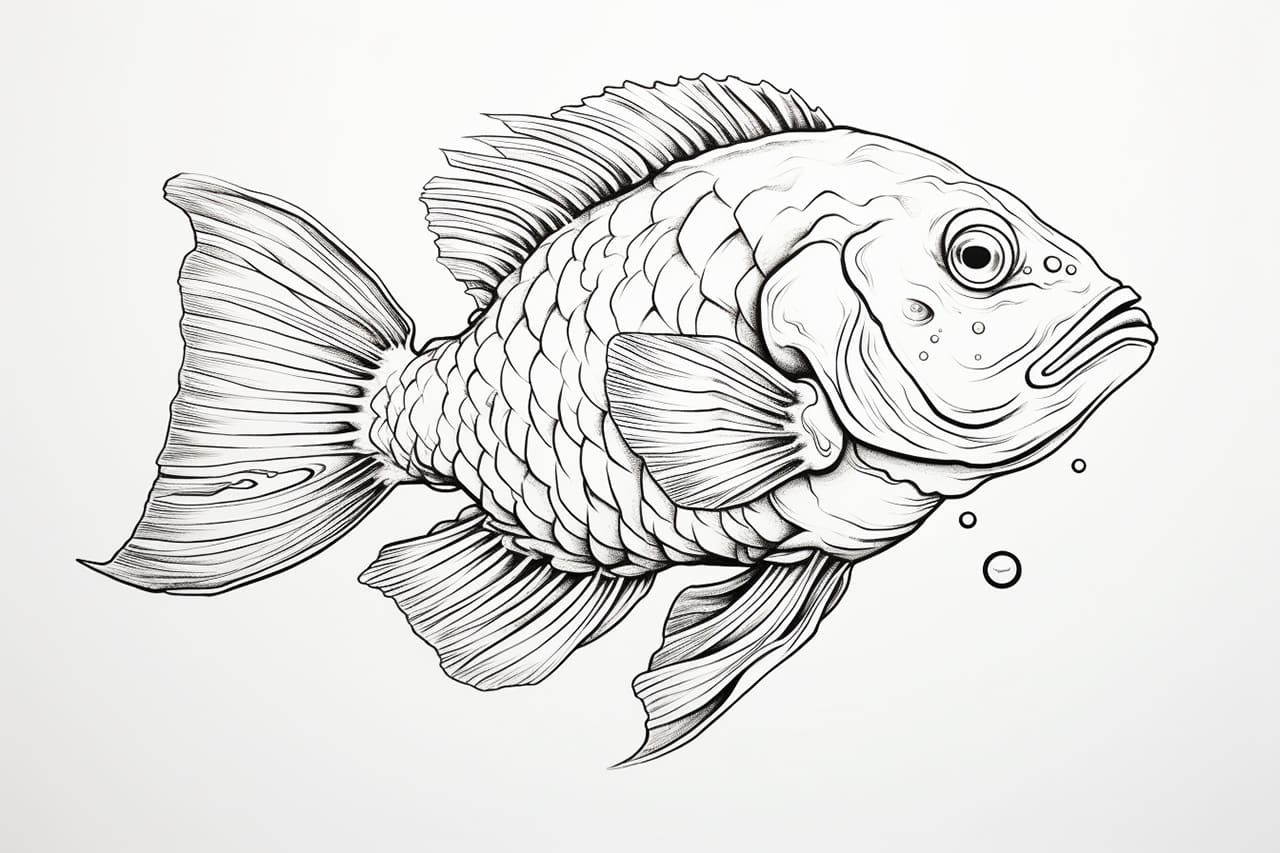
Welcome to this step-by-step tutorial on how to draw a Mandarinfish. In this article, I will guide you through the process of creating a beautiful and realistic representation of this colorful underwater creature. Whether you are a beginner or an experienced artist, I’m here to help you bring this stunning fish to life on paper.
The Mandarinfish, also known as Mandarinfish or Synchiropus splendidus, is a small and brilliantly colored saltwater fish found in the Pacific Ocean. Its vibrant hues and intricate patterns make it a favorite subject for artists and nature enthusiasts alike. So, let’s grab our art supplies and get started!
Materials Required
To complete this drawing tutorial, you will need the following materials:
- Paper: Use a smooth paper, such as Bristol board or drawing paper, that can handle both pencil and ink.
- Pencils: Get a range of graphite pencils, including HB, 2B, 4B, and 6B, for sketching and shading.
- Eraser: Have a kneaded eraser or a soft vinyl eraser to make corrections and lighten pencil lines.
- Fine Liners: Use waterproof fine liners in various sizes, like 0.1mm, 0.3mm, and 0.5mm, for inking.
- Colored Pencils or Watercolors (optional): If you want to add color to your drawing, have a set of colored pencils or watercolor paints and brushes ready.
Now that we have our materials, let’s dive into the step-by-step process of drawing a Mandarinfish!
Step 1: Sketch the Basic Shapes
Start by lightly sketching the basic shapes of the Mandarinfish. Begin with an oval shape for the body and a smaller oval for the head. Then, add a slightly curved line to connect the head and body, representing the spine. Lastly, sketch in the tail, fins, and a triangular shape for the mouth.
Step 2: Outline the Body and Fins
Using a 2B or 4B pencil, carefully outline the body of the Mandarinfish, following the basic shape you sketched. Pay attention to the curves and tapering of the body. Next, add the outline for the dorsal and anal fins, as well as the pectoral and pelvic fins.
Step 3: Add Details to the Face
Focus on the face of the Mandarinfish. Sketch in the eyes, using almond or oval shapes, and add small circles for the pupils. Draw the mouth by outlining the triangular shape you previously sketched. Include a small line for the gill cover just behind the eyes.
Step 4: Refine the Body Patterns
Mandarinfish are known for their intricate patterns and vibrant colors. Use a 2B or 4B pencil to lightly sketch the specific pattern on the body of the fish. Take your time and observe reference images to accurately capture the unique markings.
Step 5: Ink the Outline
Once you’re satisfied with your pencil sketch, it’s time to ink the outline of the Mandarinfish. Use a waterproof fine liner, such as a 0.3mm or 0.5mm, to carefully trace over your pencil lines. Start with the main body outline and then move on to the fins and facial details. Allow the ink to dry completely before erasing any visible pencil lines.
Step 6: Add Finer Details
Now it’s time to add the finer details that will bring your Mandarinfish to life. Use a thinner fine liner, like a 0.1mm or 0.3mm, to add scales along the body and fins. Pay attention to the direction and texture of the scales as you draw them. Add smaller details, such as the lines on the fins and the texture around the eyes and mouth.
Step 7: Shade the Body
To create a sense of depth and form, use your range of graphite pencils to add shading to the body of the Mandarinfish. Start with a light layer of shading using an HB pencil, gradually building up the darker areas with 2B, 4B, and 6B pencils. Pay attention to the areas where shadows would fall, such as under the fins and along the body contours.
Step 8: Optional – Add Color
If you prefer to add color to your drawing, you can use colored pencils or watercolors to bring the Mandarinfish to life. Choose colors that closely match the vibrant hues of the real fish. Carefully layer your colors, starting with lighter tones and gradually adding darker shades to create depth and dimension.
Conclusion
Congratulations! You have successfully learned how to draw a Mandarinfish. By following these step-by-step instructions, you have created a stunning representation of this colorful underwater creature. Remember, practice makes perfect, so don’t be afraid to keep experimenting and refining your drawing skills.
Drawing the Mandarinfish is not only a great way to improve your artistic abilities, but it also allows you to appreciate the beauty of this unique marine creature. I hope you enjoyed this tutorial and are inspired to continue exploring the world of art.
Remember, with patience and practice, you can create amazing artwork. So, keep drawing and discovering new subjects to bring to life on your canvas!