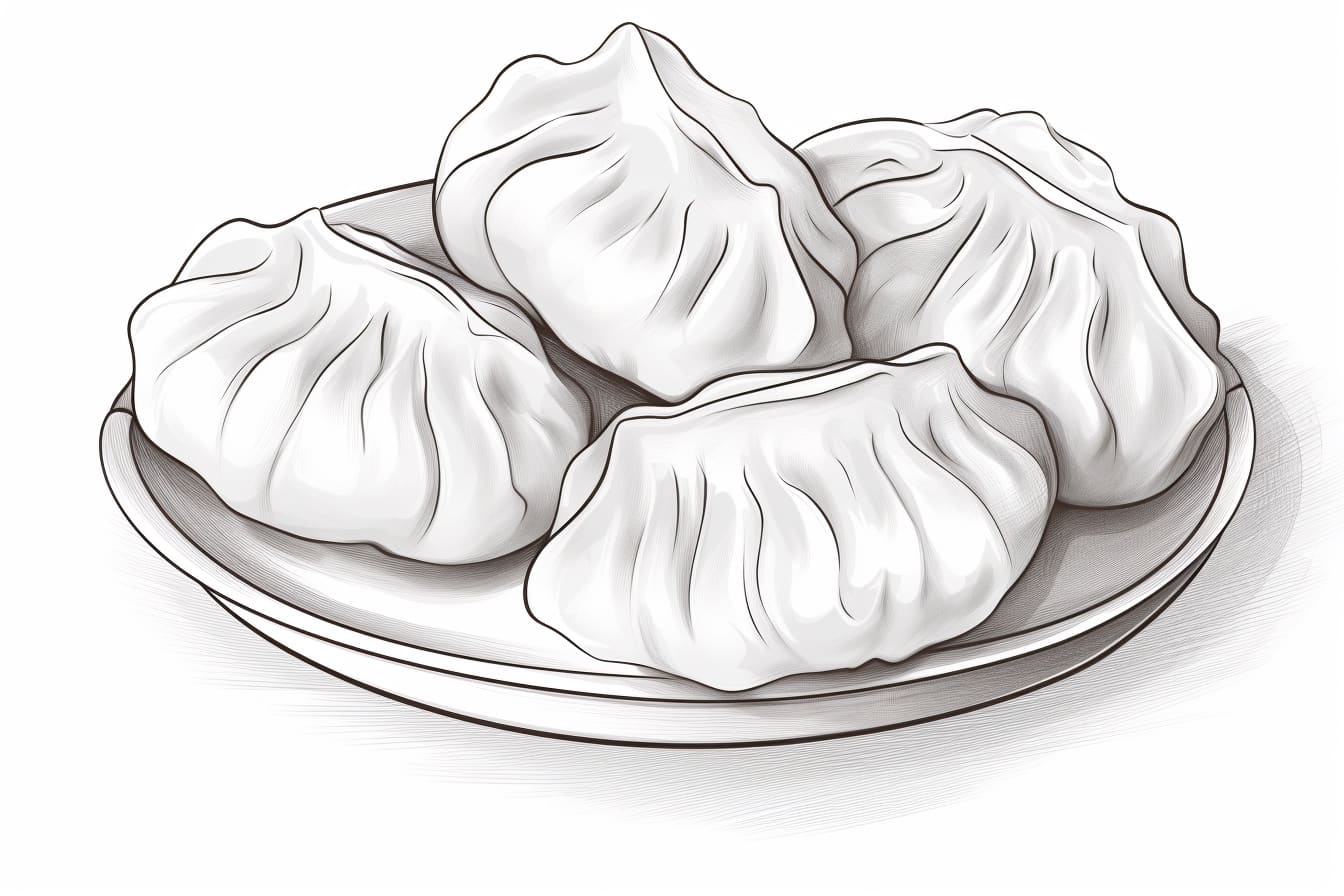
Welcome to this step-by-step guide on how to draw a dumpling! Dumplings are a popular dish in many cultures around the world, known for their tasty fillings and unique shape. In this tutorial, we will break down the process into easy-to-follow steps, allowing you to create a realistic and mouthwatering dumpling drawing. So, let’s get started!
Materials Required:
Before we begin, make sure you have the following materials at hand:
- Drawing paper: Select a good quality paper that suits your preferred drawing medium.
- Pencil: Use a pencil with an HB or 2B lead for sketching and shading.
- Eraser: Have a kneaded or vinyl eraser ready for corrections.
- Fine-tip pen: Choose a pen with a fine point for inking purposes, such as a Micron or Sakura Pigma pen.
- Colored pencils or markers (optional): If you wish to add color to your dumpling illustration, gather your preferred colored pencils or markers.
Now that you have all the necessary materials, let’s dive into the step-by-step process!
Step 1: Outline the Dumpling Shape
Start by lightly sketching a curved oval shape to represent the outer layer of the dumpling. This shape should be slightly elongated horizontally, resembling an egg. Keep the lines faint, as you will refine them later.
Step 2: Add the Pleats
Next, draw a series of curved lines across the top of the dumpling shape to create the pleats. These lines should be evenly spaced and slightly curved, meeting at the bottom of the dumpling. Imagine these lines as waves or folds in the dough.
Step 3: Define the Filling
Inside the dumpling shape, draw a small curved line near the top to represent the seam where the dough is sealed. This will add detail and make the dumpling look more realistic. Then, draw a smaller, irregular shape to represent the visible part of the filling within the dumpling.
Step 4: Refine the Outline
With the basic structure in place, it’s time to refine the outer shape of the dumpling. Carefully go over the initial sketch, using confident lines to define the edges of the dumpling and the pleats. Make sure to erase any unnecessary guidelines or stray marks.
Step 5: Add Texture to the Dough
To make the dumpling look more authentic, we will add texture to the outer layer. Start by drawing small, curved lines within the dumpling shape to represent the crimping or wrinkling of the dough. This will give the illusion of a textured surface.
Step 6: Detail the Filling
Now, focus on adding detail to the filling of the dumpling. Use short, curved lines to create a textured and uneven surface. Vary the length and direction of these lines to give the filling a realistic appearance. You can also add small dots or specks to suggest ingredients within the filling, such as meat or vegetables.
Step 7: Ink the Drawing
Once you are satisfied with the pencil sketch, trace over the final lines with a fine-tip pen. Start with the outer shape of the dumpling and then move on to the pleats, seams, and filling. Use smooth and confident strokes to achieve a clean and polished look. Allow the ink to dry before erasing any remaining pencil lines.
Step 8: Optional – Add Color
If you want to take your dumpling drawing to the next level, consider adding color to make it even more appetizing. Select colors that match the ingredients of your imagined dumpling filling. Use colored pencils or markers to carefully fill in the areas, blending and layering colors to create depth and shading. Be mindful of light and shadow to make your drawing more realistic.
Conclusion
Congratulations on completing your mouthwatering dumpling drawing! By following these step-by-step instructions, you have created a realistic and delightful illustration of this beloved dish. Remember, practice makes perfect, so don’t hesitate to try different techniques and experiment with various fillings and presentation styles. Enjoy the creative process and have fun drawing!


