Whether you’re a budding artist or just looking to have some fun, learning how to draw a doctor can be an enjoyable and rewarding experience. In this step-by-step guide, we’ll walk you through the process of creating a realistic and detailed doctor drawing. So grab your pencils and let’s get started!
Materials Required
Before we begin, make sure you have the following materials handy:
- A sheet of paper or a sketchbook
- Pencils of various grades (e.g., HB, 2B, 4B)
- Eraser
- Pen or fine-tip marker (optional, for outlining)
Now that you have everything you need, let’s move on to the drawing process.
Step 1: Sketching Basic Shapes
Start by lightly sketching the basic shapes that will form the structure of the doctor’s body. Begin with a large circle for the head and a rectangular shape below it for the body. Add two intersecting lines inside the head circle to mark the position of the eyes and nose.
Step 2: Defining Facial Features
Using the intersecting lines as a guide, draw the eyes, nose, and mouth of the doctor. Doctors often wear a mask, so you can draw the eyes slightly smaller than usual. Add some simple lines to indicate the eyebrows and the shape of the face. Don’t worry about details just yet, we’ll add those later.
Step 3: Outlining the Body
Using the rectangular shape as a guide, start outlining the body of the doctor. Add the shoulders and arms using simple straight lines. Remember to keep your lines light and loose, as we will be refining them later. Pay attention to the proportions and make adjustments as needed.
Step 4: Adding Details
Now it’s time to add some details to your doctor drawing. Start by sketching the doctor’s hair and ears. Then, add a stethoscope around the neck by drawing two curved lines and connecting them with a small rectangle. Next, draw the collar and buttons of the doctor’s uniform. You can also add a pocket and a pen to make it more realistic.
Step 5: Refining the Facial Features
Go back to the face and start refining the doctor’s facial features. Add more definition to the eyes by drawing the iris, pupil, and eyelashes. Use curved lines to outline the nose and add some shading to give it depth. Sketch the eyebrows and give the doctor a friendly smile by adding curved lines for the mouth.
Step 6: Shading and Texturing
Now it’s time to bring your doctor drawing to life by adding shading and texture. Start by shading the areas of the face that are in shadow, such as under the chin and around the eyes. Use hatching or cross-hatching techniques to create the illusion of depth and form. Add some texture to the hair by drawing small, quick strokes in the direction of the hair strands.
Step 7: Final Touches and Outlining
Before you finish, take a moment to refine any areas that need more attention. Add additional details to the doctor’s uniform, such as pockets, buttons, and wrinkles. You can also add wrinkles to the face to give the doctor a more experienced look. If you’re happy with your drawing, you can outline it with a pen or a fine-tip marker to make it stand out.
Conclusion
Drawing a doctor can be a fun and educational experience. By following these step-by-step instructions, you should now have a realistic and detailed doctor drawing. Remember to practice regularly to improve your skills and explore different styles and poses. So grab your pencils and let your creativity take over!
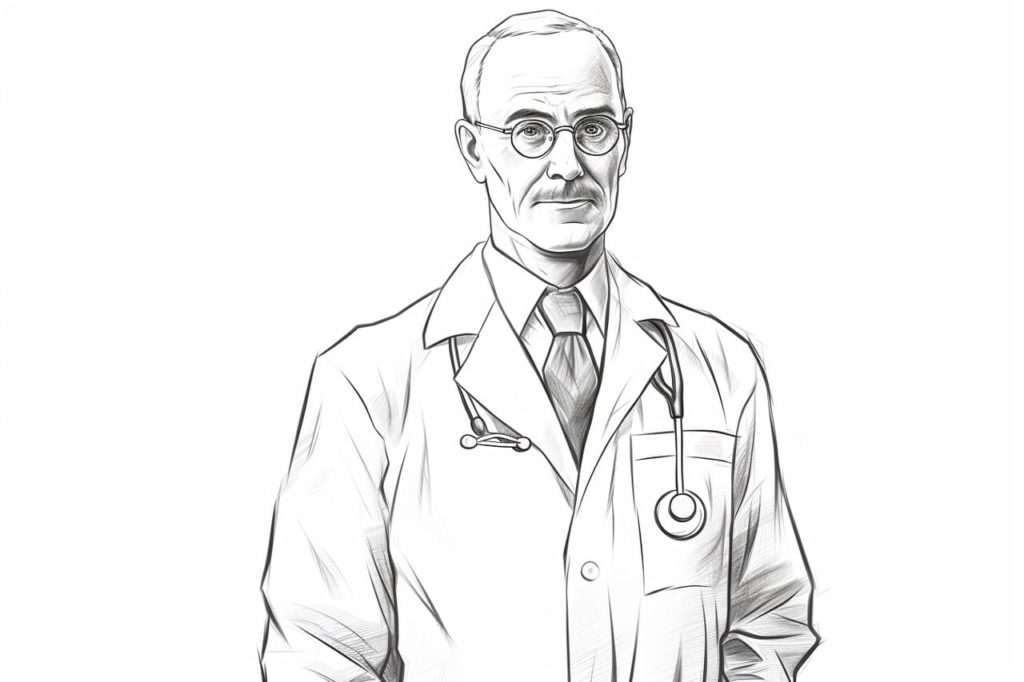
Gallery of Doctor Drawings