Welcome to this step-by-step tutorial on drawing a dock. Whether you are an aspiring artist or just looking for a fun and relaxing activity, drawing can be a great way to express your creativity. In this tutorial, I will guide you through the process of drawing a realistic dock using simple techniques and easy-to-follow instructions. So grab your pencil and paper, and let’s get started!
Materials Required
Before we begin, let’s gather all the materials you will need for this drawing:
- Pencil: You will need a regular graphite pencil with a medium or soft lead for sketching and shading.
- Paper: Choose a smooth and sturdy paper that can handle pencil drawings. A drawing pad or sketchbook would work well.
- Eraser: Have a good quality eraser handy to make corrections and clean up any unwanted lines.
- Ruler: A straight edge or ruler will be useful for drawing straight lines and maintaining symmetry.
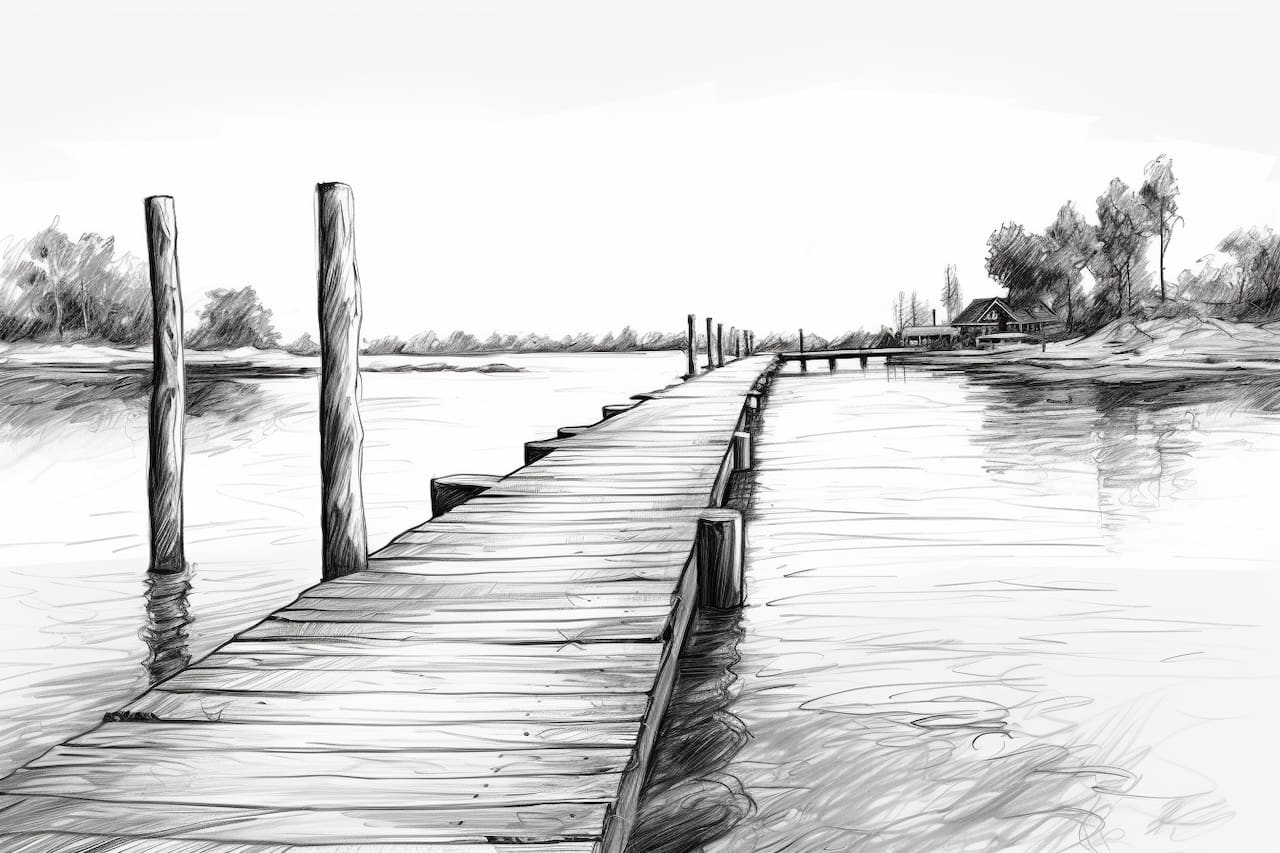
- Reference Image: Find a clear and detailed reference image of a dock to help you visualize the structure and its components.
Now that you have everything you need, let’s dive into the drawing process!
Step 1: Sketch the Basic Shape of the Dock
Start by lightly sketching the basic shape of the dock on your paper. Begin with a simple horizontal line to represent the water level. Then, draw two vertical lines to create the main support posts of the dock. These lines can be slightly tilted to give the dock a more dynamic look.
Step 2: Add the Planks and Railings
Next, add the horizontal planks that make up the surface of the dock. Use your ruler to draw evenly spaced lines across the vertical support posts. Leave some gaps between the planks to create a realistic effect. Extend the planks over the edge of the dock to imply depth.
To create the railings, draw vertical lines on both sides of the dock, slightly taller than the planks. Connect the top of these lines with a straight horizontal line, following the shape of the dock. Repeat this process to add railings on the opposite side of the dock as well.
Step 3: Outline the Pillars
Now, let’s add some details to the main support posts of the dock. Start by sketching the outline of the pillars. These can have different shapes, such as rectangular or cylindrical. Think about the perspective and angle of the dock and adjust the shape accordingly. Use your ruler to ensure straight lines and symmetry.
Next, add thickness to the pillars by drawing additional lines along the outer edges. This will give them a more three-dimensional appearance. Remember to keep the lines light and subtle for now, as we will refine them later.
Step 4: Draw the Water and Reflections
To bring the scene to life, let’s draw the water beneath the dock. Start by lightly sketching a wavy line below the dock’s surface. This line should follow the shape of the dock and can be slightly irregular to add a natural touch.
Next, create the reflection of the dock in the water. Mirror the shape of the dock below the waterline, making it slightly distorted by the ripples. Keep the lines light and use curved strokes to indicate the movement of the water.
Step 5: Add Textural Details
Now that the basic structure is in place, it’s time to add some texture and details to the dock. Use short, horizontal strokes to create the wood grain on the planks. Vary the length and direction of the strokes to make the texture appear more realistic. Add knots and imperfections to the wood by drawing irregular shapes along the planks.
For the pillars, use cross-hatching or diagonal lines to suggest shadows and highlights. These lines should follow the contour of the pillars and enhance their three-dimensional form. Take your time during this step, as adding texture can greatly enhance the overall realism of your drawing.
Step 6: Refine the Details and Shadows
Now that the main elements of the dock are complete, take a moment to evaluate your drawing. Look for any areas that need refinement or additional detail. Use your reference image to guide you and make any necessary adjustments.
Pay attention to the shadows and lighting on the dock. Shade the underside of the planks and the areas where they overlap to create depth. Use your pencil to darken the areas where shadows fall, and gradually lighten the tones as you move towards areas with more light.
Conclusion
Congratulations on completing your dock drawing! I hope you enjoyed this tutorial and that it helped you improve your drawing skills. Drawing a dock can be a challenging but rewarding experience, allowing you to practice perspective, texture, and shading. Remember to take your time, observe your reference image, and have fun with the process!
Remember, practice makes perfect, so keep drawing and exploring new subjects. With each drawing you create, you will continue to grow as an artist. So grab your pencil and keep sketching!
Scene Suggestions for Drawings of Docks
- Coastal Fishing Village: Capture the charm of a quaint fishing village with a bustling dock lined with weathered fishing boats, nets, and crates of freshly caught fish. Include elements like seagulls, fishermen, and colorful buoys to add interest to the scene.
- Sunset Marina: Depict a serene marina bathed in the warm glow of the setting sun. Reflective waters, silhouetted sailboats, and distant coastal landscapes create a peaceful and atmospheric composition.
- Industrial Harbor: Explore the gritty beauty of an industrial harbor bustling with activity. Show massive cargo ships being loaded and unloaded by cranes, stacks of shipping containers, and workers bustling about amidst the mechanical chaos.
- Historic Dockyard: Transport viewers back in time with a scene set in a historic dockyard. Include tall ships, wooden docks, and vintage maritime structures to evoke a sense of nostalgia and maritime heritage.
- Seaside Boardwalk: Combine the charm of a seaside boardwalk with a picturesque dock scene. Show colorful beach umbrellas, bustling cafes, and cheerful vacationers enjoying the sunny waterfront atmosphere.
- Lakeside Retreat: Create a tranquil lakeside retreat with a rustic wooden dock stretching out over calm waters. Include elements like canoes, fishing rods, and a cozy lakeside cabin nestled among the trees.
- Tropical Paradise: Imagine a tropical paradise with palm-fringed shores and crystal-clear waters. Show a rustic wooden dock leading out to sea, surrounded by lush vegetation, vibrant flowers, and exotic wildlife.
- Urban Waterfront: Capture the dynamic energy of an urban waterfront with a modern dock scene set against a backdrop of skyscrapers and city lights. Include sleek yachts, waterfront restaurants, and bustling pedestrian promenades.
- Wharf Market: Depict a bustling wharf market scene with stalls selling fresh seafood, local produce, and artisan crafts. Show fishermen unloading their catches, chefs cooking up seafood delicacies, and visitors exploring the lively waterfront market.
- Stormy Seas: Convey the drama and power of nature with a scene set during a stormy sea. Show crashing waves, turbulent skies, and a sturdy dock being battered by wind and rain, evoking a sense of drama and tension.