Drawing can be a rewarding and meditative activity whether you’re an aspiring artist or simply looking for a new creative outlet. If you’re interested in improving your drawing skills or exploring the world of patterns and textures, drawing a rug can be a great exercise. In this article, I will guide you through the process of how to draw a rug step by step. By the end, you’ll have a beautiful and intricate rug drawing to be proud of. So let’s get started!
Materials Required
Before we dive into the drawing process, let’s gather the materials you’ll need:
- Sketchpad or drawing paper: Choose a size that suits your preference.
- Pencil: Opt for a mechanical pencil or a set of drawing pencils with different lead grades.
- Eraser: Have a soft eraser handy for easy corrections.
- Ruler: A straightedge ruler will help you maintain clean and precise lines.
- Colored pencils or markers: If you’d like to add color to your rug drawing, gather your favorite colored pencils or markers.
Now that we have our materials ready, let’s proceed with the step-by-step process of drawing a rug.
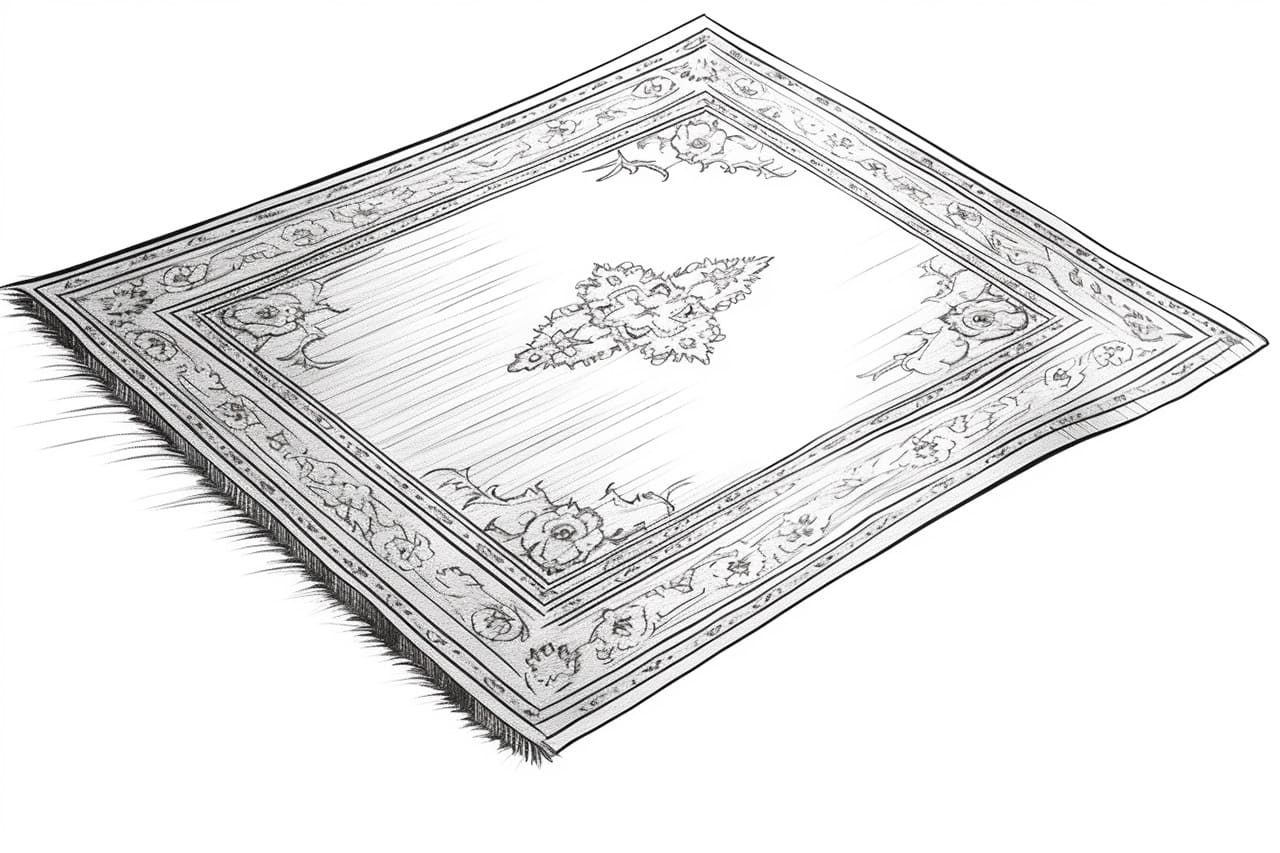
Step 1: Sketch the Basic Shape
Begin by lightly sketching the basic shape of your rug using a pencil. This can be a rectangle, oval, or any other shape you prefer. Use your ruler to ensure the edges are straight and the proportions are balanced. Don’t worry about adding details at this stage; focus on getting the shape right.
Step 2: Add Intricate Patterns
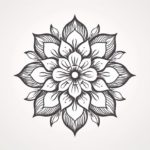
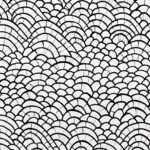
Once you have the basic shape, it’s time to add intricate patterns to your rug. This is where you can let your creativity shine. You can draw geometric shapes, floral patterns, or even create your own unique designs. Use your ruler for straight lines and experiment with different shapes and textures.
Step 3: Refine the Details
Now that you have the main patterns in place, it’s time to refine the details. Use a sharper pencil or a thinner lead grade to add smaller intricate details to your rug. Pay attention to the folds and creases in the fabric, and add shading to create depth and realism.
Step 4: Erase Guide Lines
Once you’re satisfied with the details, use your eraser to gently remove any guide lines or unwanted pencil marks. Take your time and be careful not to erase any important details you’ve added.
Step 5: Add Color (Optional)
If you’d like to add color to your rug drawing, now is the time to do so. Use your colored pencils or markers to carefully fill in the patterns and design elements of your rug. Consider using complementary colors or experimenting with different color schemes to make your rug stand out.
Step 6: Final Touches
To add the finishing touches to your rug drawing, step back and assess the overall composition. Look for any areas that may need additional shading or refining. Make any necessary adjustments to ensure your rug looks balanced and visually appealing.
Conclusion
Drawing a rug can be a delightful and creative endeavor. Through this step-by-step guide, you’ve learned how to sketch the basic shape, add intricate patterns, refine the details, erase guide lines, add color (if desired), and apply the final touches. By following these steps and using your imagination, you can create a stunning rug drawing that showcases your artistic abilities.
Remember, practice makes perfect, so don’t be discouraged if your first attempt doesn’t turn out exactly as you envisioned. The more you draw, the more you’ll improve and develop your own unique style. So grab your sketchpad and start drawing a rug today!