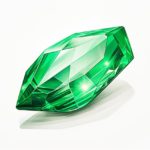
Gemstones are beautiful and intricate objects that have captivated humans for centuries with their vibrant colors and mesmerizing patterns. Drawing a gemstone can be a fun and rewarding artistic challenge that allows you to capture the brilliance and allure of these precious gems. In this step-by-step guide, I will walk you through the process of how to draw a gemstone, from sketching out the basic shape to adding the finishing touches. So grab your drawing materials and let’s get started!
Materials Required
To draw a gemstone, you will need the following materials:
- Pencil: A graphite pencil with a medium or soft lead (2B or 4B) will work best for sketching and shading.
- Eraser: A kneaded eraser or a soft plastic eraser will help you correct mistakes and lighten areas of your drawing.
- Drawing Paper: Use a smooth and heavyweight drawing paper that can withstand multiple layers of pencil work.
- Colored Pencils: Optional, but adding colored pencils to your drawing can enhance the gemstone’s brilliance and provide realistic colors.
Now that you have gathered your materials, let’s dive into the step-by-step process of drawing a gemstone.
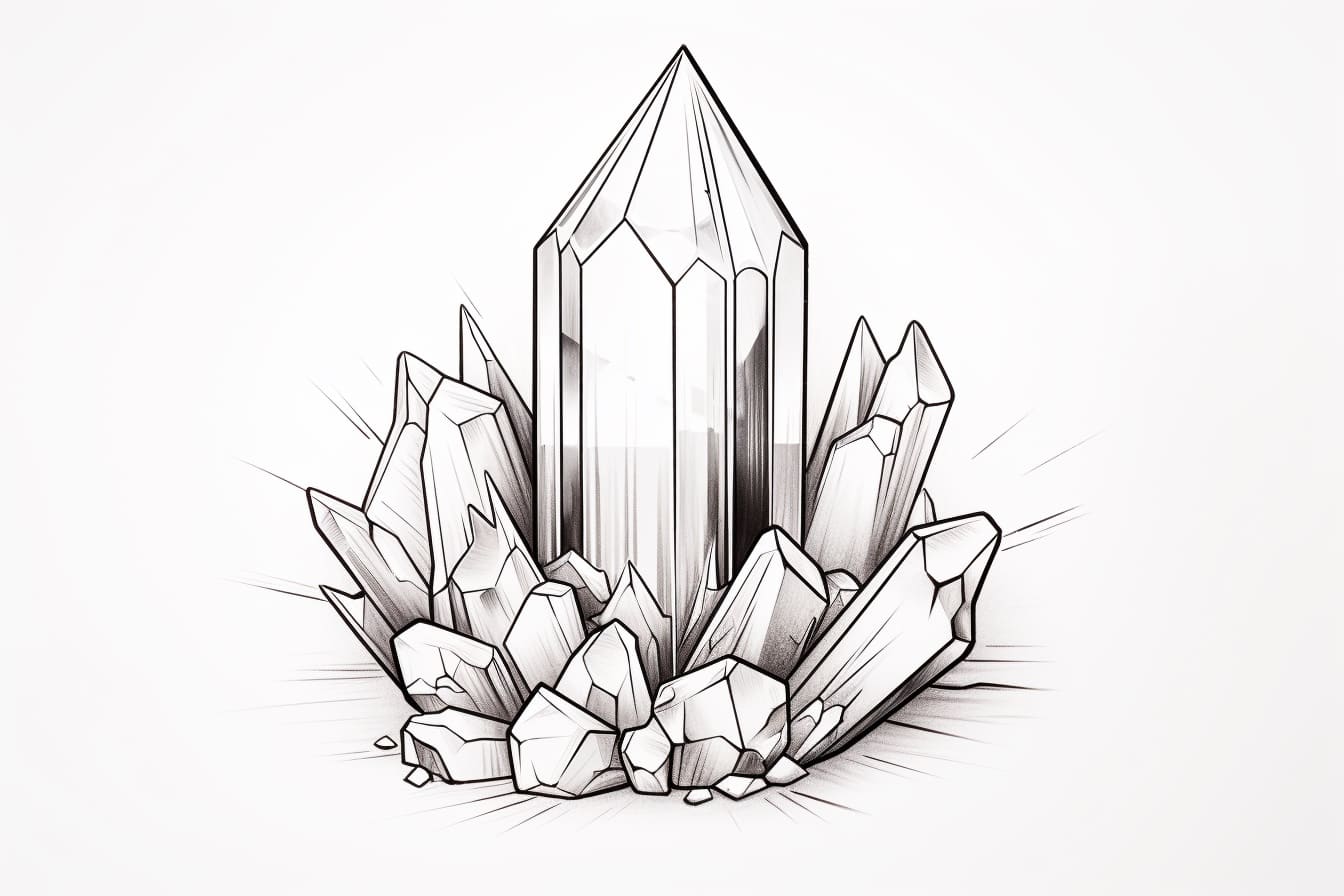
Step 1: Sketch the Basic Shape
Start by lightly sketching the basic shape of the gemstone. Gemstones come in various shapes such as oval, round, pear, and emerald cut. Choose a shape that inspires you and draw a rough outline using light and loose lines. Don’t worry about making it perfect at this stage; we will refine the shape later.
Step 2: Add Facets
Gemstones are known for their facets, which are flat surfaces that reflect light and create that sparkling effect. To add facets to your gemstone, imagine where the light source is coming from and lightly sketch diagonal and curved lines across the surface of the gem. These lines should intersect and create irregular shapes. Remember, gemstones have different facets, so feel free to experiment with different arrangements.
Step 3: Refine the Shape
Now it’s time to refine the shape of your gemstone. Look closely at the outline you sketched in Step 1 and make any necessary adjustments. Use long, confident strokes to define the edges and curves of the gemstone. Pay attention to the proportions and symmetry, as these can greatly affect the overall appearance of the gem.
Step 4: Shade the Gemstone
Shading is key to creating depth and dimension in your gemstone drawing. Start by identifying the areas where the light hits the gemstone and where the shadows fall. Use your pencil to create smooth, graduated tones from light to dark. Apply more pressure for darker areas and less pressure for lighter areas. Blend the shades together using a blending stump or your finger to achieve a seamless transition between light and shadow.
Step 5: Add Details
To make your gemstone drawing more realistic, add some details to enhance its sparkle. Using a sharp pencil, carefully darken some facets to create a contrast against the lighter areas. You can also use colored pencils to add vibrant hues to your gemstone. Look closely at reference images or real gemstones to observe the interplay of colors and the subtle variations in shades.
Step 6: Final Touches
Take a step back and assess your drawing. Are there any areas that need further refinement or adjustment? Use your eraser to correct any mistakes or lighten areas that appear too dark. Add any final touches to enhance the overall appearance of your gemstone drawing. This could include adding highlights with a white colored pencil or using a fine-tipped pen to outline certain facets for added definition.
Conclusion
Drawing a gemstone is a wonderful way to challenge your drawing skills and create a stunning piece of artwork. By following these step-by-step instructions, you can capture the brilliance and intricacy of these precious gems on paper. Remember to be patient and enjoy the process of bringing your gemstone to life. So go ahead, grab your pencils, and let your creativity shine!