Drawing cartoons can be a fun and creative way to express your ideas and imagination. While it may seem challenging at first, with a little practice and the right techniques, anyone can learn to draw a cartoon body. In this step-by-step guide, I will walk you through the process of how to draw a cartoon body in a clear and concise manner. So grab your pencil and let’s get started!
Materials Required
Before we begin, let’s make sure you have all the necessary materials:
- Paper: Get a clean and smooth sheet of paper that is suitable for drawing. You can use a sketch pad or any blank paper.
- Pencils: You will need a range of pencils with different hardness (e.g., HB, 2B, 4B) to achieve different shades and details.
- Eraser: Choose a soft eraser that won’t damage the paper when you need to make corrections.
- Sharpeners: Have a pencil sharpener handy to keep your pencils sharp throughout the drawing process.
- Ruler: A ruler will come in handy when you need to align and measure certain parts of the cartoon body.
With these materials ready, let’s dive into the step-by-step process of drawing a cartoon body.
Step 1: Draw the Head
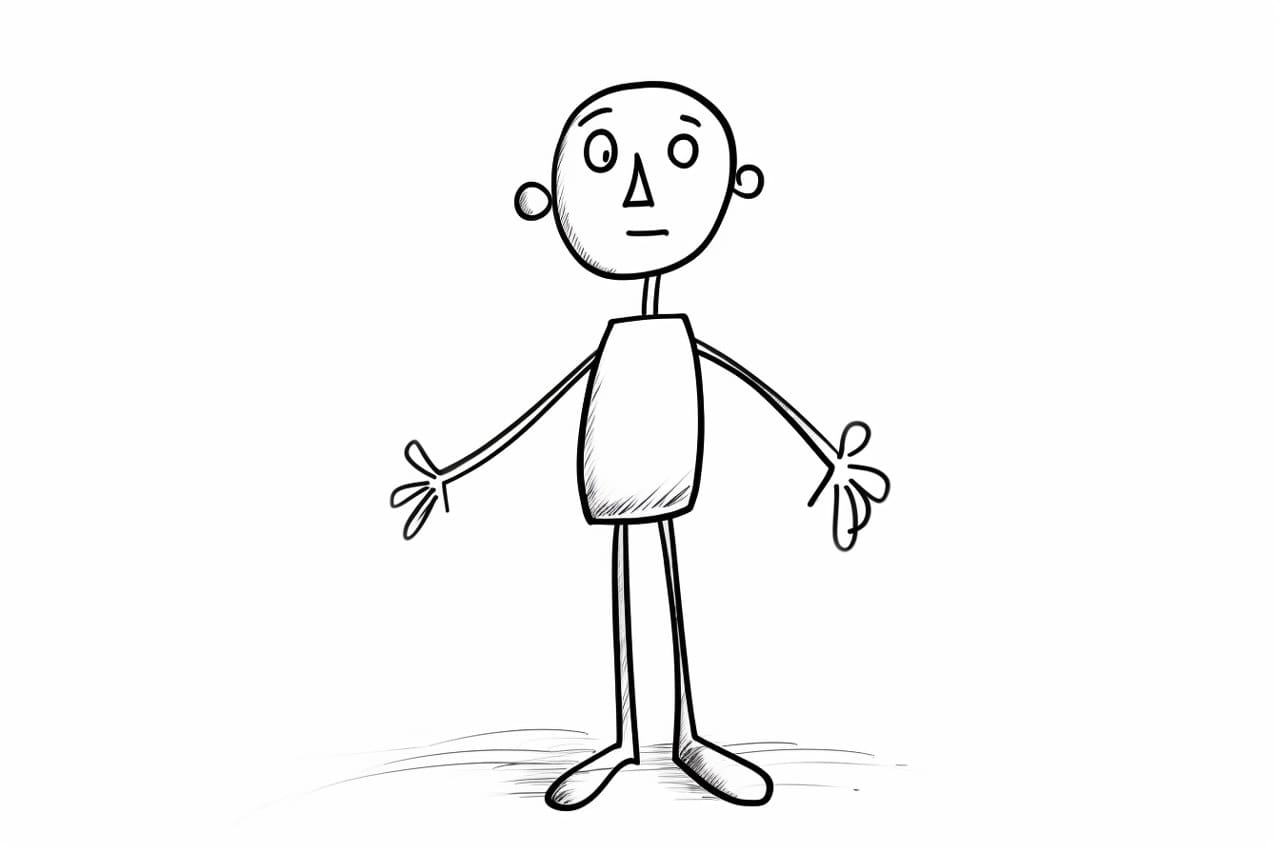
Start by drawing a circle towards the top of your paper. This circle will represent the head of your cartoon character. Try to keep it proportionate to the overall size of the body you have in mind.
Step 2: Add the Neck
From the bottom of the circle, extend two lines downwards to create the neck. These lines should taper towards the bottom, giving the neck a natural and slender look.
Step 3: Sketch the Torso
Next, draw two curved lines extending downwards from the neck. These lines will form the sides of the torso. Remember to keep the lines parallel to maintain proper proportions.
Step 4: Outline the Arms
Starting below the torso, draw two straight lines on either side to represent the arms. You can decide the position and posture of the arms based on the character you want to create. Keep the lines simple and use a gentle curve to show the natural bend of the arms.
Step 5: Define the Legs
Moving on to the lower part of the cartoon body, draw two long lines from the bottom edge of the torso. These lines will form the legs. Again, you can modify the length and posture of the legs to match your character’s personality.
Step 6: Shape the Feet
At the end of each leg, draw a small oval or shape that represents the feet. You can make them pointed, round, or any other shape that suits your character’s style.
Step 7: Refine the Body
Now that you have the basic shape of the cartoon body, take a moment to refine the lines and add more details. Smooth out any rough edges and adjust the curves to create a cohesive and well-proportioned body.
Step 8: Add Facial Features
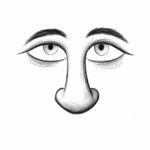
Moving back up to the head, it’s time to add some facial features. Start by drawing two large circles for the eyes. Then, add a small curved line for the nose and a simple curved line for the mouth. Play around with different eye shapes and expressions to give your character more personality.
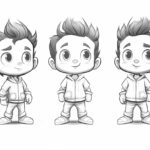
Step 9: Dress it Up
To make your cartoon character more appealing and interesting, add some clothing or accessories. Draw in a shirt, pants, or any other attire that suits your character’s style. You can also experiment with hairstyles, hats, or other accessories to further customize the look.
Conclusion
Congratulations! You have successfully learned how to draw a cartoon body. By following these step-by-step instructions and practicing regularly, you will continue to improve your drawing skills and be able to create unique and captivating cartoon characters. Remember to have fun and let your imagination run wild as you explore the world of cartoon drawing.
So grab your pencils and keep practicing. With time, you will be able to create a whole world of cartoon characters that come to life on paper.