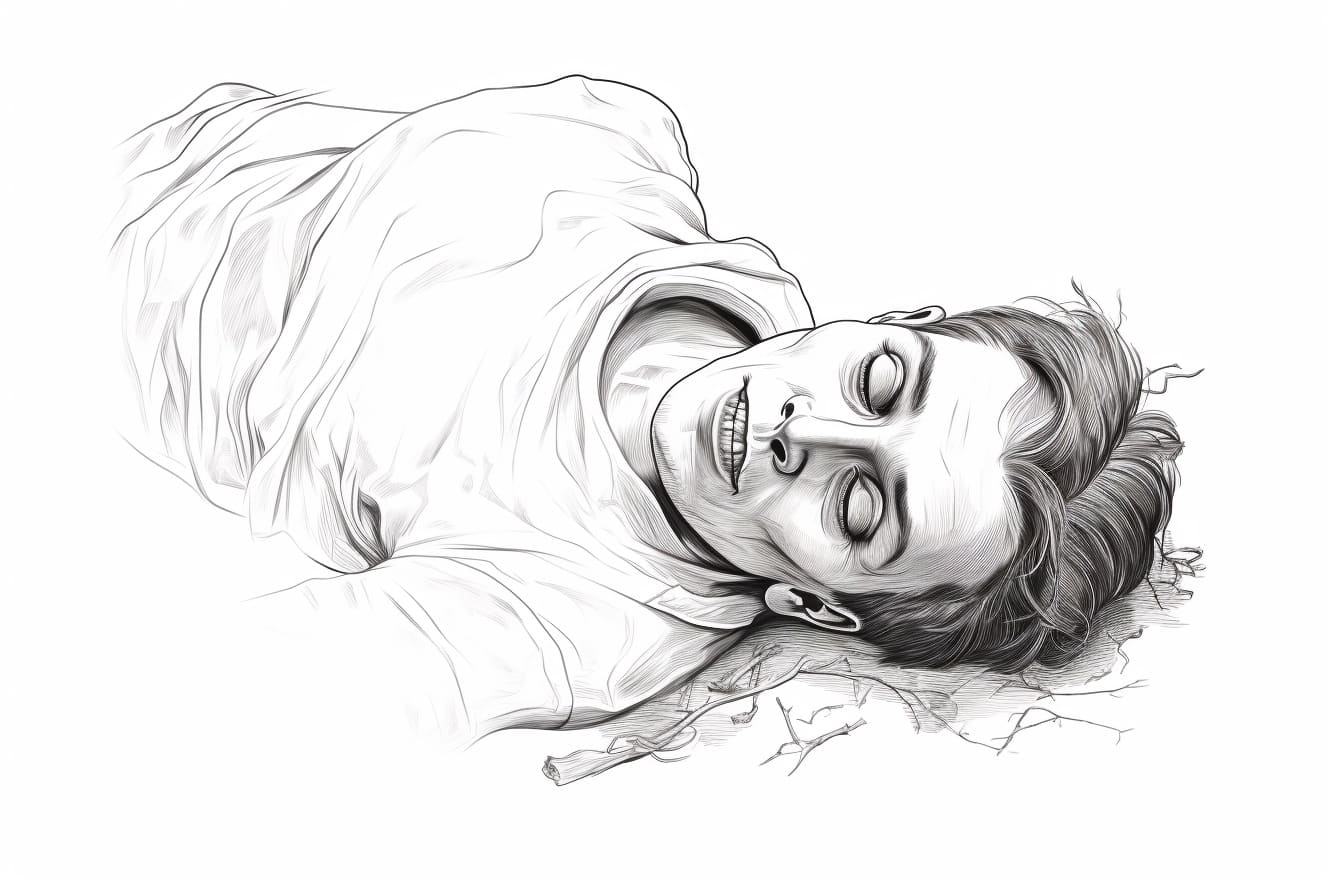
As artists, we are constantly seeking to explore the depths of human experiences and emotions through our artwork. One topic that may evoke a range of emotions is drawing a dead person. While drawing a deceased individual requires sensitivity and respect, it can also be a powerful way to capture the essence of mortality. In this step-by-step guide, we will explore how to draw a dead person with accuracy and thoughtfulness. So let’s grab our materials and embark on this artistic journey together.
Materials Required
Before we begin, gather the following materials:
- Drawing paper
- Pencil set (ranging from 2B to 6B)
- Eraser
- Charcoal or graphite sticks
- Blending stump or tortillon
- Fixative spray (optional)
- Reference photo or a live model (if available)
Having these materials ready will allow you to fully engage in the drawing process and bring the deceased individual to life on paper.
Step 1: Observe and Study
To create an accurate drawing of a dead person, it is important to allocate time to observe and study the subject. If you have access to a reference photo, carefully examine the details and characteristics of the individual. Pay attention to aspects such as facial features, skin tone, hair, and any other defining characteristics. If you have the opportunity to draw from life, approach the process with sensitivity and respect, ensuring consent from the model or their family if necessary.
Step 2: Basic Framework
Begin by lightly sketching the basic framework of the deceased person’s face. Use simple shapes to establish the general proportions and placement of the facial features. Start with an oval for the head, followed by lightly drawn guidelines to indicate the position of the eyes, nose, and mouth. Remember, this initial framework is meant to serve as a guide and can be adjusted as needed throughout the drawing process.
Step 3: Facial Features
Now, focus on drawing the individual facial features. Start with the eyes, carefully observing their shape, position, and any specific details such as eyelashes or wrinkles. Move on to the nose, paying attention to its structure and any distinct characteristics. Finally, draw the lips, capturing their shape and any signs of aging or decay if applicable. Take your time with each feature, striving for accuracy and capturing the unique qualities of the deceased person.
Step 4: Shading and Textures
Once you have established the framework and drawn the basic features, it is time to add depth and texture to your drawing. Begin by shading the areas of the face where shadows fall, such as under the eyes, around the nose, and in the hollows of the cheeks. Use your pencils or charcoal sticks to gradually build up layers of shading, paying close attention to the values and tones present in the reference photo or the subject.
To create textures such as wrinkles, scars, or other details, use small, gentle strokes or dots. Remember to constantly refer back to your reference photo or model to ensure accuracy. Gradually build up the details, adjusting the pressure and speed of your strokes to create the desired effect.
Step 5: Blending and Smoothing
To achieve a more realistic look, use a blending stump or tortillon to smooth out and blend the shades and tones in your drawing. This will help create a more seamless transition between different areas of the face and add a soft, realistic touch to your artwork. Be mindful of not over-blending, as it can result in a loss of detail. Use the blending tool sparingly to achieve the desired effect.
Step 6: Final Touches
As you near the completion of your drawing, take a step back and evaluate the overall composition. Make any necessary adjustments to ensure accuracy and balance in your artwork. Refine the details of the facial features, adding any additional textures or highlights that may be present. Take your time with these final touches, as they can greatly enhance the realism of your drawing.
Conclusion
Drawing a deceased individual requires a delicate balance of technical skill and emotional sensitivity. By taking the time to observe, study, and approach the subject with respect, you can create a powerful and meaningful representation of mortality. Remember to constantly refer back to your reference photo or live model, and don’t be afraid to experiment with different techniques and materials to achieve the desired effect. So grab your materials and embark on this artistic journey, capturing the essence of life and death through your drawings.