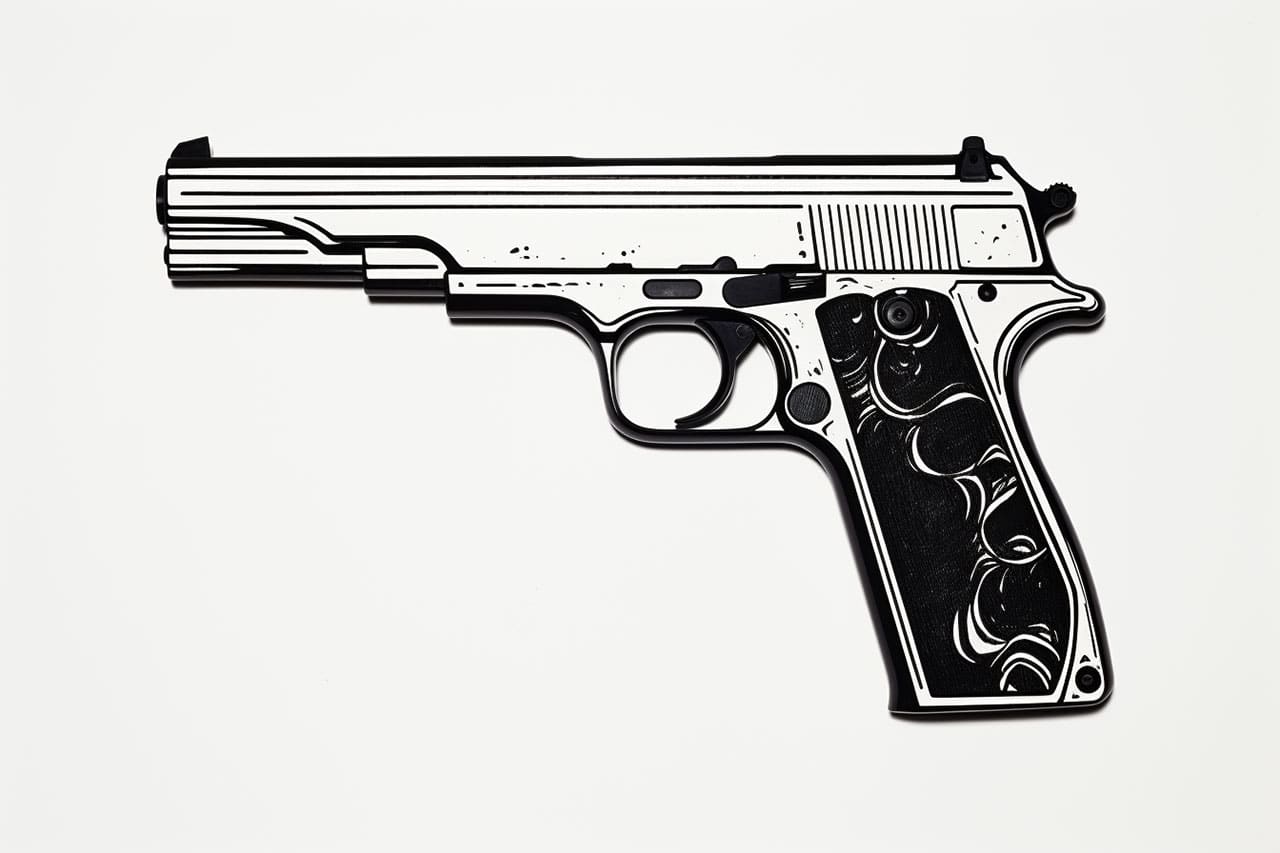
Drawing a pistol requires a keen eye for detail and a steady hand. In this step-by-step guide, we will explore the process of how to draw a pistol, breaking it down into simple and manageable steps. Whether you are a beginner or an experienced artist, these instructions will help you create a realistic and dynamic representation of a pistol. So grab your drawing tools and let’s get started!
Materials Required
Before we dive into the drawing process, let’s gather the materials you’ll need:
- Drawing paper
- Pencil
- Eraser
- Ruler
- Fine-tip marker or pen (optional)
- Reference image of a pistol
Ensure that you have all these materials within reach before we begin.
Step 1: Basic Outline
Start by drawing a light, horizontal line near the top of your paper. This line will act as the pistol’s barrel. Next, draw a vertical line downward from the middle of the horizontal line to create the grip. These lines will serve as the foundation for our pistol drawing.
Step 2: Shape the Barrel
Using the outline you just created, draw the shape of the barrel. Pay attention to the curves and angles. Remember, a pistol’s barrel tends to taper toward the front. Use light, curved lines to capture its form accurately.
Step 3: Add Details to the Barrel
Now it’s time to add some details to the barrel. Begin by sketching the front sight at the end of the barrel. This can be a small rectangle or a triangular shape, depending on the pistol model. Next, carefully draw the ejection port on the side of the barrel. The ejection port is usually a rectangular shape located towards the top. Take your time to get these details right.
Step 4: Sketch the Grip
Moving onto the grip, draw its general shape based on your reference image. Pay attention to its proportions and contours. Remember that the grip of a pistol is often curved and ergonomic, designed to fit comfortably in the hand. Use curved lines to represent the grip’s form, and make sure it connects smoothly with the barrel.
Step 5: Refine Grip Details
Add more details to the grip to enhance its realism. Pay attention to any grooves, textures, or patterns present on the reference image. These details may include checkering, stippling, or other grip patterns specific to the pistol model you are drawing. Take your time to capture these intricacies accurately.
Step 6: Draw the Trigger Guard
Next, draw the trigger guard located just below the barrel and in front of the grip. The trigger guard usually has a curved shape and connects seamlessly with the grip. Pay attention to its size and proportions, ensuring it doesn’t appear too large or too small for the pistol.
Step 7: Outline the Trigger
Draw the trigger at the bottom of the trigger guard. The trigger is usually a small rectangle or a curved shape, depending on the pistol model. Take your time to position it correctly within the trigger guard and ensure it aligns with the overall proportions of the pistol.
Step 8: Add the Slide
Now it’s time to draw the slide, which is the top part of the pistol. Begin by sketching its general shape, paying attention to any curves or angles present in your reference image. The slide typically covers the front portion of the barrel and is parallel to it.
Step 9: Detail the Slide
Add finer details to the slide, such as the rear sight and any serrations or grooves present on the pistol model. The rear sight is usually located near the back of the slide and may be a square or circular shape. These details contribute to the overall realism of your drawing.
Step 10: Refine and Erase Guidelines
Take a step back and review your drawing so far. Look for any areas that need refining or adjusting. Use your eraser to gently remove any unnecessary guidelines or construction lines that may still be visible. This will help clean up the drawing and prepare it for the next step.
Step 11: Darken and Define Lines
Using a pencil or a fine-tip marker, carefully darken the most important lines of your drawing. Emphasize the outlines, contours, and essential details of the pistol. Pay attention to light and shadow, using shading techniques to create depth and dimension if desired. Fill in any areas that require solid black, such as the ejection port.
Step 12: Final Touches
Review your drawing and make any necessary final touches. Check for accuracy, paying attention to proportions, details, and overall composition. Make any adjustments as needed to ensure a satisfying and realistic representation of the pistol.
Conclusion
Drawing a pistol involves understanding its anatomy, proportions, and intricate details. By breaking down the process into manageable steps, you can easily create a realistic and dynamic drawing. Remember to have patience and practice regularly to improve your skills. With time and dedication, you’ll be able to draw pistols with confidence and precision. So grab your materials and start sketching your way to becoming a master at drawing pistols!


