As an expert artist and drawing instructor, I will guide you through the process of how to draw a gun with easy step-by-step instructions. Whether you are a beginner or have some drawing experience, this tutorial will help you create a realistic gun drawing. So, let’s get started!
Materials Required
Before we begin, gather the following materials:
- Drawing paper
- Pencil
- Eraser
- Fine-tip marker or pen
- Colored pencils or markers (optional)
Now that we have our materials ready, let’s dive into the step-by-step instructions.
Step 1: Sketch the Basic Shape of the Gun
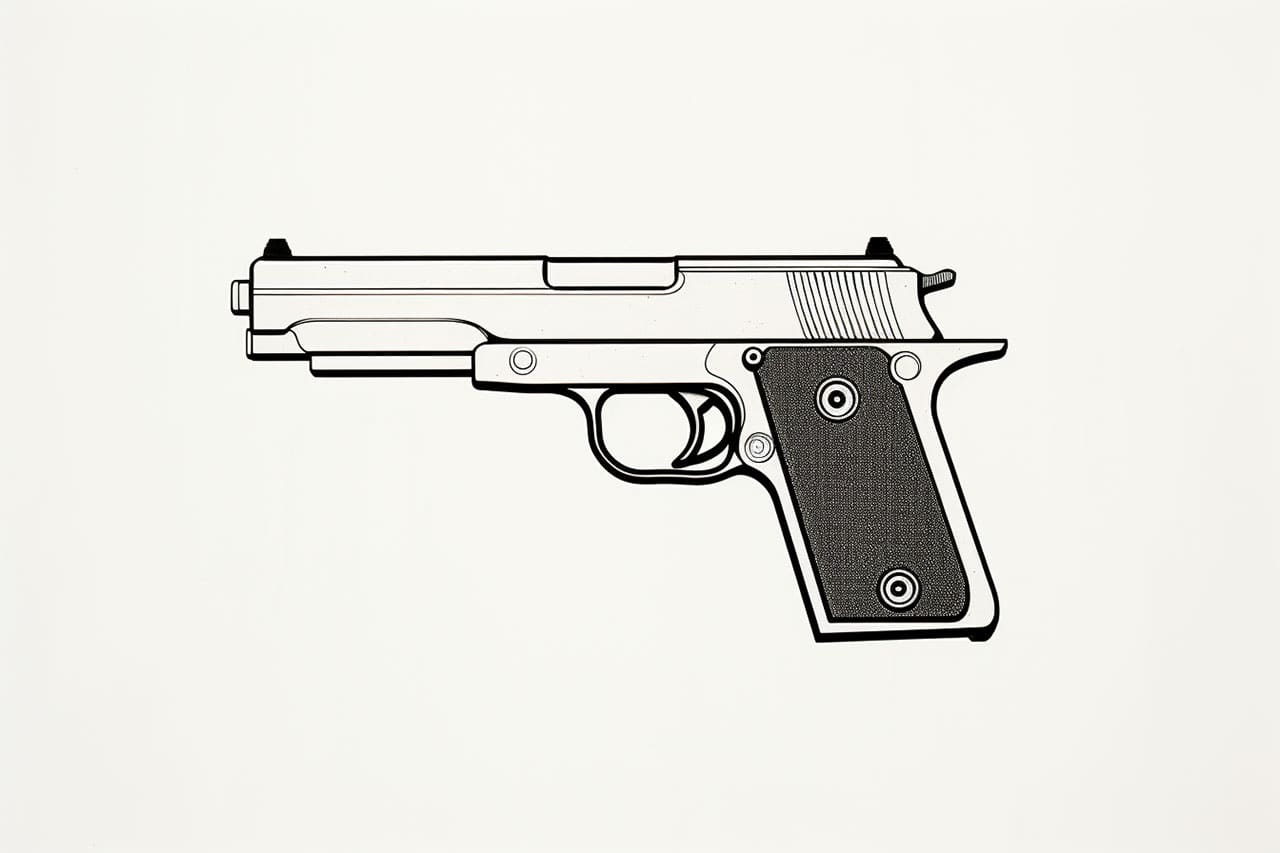
Start by lightly sketching the basic shape of the gun. You can use simple shapes like rectangles, squares, and circles to outline the main body of the gun. Pay attention to proportions and try to get the overall shape right.
Step 2: Add Details to the Gun Barrel
Next, add more details to the gun barrel. Start by drawing a long rectangle shape for the barrel and add a smaller rectangle at the end for the muzzle. Sketch any additional features such as sights or vents on the barrel as well.
Step 3: Outline the Trigger and Trigger Guard
Now, focus on drawing the trigger and trigger guard. These are usually located near the handle of the gun. The trigger is typically a small rectangular shape, while the guard is curved around it. Take your time to get the proportions right.
Step 4: Draw the Handle of the Gun
Moving on to the handle, sketch its shape using curved lines. Pay attention to the curvature of the grip and make sure it feels comfortable and realistic. Add any grip patterns or textures as desired.
Step 5: Add Details to the Gun Body
In this step, it’s time to add more details to the gun body. You can draw features such as safety switches, magazine releases, or any other characteristic elements that your specific gun may have. Take your time to add these details accurately and with precision.
Step 6: Refine the Outline
Now that you have sketched the main features of the gun, it’s time to refine the outline. Go over your initial sketch and darken the lines, making them more defined and clean. Use an eraser to remove any unnecessary guidelines or mistakes.
Step 7: Add Shadows and Highlights
To make your gun drawing more realistic, add shadows and highlights. Visualize a light source and imagine where the shadows would fall on the gun. Use hatching or cross-hatching techniques to create depth and dimension. You can also use a fine-tip marker or pen to outline certain areas and make them stand out.
Step 8: Coloring (Optional)
If you prefer a colored drawing, now is the time to bring out your colored pencils or markers. Select colors that match the gun you are drawing or use your imagination to create a unique design. Add colors gradually, building up layers to create depth and shading.
Conclusion
Congratulations! You have successfully learned how to draw a gun in an easy and straightforward manner. By following these step-by-step instructions, you can create a realistic gun drawing with precision and finesse. Remember to practice regularly to further improve your skills. Happy drawing!

