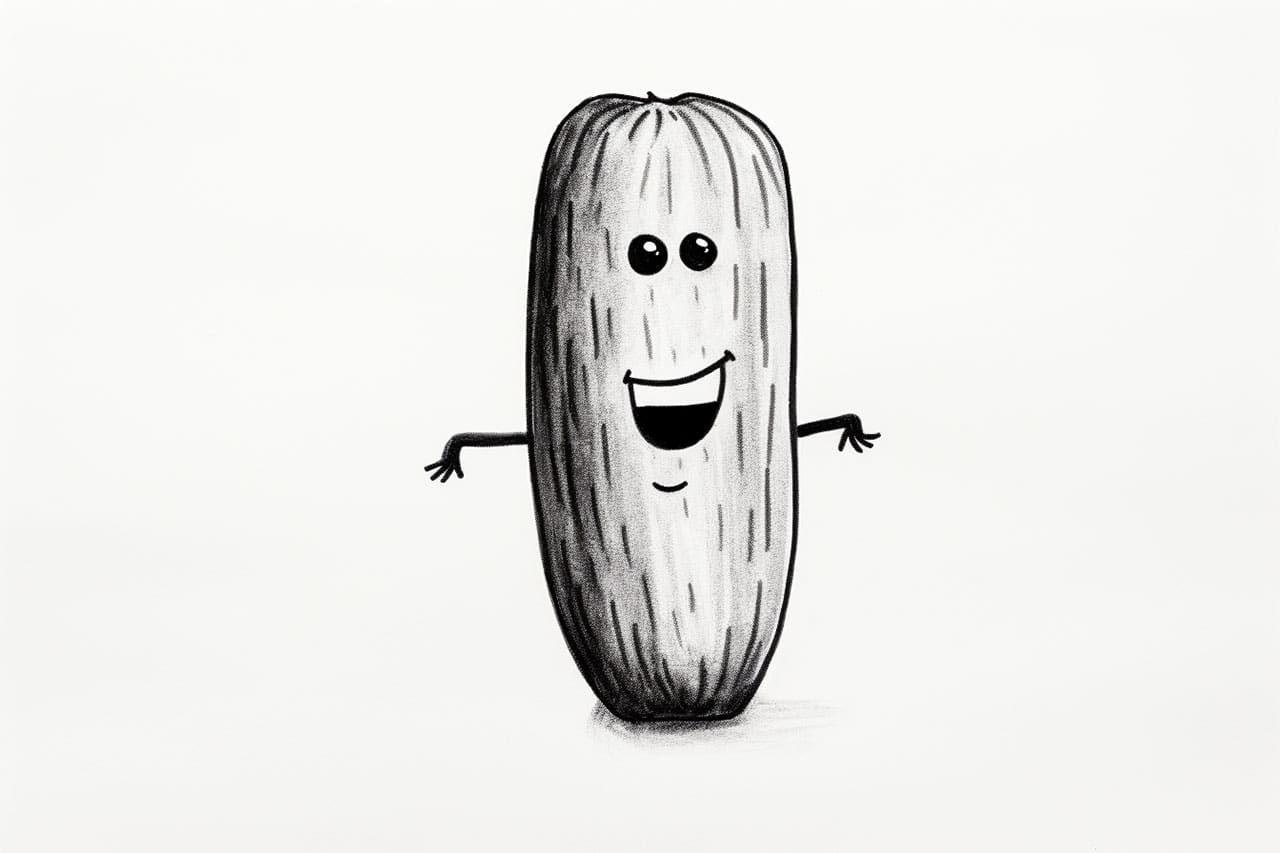
Drawing can be a wonderful way to express your creativity and bring your imagination to life. If you’re interested in learning how to draw a pickle, you’re in the right place! In this step-by-step guide, I will walk you through the process of how to draw a pickle in a clear, clean, and concise manner. So grab your paper and pencil, and let’s get started!
Materials Required
Before we begin, let’s gather all the materials you’ll need to draw a pickle:
- Paper: You can use any type of paper for this drawing, but a smooth surface like drawing paper or sketch paper would work best.
- Pencil: A regular HB pencil or any other pencil you feel comfortable using (check out our recommendations).
- Eraser: It’s always good to have an eraser handy to fix any mistakes along the way.
- Colored Pencils (optional): If you want to add some color to your pickle drawing, colored pencils can be a great addition.
Now that we have all our materials ready, let’s dive into the step-by-step instructions for drawing a pickle!
Step 1: Draw the Outline
To start, let’s draw the outline of the pickle. Begin by drawing a slightly curved vertical line in the center of your paper. This line will serve as the guideline for the pickle’s shape. Keep in mind that pickles are often irregular and bumpy, so don’t worry too much about making a completely smooth line.
Step 2: Add the Top and Bottom Curves
Next, draw a curved line at the top and bottom of the guideline to create the rounded ends of the pickle. These lines should follow the general shape of the pickle but can have some variation to make it look more natural.
Step 3: Draw the Bumps
Pickles are known for their bumps and texture, so let’s add some! Draw small, irregular bumps all along the pickle’s surface. These can be different in size and shape, so feel free to get creative here. Remember to keep the bumps relatively small and evenly spaced to give your pickle a realistic appearance.
Step 4: Define the Contour
Now, let’s define the pickle’s contour and give it a more three-dimensional look. Start by drawing a slightly curved line on one side of the pickle, following the general shape of the bumps. Repeat this step on the other side, mirroring the first contour line. These lines will add depth and volume to your pickle drawing.
Step 5: Shade the Pickle
To make your pickle drawing more realistic, let’s add some shading. Identify the light source in your drawing, and imagine that the light is coming from one direction. Shade the areas of the pickle that are away from the light source, creating a darker tone with your pencil. Leave the areas close to the light source lighter or even leave them completely unshaded for highlights.
Step 6: Add Details
Now that the basic shape and shading are complete, let’s add some additional details to make our pickle drawing more interesting. Draw some small lines or dots on the surface of the pickle to represent the texture, such as the tiny seeds inside. You can also add some shading to the bumps to make them appear more defined and realistic.
Step 7: Optional – Color your Pickle
If you want to add some color to your drawing, grab your colored pencils and choose a shade of green that resembles a pickle. Color the entire pickle, leaving the highlight areas blank or lightly colored to maintain the three-dimensional effect. You can also add a touch of yellow or white to create highlights and make your pickle drawing pop.
Conclusion
Congratulations! You have successfully drawn a pickle from start to finish. I hope you found this step-by-step guide helpful and enjoyable. Remember, practice makes perfect, so keep drawing and experimenting with different techniques. Soon, you’ll be able to draw all sorts of fruits and vegetables with ease.
So go ahead, grab your paper and pencil, and let your creativity flow as you draw a pickle!