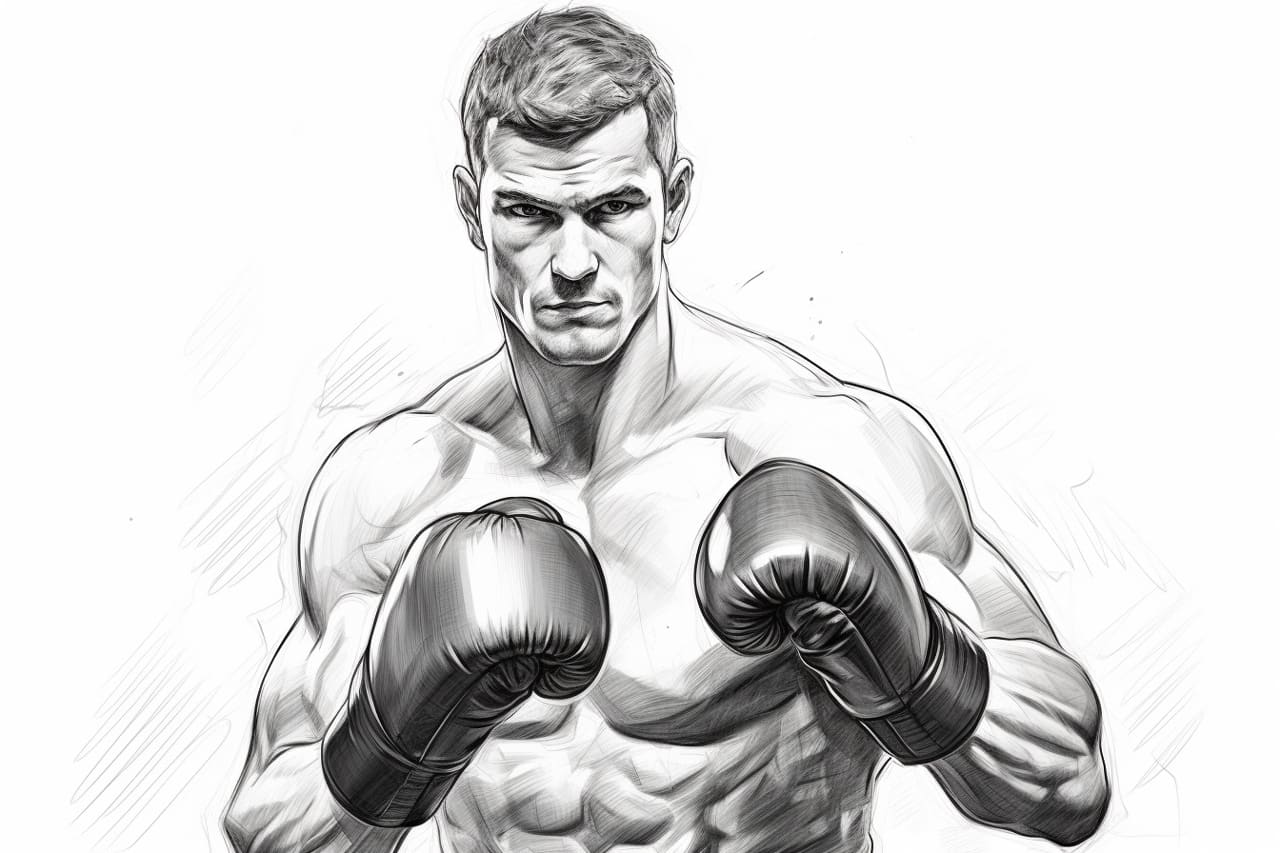
Welcome to this step-by-step guide on how to draw a boxer! Whether you are a beginner or an experienced artist, this tutorial will take you through the process of creating a realistic and dynamic portrait of a boxer. By following these simple instructions, you will be able to capture the strength, intensity, and grace of this athletic figure. So, let’s get started!
Materials Required
Before we begin, make sure you have the following materials:
- Pencil
- Eraser
- Paper
- Drawing board or table
- Reference photo of a boxer
Now that you have all the necessary materials, let’s move on to the step-by-step instructions.
Step 1: Start with Basic Shapes
Begin by sketching the basic shapes to establish the pose of the boxer. Use simple geometric shapes like circles and ovals to represent the head, torso, and limbs. This initial framework will serve as a guide for the rest of the drawing.
Step 2: Define the Proportions
Now, it’s time to refine the proportions of the boxer. Pay close attention to the reference photo and compare the sizes of different body parts. Adjust the size and position of the shapes to make them more accurate. Use light, loose lines for this stage as you will be making further adjustments later on.
Step 3: Add the Features
Next, start adding details to the boxer’s face. Begin with the eyes, nose, and mouth. Pay attention to the angle and shape of each feature, as it contributes to the expression and character of the boxer. Use light strokes to outline the features before adding more depth and definition.
Step 4: Work on the Musculature
Now, focus on capturing the muscular physique of the boxer. Observe the reference photo carefully and identify the prominent muscles. Use curved lines to define the contours of the muscles. Pay attention to the light and shadows to create a three-dimensional effect. Remember to maintain consistency with the pose and proportions established earlier.
Step 5: Refine the Details
In this step, start refining the details of the boxer’s face and body. Pay attention to the smaller features such as the eyebrows, ears, and hair. Gradually add more definition and shading to give your drawing a realistic look. Take your time with this step, as attention to detail is crucial for achieving a lifelike portrait.
Step 6: Bring the Drawing to Life
Now that the major details are in place, it’s time to add depth and shading to bring your drawing to life. Observe the reference photo for areas of light and shadow, and use hatching and cross-hatching techniques to create texture and dimension. Build up the shading gradually, starting with lighter tones and gradually adding darker tones for a realistic effect.
Step 7: Final Touches
Once you are satisfied with the shading and overall appearance of your drawing, take a step back and assess it as a whole. Make any necessary adjustments to ensure accuracy and balance. Use an eraser to clean up any stray marks or smudges. You can also add additional details or highlights to enhance certain areas and create a focal point.
Conclusion
Congratulations! You have successfully learned how to draw a boxer. By following these step-by-step instructions and practicing regularly, you will improve your skills and create stunning artworks. Remember to be patient with yourself and enjoy the process of creating art. With time and dedication, you will continue to refine your techniques and create impressive drawings.
So grab your materials, find a reference photo, and let your creativity flow as you embark on your journey to draw a boxer!