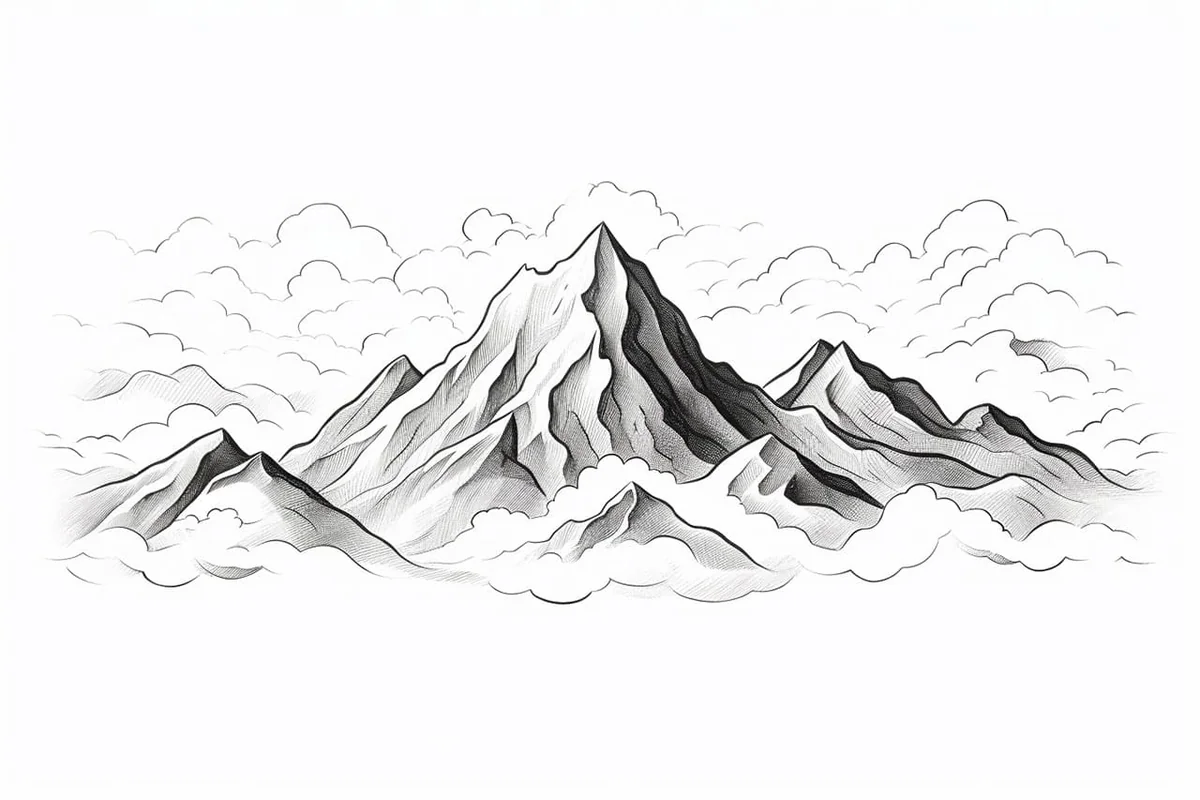
How to Draw a Mountain in 6 Simple Steps
Learn how to draw with this step-by-step tutorial.
Materials You'll Need
- Drawing paper
- Pencil (HB or 2B)
- Eraser
- Colored pencils
- Blending stump
- Watercolor paints
Drawing a mountain is more than just sketching a few jagged lines—it's about capturing the grandeur, depth, and rugged beauty of nature's towering peaks. Whether you're illustrating a serene landscape or an adventurous alpine scene, mastering the art of drawing mountains will elevate your artistic skills and bring breathtaking scenery to life on paper.
In this step-by-step tutorial, we'll guide you through the process of how to draw a mountain. You'll learn how to structure the peaks, add depth with shading, and create textures that mimic the natural formations of rocky cliffs and snow-capped summits. Whether you're a beginner experimenting with landscapes or an experienced artist looking to refine your skills, this guide will provide you with the techniques needed to make your mountain drawings truly stand out.
So grab your pencils, find your inspiration, and let's embark on this artistic journey to draw a magnificent mountain scene! ️✨ ️✨
Materials Required
-
Drawing paper
How to Draw a Mountain Step-by-Step
Step 1: Sketch the Basic Outline
To begin your mountain drawing, start with a light sketch of its overall shape. Mountains come in all sorts of forms—some with sharp, jagged peaks and others with smooth, rolling slopes. Using a pencil, draw a rough outline of your mountain range, focusing on the size and composition of the peaks. Begin with a sweeping curve or multiple overlapping lines to establish the base of your mountain, giving it a natural, grand appearance. Keep your strokes light, as you'll refine the shapes later.
Step 2: Add Details to the Mountain
Now that the basic structure is in place, it's time to add depth and detail to make your mountain look more realistic. Start by refining the peaks and ridges, giving them rugged, uneven edges. Mountains are rarely symmetrical, so vary the slopes and angles to create a more organic look.
To add realism, sketch ridges along one side of the peaks, indicating areas of rock formations and cliffs. You can also add cracks, crevices, and smaller rock formations along the slopes to create texture. If your mountain is snow-capped, leave some areas blank at the peaks while adding sharper, defined lines lower down to show the transition between snow and exposed rock.
Step 3: Draw the Foreground and Landscape Elements
To give your mountain a sense of scale, add elements to the foreground. Sketch trees, shrubs, or grasslands at the base of the mountain to provide contrast between the rugged peaks and the softer terrain below. A mix of evergreens and deciduous trees can help create variety in your landscape.
You can also add boulders, winding paths, or a river flowing from the mountain to enhance the scene's natural feel. The inclusion of these elements makes your drawing more dynamic and adds a sense of depth and distance.
Step 4: Add Shading and Texture
Now, it's time to bring your mountain to life with shading and texture. First, determine the direction of your light source—this will help you understand where shadows should fall. Shade one side of the mountain more heavily to indicate areas in shadow, while leaving the other side lighter to suggest sunlight hitting the peaks.
Use different shading techniques such as:
-
Hatching (parallel lines) for lighter shading
-
Cross-hatching (overlapping lines) for darker areas
-
Stippling (small dots) for added texture
-
Blending with a smudge tool or your finger to create soft gradients
For a rocky appearance, add small cracks and jagged lines following the contours of the slopes. For a snowy mountain, shade the lower parts while keeping the peaks clean and crisp.
Step 5: Draw the Sky and Background Elements
The sky plays a vital role in setting the mood of your mountain scene. Use soft and light pencil strokes to create a serene, cloud-filled sky or bold, dynamic lines for a dramatic, stormy effect.
If you want to add atmosphere, sketch in some clouds wrapping around the peaks, giving the impression of misty mountain tops. You can also add birds soaring in the distance for an extra touch of realism. If your scene includes a sunrise or sunset, consider shading gradients in the background to create a warm, glowing effect.
Step 6: Final Touches and Refinements
Now that your mountain is fully drawn, take a step back and assess your work. Make any necessary refinements to the lines, shading, or textures to enhance the realism of your drawing. Adjust the contrast by darkening shaded areas or adding highlights where needed.
If you'd like to go even further, consider inking your outlines for a more defined look or adding color with colored pencils or watercolors. Experiment with different styles—maybe try a more detailed, realistic mountain or a stylized, fantasy-inspired version.
Final Thoughts on How to Draw a Mountain
Congratulations! You've successfully created a stunning mountain scene. Drawing mountains is a fantastic way to practice landscapes, shading techniques, and composition while expressing your creativity. With continued practice, you'll be able to experiment with different styles, seasons, and perspectives to create even more breathtaking mountain illustrations.
So, grab your sketchbook and keep exploring the art of drawing nature's towering giants! ️✨
Tip: To effectively capture the essence of mountains in your drawings, consider using a combination of techniques to create depth and texture. Start by sketching the basic shapes of the peaks with a light pencil, focusing on the overall silhouette before adding details. When shading, use a range of pencil grades; a softer pencil (like 4B) can create rich, dark areas, while a harder pencil (like H) is perfect for lighter, more delicate highlights.
Remember to observe real mountain ranges for inspiration — look for the way light falls on the surfaces and the subtle color variations in the rock and snow. Finally, don't hesitate to experiment with your eraser; it can be a fantastic tool for adding highlights and refining the edges of your peaks, enhancing the three-dimensional feel of your mountain scene. Happy drawing!
Gallery of Mountain Drawings


Fun Facts About Mountains
-
Mountains are formed through tectonic forces, volcanic activity, and erosion, resulting in towering peaks that shape landscapes around the world.
-
The highest mountain in the world is Mount Everest, which stands at 29,032 feet (8,849 meters) above sea level.
-
Mountains play a crucial role in regulating the Earth's climate, serving as barriers that influence wind and weather patterns.
-
Mountain ecosystems host a diverse range of flora and fauna, many of which are specifically adapted to high-altitude environments.
-
The Andes, running along the western edge of South America, represent the longest continental mountain range in the world, stretching over 4,300 miles (7,000 kilometers).
-
Throughout history, mountains have been revered as sacred places and have significant spiritual and cultural importance to many indigenous communities.
-
Approximately 22% of the Earth's land surface is covered by mountains.
-
The Himalayas, home to ten of the world's fourteen highest peaks, form a massive barrier separating the plains of the Indian subcontinent from the Tibetan Plateau.
-
A phenomenon called orographic lift causes high levels of precipitation on the windward side of mountains, leading to lush vegetation, while the leeward side often experiences a rain shadow effect.
-
Climbing mountains has long been a pursuit of adventurers and explorers, providing both a physical and mental challenge.
Mountain Draw Battle
Two of our community artists compete to see who can draw the better mountain. Who do you think won the battle? Let us know in the comments section below!
Ava Delgado (The Dot Diva)
A graphic designer who fell in love with stippling, Ava builds form and gradient through thousands of tiny dots. Her patience and precision define her signature approach.


Sofia Chen (The Watercolor Wizard)
Sofia Chen, known as The Watercolor Wizard, creates ethereal masterpieces that blend reality with dreams. Her fluid brushwork and delicate color transitions capture the essence of subjects with a magical, flowing quality that seems to dance on paper.

Suggestions for Scenes and Settings for Mountain Drawings
-
Sunrise Over the Peaks: Draw a mountain range at dawn, with the first rays of sunlight illuminating the snowy peaks.
-
Autumn Foothills: Illustrate a mountain range surrounded by vibrant autumn foliage, with hues of red, yellow, and orange.
-
Snow-Capped Summit: Create a scene of a towering, snow-capped mountain with clouds gently wrapping around its peak.
-
Mountain Lake: Depict a serene mountain landscape with a crystal-clear lake reflecting the neighboring peaks and sky.
-
Wildflower Meadow: Draw a mountain meadow bursting with colorful wildflowers, with majestic mountains rising in the background.
-
Sunset Vista: Illustrate a sunset view from a mountain vantage point, with warm, golden light spreading across the landscape.
-
Winter Wonderland: Create an alpine scene with snow-covered trees and hills, accented by the crisp, frosty air.
-
Ancient Ruins: Depict ancient ruins situated on a mountainside, hinting at a lost civilization's influence amidst the rugged terrain.
-
Valley Pathway: Draw a winding pathway leading through a mountain valley, inviting viewers to imagine a journey through the landscape.
-
Alpine Village: Illustrate a quaint village nestled in a mountain valley, with picturesque cottages and trails weaving through the scenery."