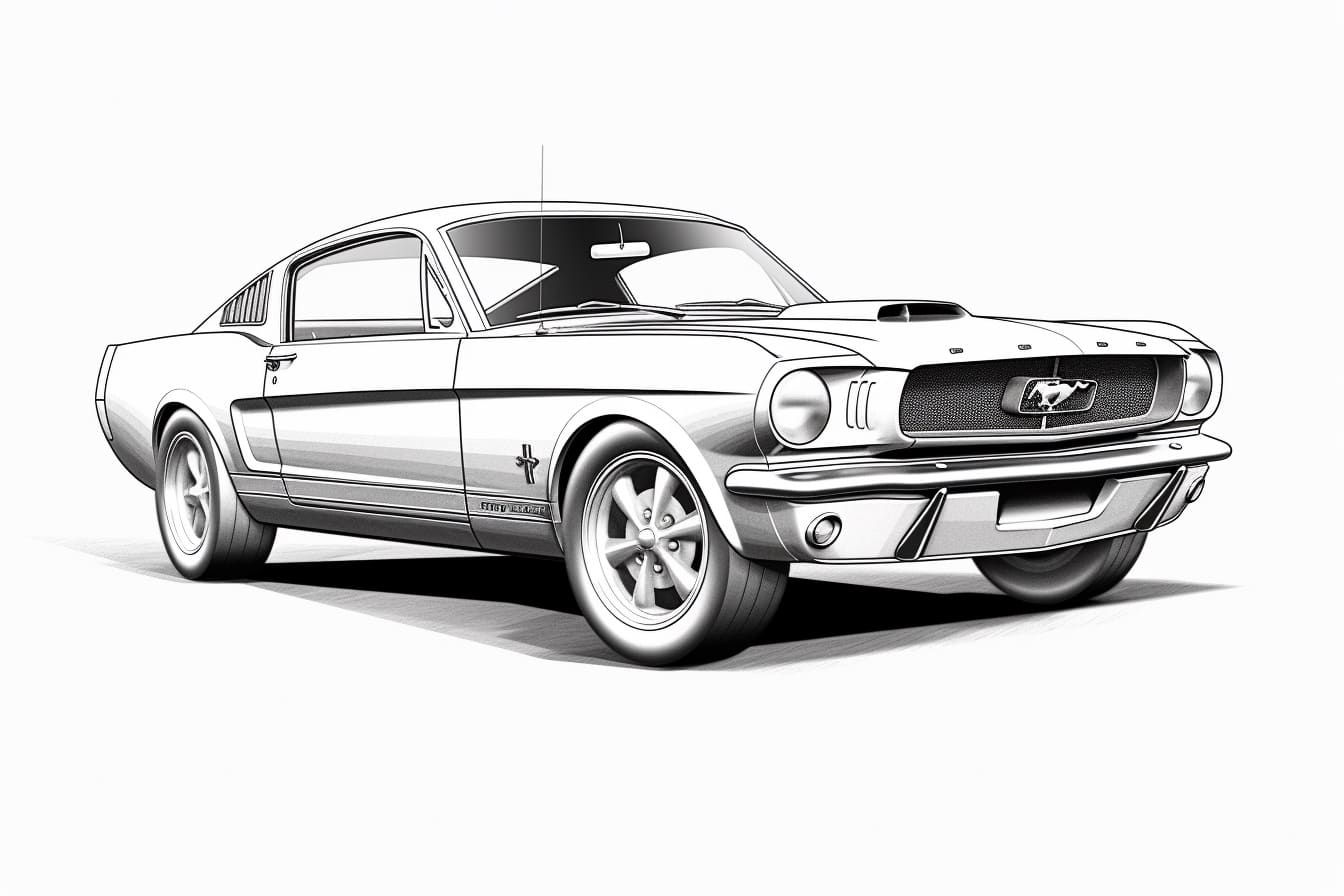
Welcome to this step-by-step guide on how to draw a Ford Mustang! Whether you’re an aspiring artist or just a fan of this iconic car, this tutorial will help you create a realistic and impressive drawing of a Ford Mustang. So grab your pencils and let’s get started!
Materials Required
Before we begin, make sure you have the following materials:
- Drawing paper or sketchbook
- Pencils (HB, 2B, 4B, and 6B)
- Eraser (kneaded or vinyl)
- Sharpener
- Ruler
- Reference photo of a Ford Mustang (optional, but recommended)
Having these materials ready will ensure a smooth drawing process and allow you to achieve the best results.
Step 1: Basic Outline
Start by lightly sketching the basic outline of the Ford Mustang. Use a HB pencil and make loose and light strokes. Begin with a rectangular shape for the car body, and add circles for the wheels. Don’t worry about adding details at this stage; focus on getting the proportions and positioning right.
Step 2: Define the Car Body
Using a 2B pencil, start refining the outline of the car body. Pay attention to the curves and angles of the Ford Mustang, capturing its distinctive shape. Use light and smooth strokes to avoid any harsh lines. Take your time in this step to ensure accuracy.
Step 3: Wheels and Tires
Next, draw the wheels and tires of the Ford Mustang. Use the reference photo to guide you in capturing the right proportions and details. Pay attention to the rims, spokes, and tire treads. You can use various shades of pencils like 2B, 4B, and 6B to add depth and shading to the wheels.
Step 4: Windows and Windshield
Now, draw the windows and windshield of the Ford Mustang. Use light strokes to create the outlines of the windows, and pay attention to any reflections or angles. Use a ruler to ensure straight lines for the windshield and side windows. You can also add some shading to the windows to create a sense of depth.
Step 5: Details and Grille
In this step, add the details and grille to the front of the Ford Mustang. Pay close attention to the shape and positioning of the grille, as it is a defining feature of the car. Use a sharper pencil, like a 2B or 4B, to create darker lines for the grille and other intricate details.
Step 6: Headlights and Taillights
Now, draw the headlights and taillights of the Ford Mustang. Again, use the reference photo to guide you in capturing the right shapes and details. Add shading and highlights to the lights to give them a realistic look. Use a softer pencil, like a 4B or 6B, to achieve the desired effect.
Step 7: Shadows and Shading
To bring your drawing to life, it’s time to add shadows and shading. Observe the reference photo to identify the areas of the Ford Mustang that are darker or cast shadows. Use a combination of different pencils (2B, 4B, and 6B) to create varying shades and depths. Build up the values gradually and blend them using a blending stump or your finger for a smooth transition.
Step 8: Add Details and Final Touches
In this final step, add any remaining details that will enhance the overall appearance of your drawing. Pay attention to highlights, reflections, and small features that make the Ford Mustang unique. Use your pencils to refine any areas that need more definition.
Conclusion
Congratulations on completing your drawing of a Ford Mustang! By following these step-by-step instructions and using your artistic skills, you’ve created a realistic representation of this iconic car. Remember, practice makes perfect, so don’t be discouraged if your first attempt doesn’t turn out exactly as you envisioned. Keep practicing and experimenting with different techniques to further improve your drawing skills.
We hope you enjoyed this tutorial on how to draw a Ford Mustang. Now, go ahead and showcase your artwork to the world! Happy drawing!