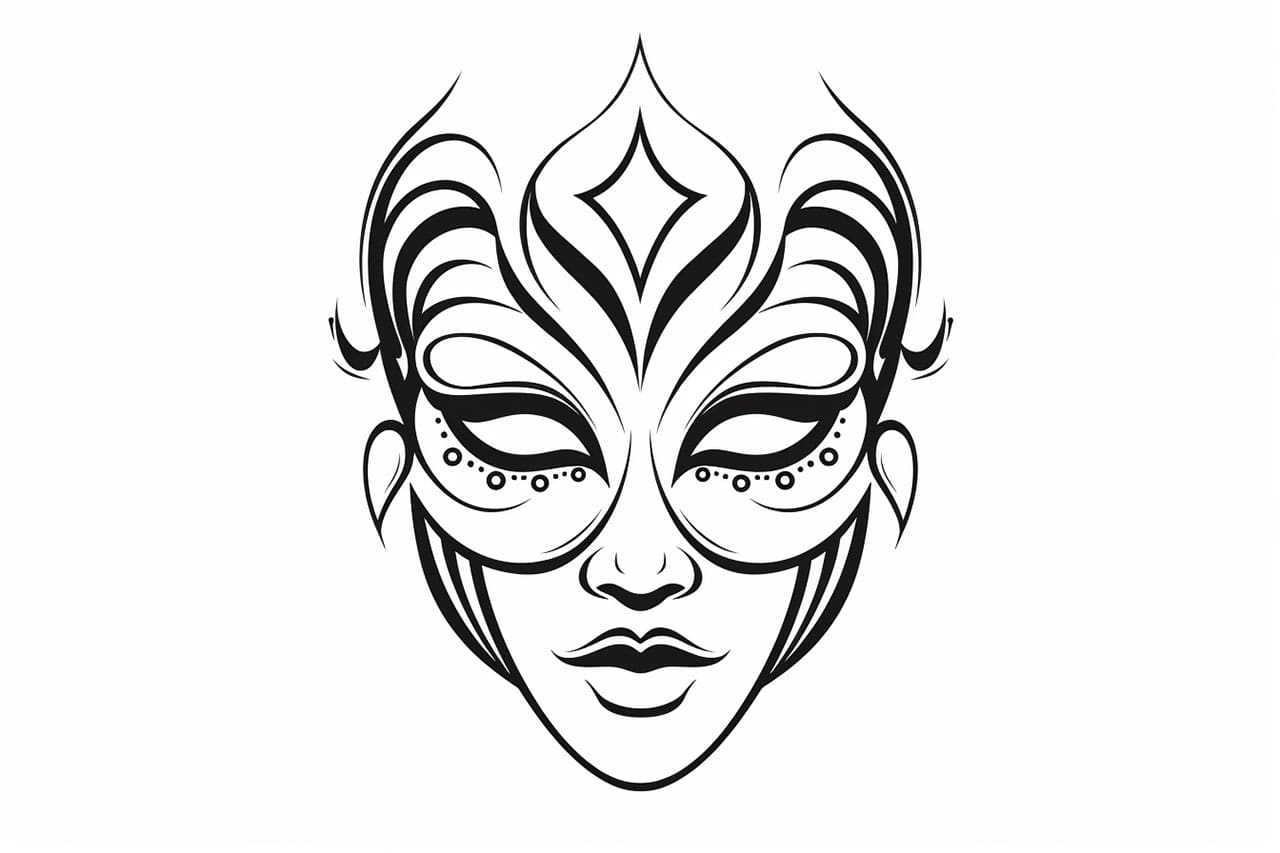
Masks can be a fun and creative way to express yourself, blending elements of art, culture, and imagination into one captivating design. Whether you’re crafting a mask for a costume party, a theatrical production, a cultural celebration, or simply as a piece of expressive art, drawing your own mask allows you to step into a different persona and explore your creativity in a bold and visual way. From mysterious Venetian masks to vibrant carnival styles or even fantasy-inspired designs, masks have long been a medium for transformation and storytelling.
In this step-by-step guide, we’ll walk you through the process of how to draw a mask from scratch—starting with the basic shape and structure, then exploring decorative features such as patterns, textures, and embellishments. You’ll learn how to personalize your mask to reflect your unique style, mood, or theme. Whether you prefer something elegant and refined or wild and whimsical, these instructions will help you design a mask that’s both visually striking and entirely your own. So grab your pencil and let’s begin crafting a mask that makes a statement!
Materials required:
- Paper
- Pencil
- Eraser
- Colored pencils or markers (optional)
- Scissors
- String or elastic cord
- Decorations such as feathers, sequins, or glitter (optional)
Now that you have gathered your materials, let’s get started!
Step 1: Choose a mask design
Before you begin drawing your mask, it’s important to have a clear idea of what kind of design you want to create. Consider the theme or purpose of the mask, as well as any specific colors or symbols you want to incorporate. You can find inspiration from photographs, artwork, or even other masks.
Step 2: Outline the basic shape
Using a pencil, lightly sketch the basic shape of your mask on a piece of paper. You can start with a simple oval or a more elaborate shape depending on your design. Remember to leave enough space for your eyes and nose. Don’t worry about making it perfect at this stage; you can always make adjustments later.
Step 3: Refine the shape
Once you are satisfied with the overall shape, go over your initial sketch and refine the lines, making them more precise. Pay attention to the curves and angles, ensuring that the proportions are pleasing to the eye. It’s okay to take your time and make multiple passes until you are happy with the result.
Step 4: Add facial features
Now it’s time to add the eyes, nose, and mouth to your mask. Start by lightly sketching the outlines of these features within the designated areas. Experiment with different shapes and sizes to achieve the desired effect. Once you are satisfied with the placement, go over the lines with more defined strokes.
Step 5: Enhance the details
To give your mask more depth and character, add decorative details such as patterns, textures, or contours. This is where you can let your creativity shine. Experiment with different techniques, such as cross-hatching or stippling, to create interesting textures and shading. Take your time and have fun with it!
Step 6: Erase and refine
Take a step back and evaluate your mask so far. If there are any lines or details that you’re not happy with, now is the time to make adjustments. Use an eraser to carefully remove any unwanted marks, and then go over them again with your pencil to refine and improve upon them.
Step 7: Color your mask (optional)
If you prefer a colored mask, now is the time to add some color. Use colored pencils or markers to fill in the different areas of your design. Consider your chosen theme or color scheme, and use shading and blending techniques to create dimension and interest. Don’t be afraid to experiment with different colors and combinations.
Step 8: Cut out your mask
Once you are satisfied with your drawing, carefully cut out the mask along the outline you have created. Be precise and take your time to ensure clean edges. Remember to cut out the eye holes as well, making sure they are aligned with your own eyes for a comfortable fit.
Step 9: Secure it in place
Attach a string or elastic cord to both sides of the mask, ensuring that it is securely fastened. You can tie the ends together or use staples or glue to hold them in place. Make sure the mask fits comfortably and securely on your face, allowing for easy movement and breathing.
Step 10: Add decorations (optional)
To add an extra touch of flair to your mask, consider adding decorations such as feathers, sequins, or glitter. You can glue these onto the front of the mask, using your imagination to create a design that complements your overall concept.
Congratulations! You have successfully drawn and created your very own mask. Whether you’re attending a costume party, performing in a play, or simply engaging in some imaginative play, your mask is sure to make a statement and stand out from the crowd.
Conclusion
In this article, we have explored the step-by-step process of drawing a mask. By following these instructions, you can create a unique and personalized mask that reflects your own style and imagination. Remember to start with a clear design concept, refine the shape and features, add details and color, cut out the mask, secure it in place, and optionally add decorations. With these techniques, you’ll be ready to make a mask for any occasion.
Fun Facts About Masks
- Masks have been used by humans for over 9,000 years. They have played roles in rituals, entertainment, and protection.
- Venetian masks are an iconic symbol of the Carnival of Venice, known for their elaborate designs and use in masquerade balls.
- Masks are vital in many theatrical traditions, such as Japanese Noh theater and Greek drama, to express characters or emotions.
- During the European medieval period, masks were often used in “mummer” plays and other civic rituals.
- In many African cultures, masks are worn during ceremonies to represent spirits, ancestors, or deities.
- Animal masks in various cultures symbolize strength, fertility, or protection, often used in hunting magic rituals.
- Traditionally, some Native American tribes crafted intricate masks for ceremonial purposes, often using wood, feathers, and beads.
- The anonymity provided by a mask can empower individuals, a concept explored in both psychology and literature.
- During pandemics, masks have historically been essential for reducing the spread of viruses and protecting public health.
- Masked characters in popular culture, like superheroes or villains, often use masks to conceal their identities or enhance their mystique.
Suggestions for Scenes and Settings for Mask Drawings
- Venetian Masquerade Ball: Illustrate a grand ballroom filled with elegantly dressed figures in ornate masks, dancing under shimmering chandeliers.
- Theatrical Performance: Capture a dramatic scene from a play where characters wear masks to convey performing rich emotions and gestures.
- Ceremonial Gathering: Depict a cultural ceremony where participants are adorned with symbolic masks, drumming and chanting in a mystic circle.
- Enchanted Forest: Imagine a hidden glade where mystical creatures wear masks made of flowers, leaves, and glowing gems.
- Masked Parade: Draw a vibrant street parade with participants donning colorful masks, streamers flying and confetti in the air.
- Superhero Hideout: Create a lair filled with various masked figures, each with unique emblems and gadgets, planning their next adventure.
- Masked Ball in the Sky: Picture a magical scene where characters in feathered masks dance on clouds, with stars twinkling all around.
- Historical Festival: Illustrate an ancient festival scene where masks play a central role, representing different aspects of nature or mythology.
- Animal Spirit Masks: Show an artist’s studio filled with masks inspired by various animals, capturing the essence of each creature’s traits.
- Masked Revolution: Design a scene of masked figures in a city landscape, symbolizing unity and change amid a backdrop of urban architecture.
Related posts:
 How to Draw a Christmas Ornament in 8 Easy Steps
 How to Draw an Aquarium
 How to Draw Christmas Presents in 6 Simple Steps
 How to Draw a Christmas Village in 7 Simple Steps
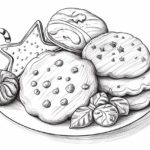 How to Draw Christmas Cookies in 8 Delicious Steps
 How to Draw a Cowboy Hat in 7 Simple Steps
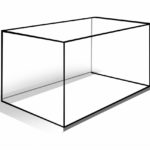 How to Draw a Rectangular Prism
 How to Draw a Crown in 6 Simple Steps