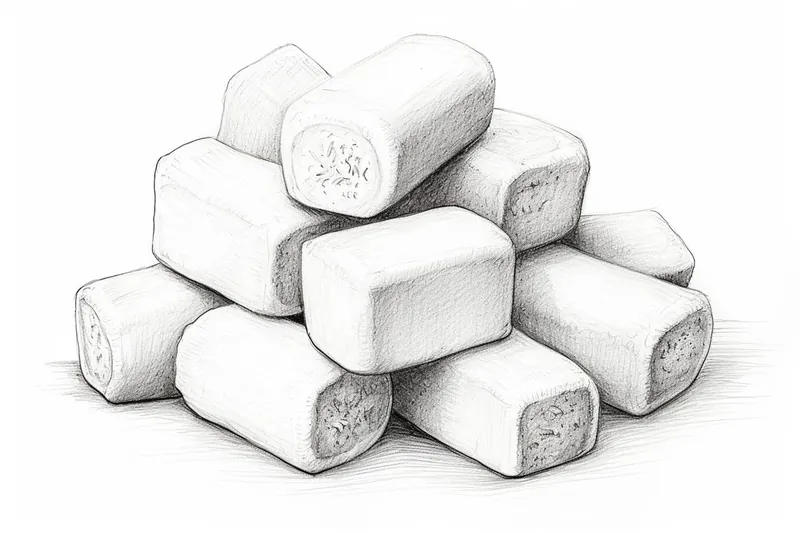
How to Draw a Marshmallow
Learn how to draw a mouth-watering marshmallow with this step-by-step art tutorial. Create a realistic and delicious representation of a marshmallow in just a few easy steps.
Materials You'll Need
- Pencil
- Paper
- Eraser
Welcome to this step-by-step guide on how to draw a marshmallow! Whether you're an experienced artist or just starting out, this tutorial will walk you through the process of creating a realistic and mouth-watering marshmallow drawing. So grab your art supplies and let's get started!
Materials Required
To create your marshmallow masterpiece, you will need the following materials:
- Drawing paper: Use a smooth, heavyweight paper that can handle different techniques and mediums.
- Pencil: A regular HB pencil or a mechanical pencil will work fine for sketching.
- Eraser: Have a good-quality eraser handy to correct any mistakes or smudges.
- Fine-tip pen: This will be used for adding details to your drawing.
- Colored pencils or markers: Choose your preferred medium for adding color to your marshmallow.
Now that you have all your materials ready, let's begin the creative process!
Step 1: Outline the Basic Shape
Start by lightly sketching an oval or circle shape in the center of your paper to represent the outline of the marshmallow. Keep the lines light and loose, as this will only serve as a guide for your drawing.
Step 2: Add a Curved Base
To give your marshmallow a realistic look, add a curved base at the bottom of the oval shape. This will create the illusion of the marshmallow resting on a surface. The curve should be subtle and follow the shape of the oval.
Step 3: Define the Marshmallow's Texture
Marshmallows have a unique texture that is soft and fluffy. To capture this, lightly draw short, curved lines across the entire surface of the marshmallow. These lines should mimic the texture of a real marshmallow, creating a sense of dimension and softness. Vary the length and direction of the lines to make it look more natural.
Step 4: Add Shadows and Highlights
To make your marshmallow drawing more realistic, it's important to add shading. Identify the direction of your light source and imagine where the shadows would fall on the marshmallow. Using your pencil, lightly shade the areas that would be in shadow, such as the sides and bottom of the marshmallow.
Next, determine the areas that would catch the most light and add highlights accordingly. Leave these areas untouched or use an eraser to create highlights. By carefully balancing the shadows and highlights, you'll give your marshmallow depth and dimension.
Step 5: Refine the Shape and Contours
Go back to your initial outline and refine the shape of your marshmallow. Erase any unnecessary lines and make sure the proportions are accurate. Pay attention to the contour of the marshmallow, ensuring that it looks smooth and rounded. Take your time during this step as it will greatly impact the final result.
Step 6: Draw the Wrapper (Optional)
If you want to add an extra element to your marshmallow drawing, you can draw a wrapper around it. Start by sketching the shape of the wrapper using straight lines and gentle curves. Then, add folds and creases to make it appear realistic. Remember to be mindful of perspective and the way the wrapper wraps around the marshmallow.
Step 7: Add Color and Details
Now it's time to bring your marshmallow to life with color! Use your colored pencils or markers to add a soft, pale hue to the marshmallow. Marshmallows usually have shades of white, cream, or light pink. Apply the color lightly and gradually build up the layers to create a smooth and gradient effect.
Once you're satisfied with the base color, use a fine-tip pen or colored pencils to add any necessary details. This may include the reflection of light, small cracks, or any other elements specific to your marshmallow. Be patient and precise during this step, as it will enhance the overall realism of your drawing.
Tip: To capture the soft, pillowy texture of a marshmallow, pay close attention to your shading technique. Begin by using your HB pencil to create a gentle gradient; apply light pressure at the top where light hits the marshmallow and gradually increase the pressure toward the base for deeper shadows. To enhance the three-dimensional effect, consider blending your pencil strokes with a blending stump or your fingers for a smoother transition. When adding color, use soft, circular motions with your colored pencils or markers to mimic the plush surface, and don't hesitate to layer colors to achieve a more realistic, glossy finish. Finally, for added detail, use your fine-tip pen to outline the edges softly, ensuring not to overpower the delicate appearance of your marshmallow.
Conclusion
Congratulations! You have successfully learned how to draw a mouth-watering marshmallow. By following these step-by-step instructions and using your artistic skills, you've created a realistic representation of this fluffy treat. Now you can enjoy this delightful drawing or even share it with others.
Remember, practice makes perfect, so don't be afraid to experiment with different styles, colors, and techniques. With time and dedication, you'll continue to improve your drawing skills. Enjoy the process and have fun creating!
Fun Facts About Marshmallows
- Marshmallows date back to ancient Egypt, where they were made from the sap of the marshmallow plant (Althaea officinalis) and used as a sweet treat for royalty.
- Modern marshmallows are made from sugar, water, and gelatin whipped into a fluffy texture, with no marshmallow plant involved!
- The name "marshmallow" comes from the marshmallow plant, which originally grew wild in marshy areas and was prized for its soothing properties.
- Marshmallows became popular in France in the 1800s, where confectioners created the first versions by hand-whipping sap and sugar into molds.
- Toasting marshmallows over a campfire became a popular American tradition in the early 20th century, eventually leading to the creation of s'mores.
- Marshmallows expand when heated because the air inside them heats up and the gelatin structure softens, causing them to puff up like magical pillows.
- Giant marshmallow sculptures and Guinness World Records exist, including the largest s'more ever made, weighing hundreds of pounds!
- Marshmallows come in many shapes and colors today—twisted ropes, rainbow swirls, holiday shapes, and even tiny marshmallow bits for hot cocoa.
- Marshmallows aren't just for desserts—they're also used in science experiments, like marshmallow catapults and microwave expansion tests!
- Marshmallows symbolize coziness, childhood, and fun, making them a perfect addition to cozy campfire scenes, winter treats, and whimsical illustrations.
Suggested Scenes and Settings for Marshmallow Drawings
- Campfire Toasting: Draw a classic campfire with marshmallows roasting on sticks, golden brown and just starting to melt, with sparks dancing in the night sky.
- Hot Cocoa Heaven: Illustrate a big cozy mug of hot chocolate overflowing with whipped cream and marshmallows, with steam swirling into little heart shapes.
- Marshmallow Mountain: Picture a fantastical landscape where giant marshmallows form fluffy hills and candy cane trees grow in between.
- S'mores Assembly Line: Create a fun close-up of graham crackers, chocolate squares, and gooey toasted marshmallows stacked into the perfect s'more.
- Marshmallow Rainstorm: Imagine a whimsical scene where soft marshmallows are falling from the sky instead of raindrops, piling up into a sweet, snowy landscape.
- Campout Under the Stars: Draw a tent scene with marshmallows roasting over a fire, twinkling stars above, and a sleepy dog curled up next to the campers.
- Marshmallow Friends: Design cute, anthropomorphic marshmallows with faces, arms, and legs, having a cheerful picnic or building a marshmallow snowman.
- Microwave Puff-Up: Illustrate the moment a marshmallow expands inside a microwave, pressing against the glass like a fluffy, gooey monster.
- Rainbow Marshmallow Factory: Picture a magical candy factory where marshmallows are created in bright pastel colors, traveling down conveyor belts in clouds of sugar dust.
- Winter Wonderland: Show a snowy outdoor scene with mugs of cocoa, snowmen, scarves, mittens—and a basket full of marshmallows ready for a fireside treat.