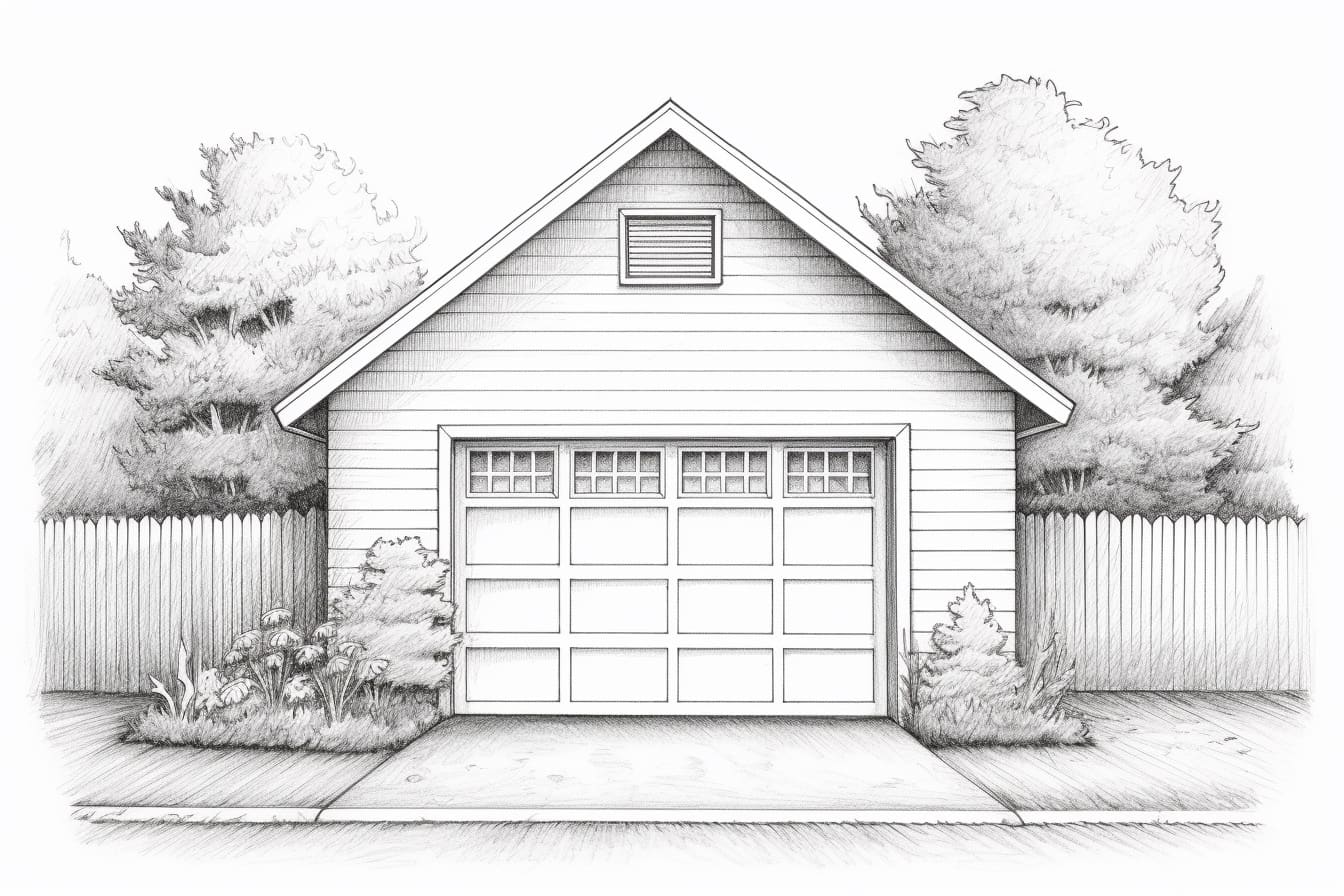
Garages are essential structures that provide shelter and storage for vehicles and other belongings. If you’re interested in drawing a garage for architectural design or fun, this guide will take you through the step-by-step process. Whether you’re a beginner or an experienced artist, follow these instructions to learn how to draw a garage in a detailed and realistic way.
Materials Required
Before diving into the drawing process, gather the following materials:
- Drawing paper or sketchbook
- Pencil set (ranging from HB to 6B)
- Eraser
- Ruler
- Compass (optional)
- Fine-tip black pen or marker (optional, for outlining)
Step 1: Sketch the Basic Shape of the Garage
Start by lightly sketching the basic outline of the garage. Determine the size and proportion you want for your drawing. Use light, loose lines to establish the structure and shape of the garage. Pay attention to details such as doors, windows, and the overall height and width.
Step 2: Add Details to the Structure
Once you have the basic shape, start adding details to the garage. Draw the roof, taking into consideration the slope and angle. Add windows and doors, keeping in mind their position and size. Use a ruler to ensure straight lines and symmetrical details. Adjust the proportions if needed.
Step 3: Include Additional Elements
To make your garage drawing more interesting, consider adding additional elements such as a driveway, garden, or surrounding landscape. Draw the driveway leading up to the garage, with attention to texture and perspective. Include trees, bushes, or other elements around the garage to create a more realistic scene.
Step 4: Refine the Outline
At this stage, refine the outline of the garage by making it more prominent and detailed. Use a darker pencil or a fine-tip black pen or marker to outline the main features of the structure. Pay attention to the edges, corners, and any architectural elements that require emphasis. Erase any unnecessary guidelines or light construction lines.
Step 5: Shade and Add Depth
To give your garage drawing depth and dimension, start adding shading. Observe the light source and determine where the shadows fall. Use different shades of pencil, gradually darkening certain areas to create a three-dimensional effect. Pay attention to the texture of the materials used in the garage, such as bricks, wood, or metal.
Step 6: Highlight and Add Texture
To enhance the realism of your garage drawing, add highlights and texture. Use a lighter pencil or an eraser to create highlights on surfaces where light is hitting directly. Add texture to various elements such as the roof, walls, and driveway by using cross-hatching or stippling techniques. This will give your drawing a more tactile and detailed appearance.
Step 7: Finalize the Drawing
Take a step back and evaluate your garage drawing as a whole. Make any necessary adjustments or refinements to ensure a well-balanced composition. Pay attention to the overall contrast, perspective, and level of detail. Once you are satisfied with the result, you can sign your drawing and consider it complete.
Conclusion
Drawing a garage can be a fascinating and rewarding experience. By following these step-by-step instructions, you can create a detailed and realistic garage drawing. Remember to take your time, pay attention to proportions and details, and have fun with the process. With practice, you’ll be able to create impressive garage drawings that showcase your artistic skills.