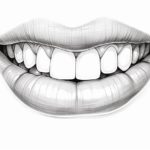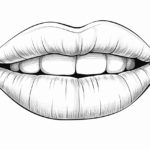
Welcome to this step-by-step guide on how to draw a mouth! Drawing facial features can be both challenging and rewarding, and the mouth is no exception. Whether you’re a beginner or an experienced artist looking to refine your skills, this article will provide you with clear and concise instructions to help you capture the essence of a mouth in your drawings.
Materials Required
Before we dive into the step-by-step process, let’s make sure we have all the necessary materials on hand:
- Sketchbook or drawing paper
- Pencils (preferably a range of graphite pencils, such as 2B, 4B, and 6B)
- Eraser
- Sharpeners
- Blending tools (tissue paper or blending stump)
Now that we have our materials ready, let’s begin!
Step 1: Basic Outline
Start by lightly sketching a horizontal line across your paper. This line will act as the baseline for the mouth. Next, draw a vertical line that intersects the horizontal line near the center. This vertical line will serve as a guide for positioning the lips.
Step 2: Upper Lip
Begin drawing the upper lip by lightly sketching a curved line above the horizontal line. The shape of the upper lip can vary depending on the expression you want to convey. Pay attention to the curves and angles of the lips as you sketch. Use light, gentle strokes to create a subtle and realistic effect.
Step 3: Lower Lip
Now, let’s move on to the lower lip. Start by drawing a slightly curved line below the horizontal line, mirroring the shape of the upper lip. The lower lip is typically fuller and slightly more rounded than the upper lip. Again, pay close attention to the subtle curves and angles as you sketch.
Step 4: Connecting the Lips
To connect the upper and lower lips, add a gentle curve that extends from one corner of the mouth to the other. This curve should follow the natural shape of the lips, creating a smooth transition between the two.
Step 5: Adding Detail
Now that we have the basic outline of the mouth, it’s time to add some detail. Start by lightly sketching the line that defines the center of the lips. This line will separate the upper and lower lips, creating a more realistic appearance.
Step 6: Shading and Highlights
To create depth and dimension, we need to add shading to our mouth drawing. Begin by identifying the areas of shadow on the lips. Typically, the corners and the space between the lips will have darker shading. Use a softer pencil (such as 4B or 6B) to create these shadows, and gradually build up the darkness with layers of hatching or cross-hatching strokes.
Next, look for areas of highlights on the lips. These are the areas that catch the light and appear brighter. Use an eraser or tissue paper to carefully lift off some of the graphite and create the illusion of highlights. Be mindful of the direction of the light source to ensure consistency in your shading.
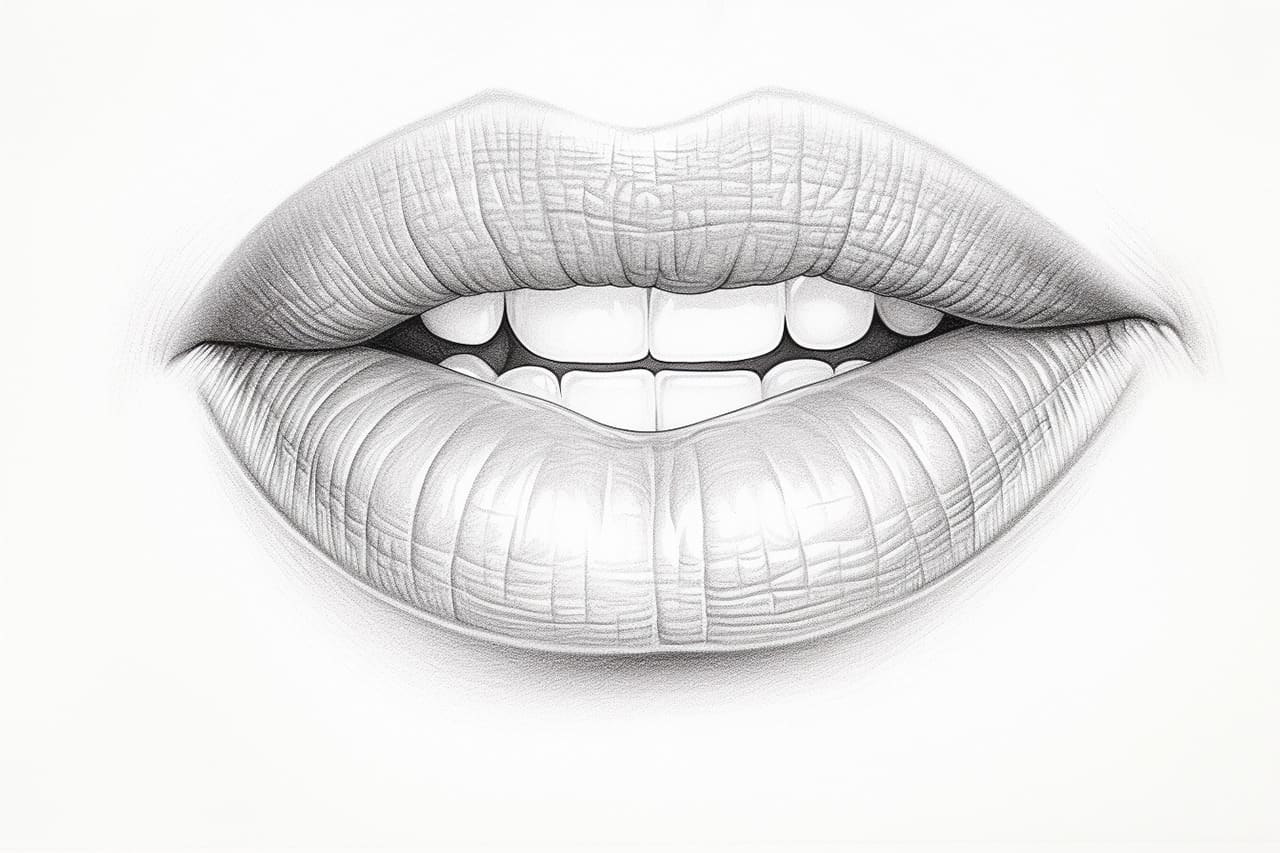
Step 7: Texture and Wrinkles
To make your mouth drawing appear more realistic, add some texture and wrinkles. Lips can have various textures, from smooth to slightly rough. Use subtle shading and hatching techniques to create this texture, paying attention to the direction of the strokes.
Additionally, be mindful of any wrinkles or folds around the mouth area. These lines can add character and depth to your drawing. Use light, delicate strokes to suggest the presence of these wrinkles without making them too prominent.
Conclusion
Congratulations! You’ve successfully learned how to draw a mouth. It’s important to remember that practice is key when it comes to improving your drawing skills. With time and patience, you’ll be able to capture the intricacies of the mouth in your artwork.
We hope you found this step-by-step guide helpful and informative. Whether you’re sketching a portrait, a character, or simply exploring your artistic abilities, understanding how to draw a mouth is a valuable skill. So grab your materials, start practicing, and enjoy the creative process!