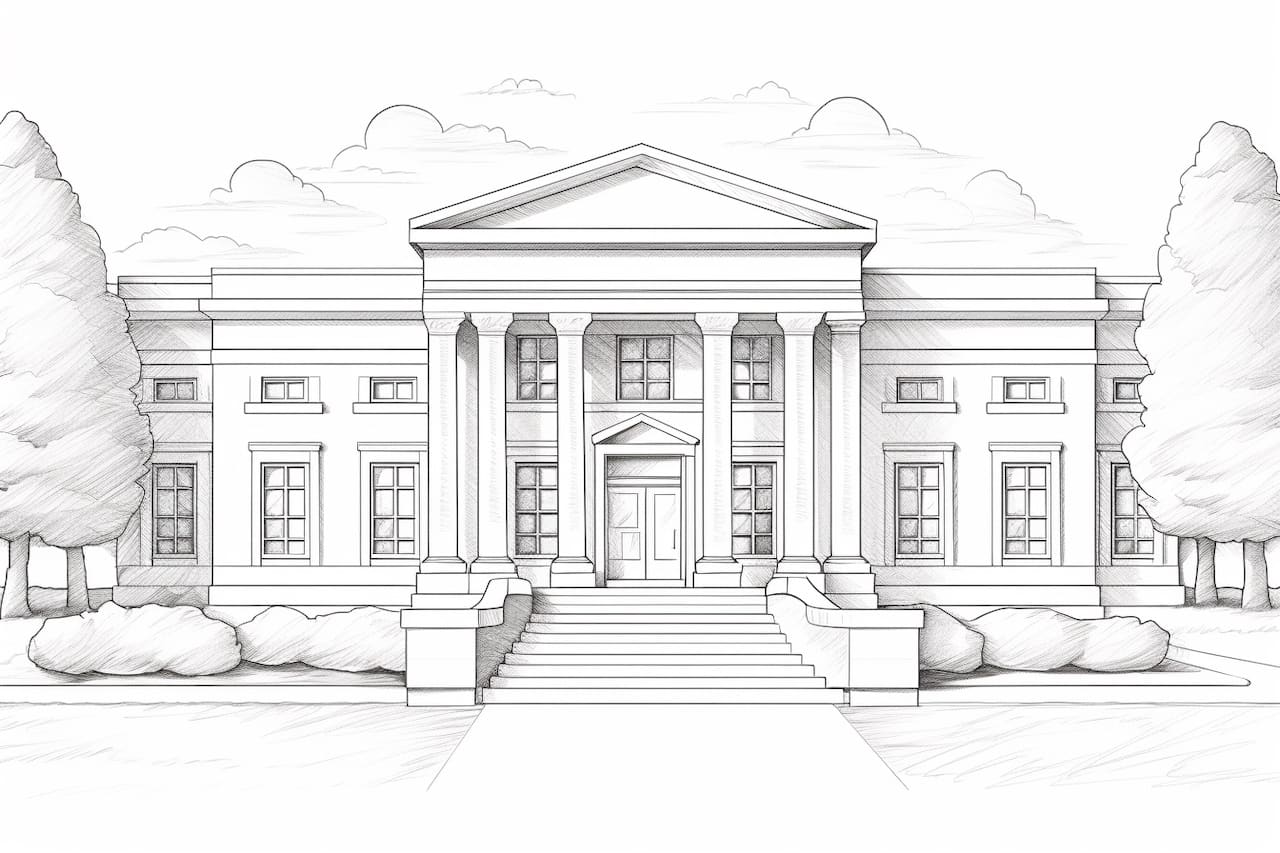
Welcome to this step-by-step tutorial on how to draw a library! Libraries are incredible places filled with knowledge, imagination, and inspiration. In this guide, I will walk you through the process of drawing a library using simple shapes and lines. Whether you are an aspiring artist or just want to have some fun, grab your pencils and let’s get started!
Materials Required
Before we start, make sure you have the following materials:
- Drawing paper
- Pencils (HB, 2B, 4B, and 6B)
- Eraser
- Sharpener
- Ruler
- Colored pencils or markers (optional)
Now that you have all your materials ready, let’s begin creating our library masterpiece!
Step 1: Create the Base Structure
To start, draw a vertical line slightly inclined to the right. This line will serve as the center of our library. Next, draw a horizontal line at the bottom, intersecting the vertical line. This will be the foundation of our building.
Step 2: Add the Main Building
Extend the vertical line upwards to create the height of the library. At the top, draw another horizontal line that is slightly longer than the previous one. This will form the roof of the library. Connect the ends of the vertical and horizontal lines to complete the basic shape of the building.
Step 3: Draw the Entrance
In this step, we will add the entrance to our library. Starting from the bottom of the building, draw two diagonal lines that converge at the top. These lines will form the perspective of the entrance. Connect the top ends of these lines with a slightly curved horizontal line to create the top of the entrance door. Add a rectangle shape below the curved line to represent the actual door.
Step 4: Outline the Windows
Libraries often have large windows to allow natural light inside. Draw rectangular shapes along the sides of the building to represent the windows. You can choose to add as many windows as you like. Make sure they are evenly distributed and aligned.
Step 5: Detail the Roof
Now it’s time to add some character to our library’s roof. Start by drawing two diagonal lines from the top corners of the building, meeting at the center. This will create a triangular shape for the roof. Add a smaller triangle within this shape to represent the tiles or shingles.
Step 6: Add the Bookshelves
The heart of any library is the shelves lined with books. Draw vertical lines within the building to represent the bookshelves. Start from the entrance and continue all the way to the roof. You can add horizontal lines within these vertical lines to indicate individual bookshelf levels.
Step 7: Sketch the Book Spines
To make our library look more realistic, let’s add some book spines. Within each bookshelf, draw a series of evenly spaced vertical lines to represent the books. You can vary the height and width of these lines to create the illusion of different-sized books.
Step 8: Enhance the Entrance
To make the entrance stand out, let’s add some details. Draw a smaller rectangle within the larger one to represent the door panels. Add a few lines within this rectangle to create the panels’ texture. You can also draw a handle or doorknob if you like.
Step 9: Refine the Windows
Now it’s time to refine the windows. Add horizontal and vertical lines within each window to represent the window panes. You can also draw curtains or blinds on the inside if you want to add more detail.
Step 10: Add Texture and Shadows
To give our library drawing more depth, let’s add some shading. Choose a light source for your drawing, and imagine where the shadows would fall on the building. Start by shading the areas opposite the light source, such as the sides of the building and the roof. Gradually build up the shading using different grades of pencils. You can also add texture to the roof and walls to make them more realistic.
Conclusion
Congratulations on completing your library drawing! By following these step-by-step instructions, you have created a beautiful representation of a library. Remember, drawing is all about practice and experimentation, so feel free to add your own creative touches to make your artwork unique. Libraries are magical places, and now you’ve captured their essence on paper.
I hope you enjoyed this tutorial on how to draw a library. Keep exploring your artistic skills and have fun drawing!