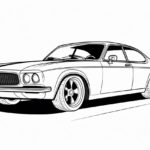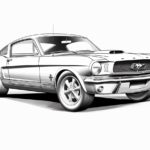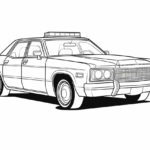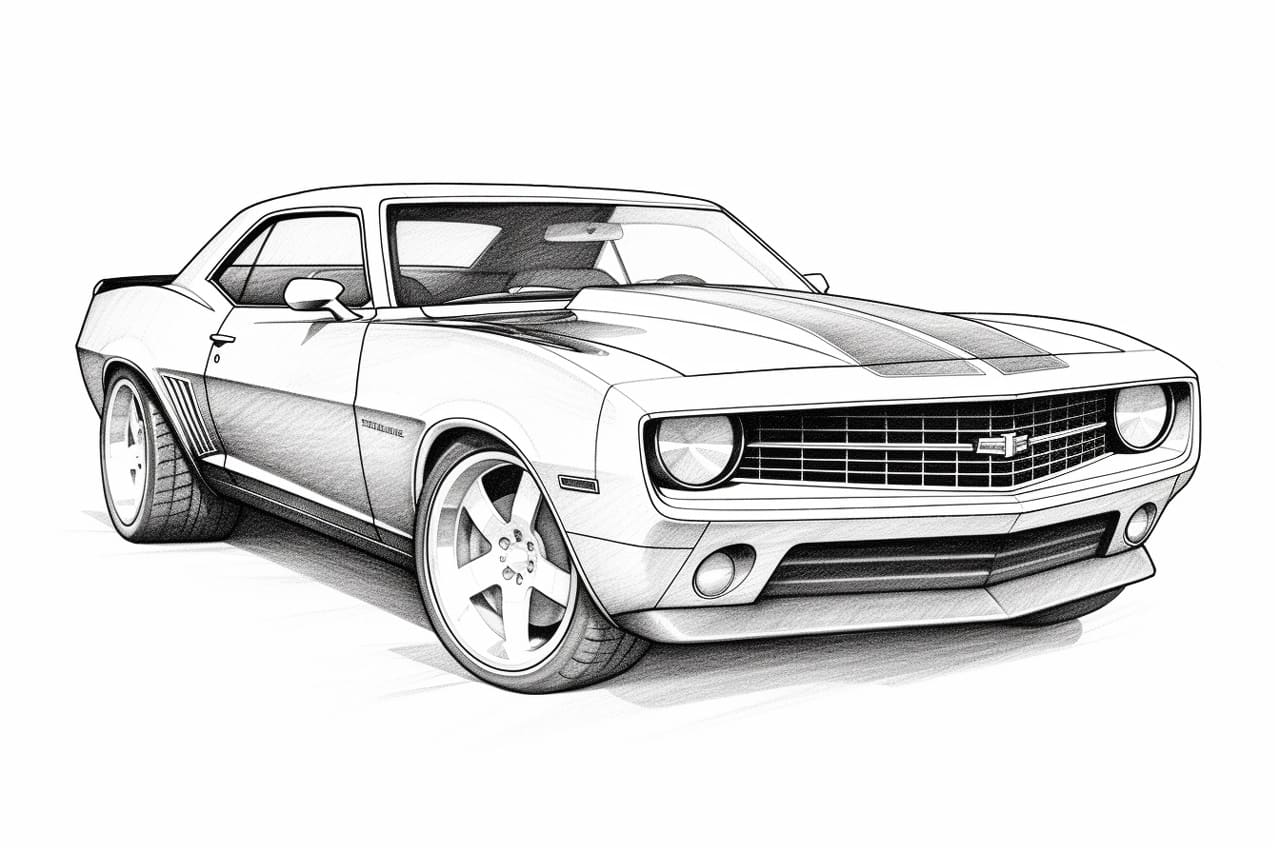
Welcome to this step-by-step guide on how to draw a Camaro! Whether you’re an aspiring artist or just looking for a fun and creative activity, this tutorial will help you capture the sleek and powerful essence of this iconic car. Follow along with clear and concise instructions to create a realistic and impressive drawing of a Camaro. So let’s get started!
Materials Required
To begin drawing a Camaro, you will need the following materials:
- Drawing paper
- Pencils (HB, 2B, 4B)
- Eraser
- Ruler
- Fine-tip black pen or marker
- Colored pencils or markers (optional)
Gather these materials before starting, ensuring that you have a clean and organized workspace. Now, let’s move on to the steps for drawing a Camaro.
Step 1: Basic Outline
Start by drawing a horizontal line across the middle of your paper. This line will act as the horizon line. Next, draw a large rectangle slightly above this line. This rectangle will form the body of the car. Begin by sketching the basic outline of the car by adding two slanted lines for the front and rear windshields. Then, draw a curved line at the front for the hood and another curved line at the back for the trunk.
Step 2: Wheels and Tires
Proceed by sketching the wheels and tires of the Camaro. For each wheel, draw a large circle inside the bottom corners of the car’s body. Then, draw a smaller circle inside each larger circle to represent the tires. Add details such as spokes or rims to the wheels to give them a more realistic appearance.
Step 3: Headlights and Grill
Now, let’s focus on the front of the car. Draw two small circles close to the hood for the headlights. Inside each circle, add a smaller circle to represent the bulbs. Next, draw a trapezoid shape in the center of the front grill. Add horizontal lines across the shape to create the grill pattern.
Step 4: Windows and Doors
To create the windows, draw two slanted rectangles on the sides of the car’s body. These rectangles will represent the front and rear windows. Then, add two smaller rectangles beneath them to indicate the side windows. Sketch two lines connecting the front and rear windshields to form the roof of the car. Finally, draw the door shapes on the sides of the car, following the outline of the body.
Step 5: Side Details
Now, let’s add some details to the side of the Camaro. Start by drawing a curved line from the front wheel to the back wheel to represent the body’s contour. Then, add a smaller curved line below it for an additional detail. Next, draw a triangular shape near the rear tire to represent the side vents. Finally, add a line across the lower part of the body to create a nice touch.
Step 6: Rear
Moving on to the rear of the car, sketch a curved line at the back of the trunk to indicate the brake lights. Add two small circles inside this curved line to represent the light bulbs. Draw another curved line at the bottom of the trunk to form the rear bumper. Finish off this step by adding any additional details like a license plate or exhaust pipes.
Step 7: Final Details
Now that the basic outline of the Camaro is complete, it’s time to add the final details. Begin by erasing any unnecessary lines and cleaning up the drawing. Then, use darker pencils or a fine-tip black pen to trace over the refined lines of your drawing. This will make the car stand out and give it a more polished look. You can also add shading to create depth and dimension. Use different shades of gray to indicate shadows and highlights on the car’s body.
Conclusion
Congratulations! You have successfully learned how to draw a Camaro. By following these step-by-step instructions, you have created a realistic and detailed representation of this iconic car. Remember, drawing takes practice, so don’t be discouraged if your first attempt doesn’t turn out exactly as you wished. Keep practicing and experimenting with different techniques to improve your skills. Have fun and enjoy the process of creating your own masterpieces!