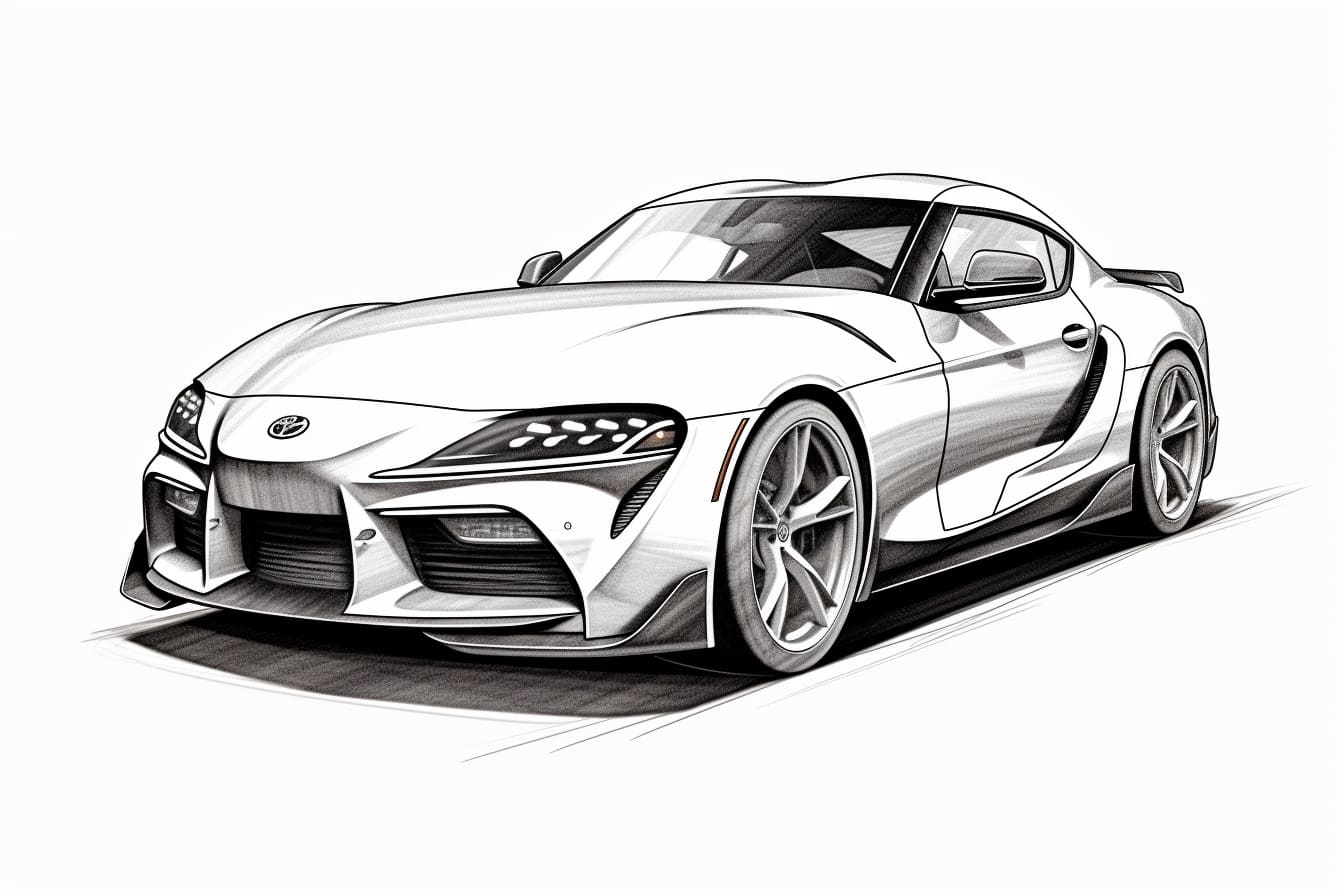
Have you ever wanted to draw a Toyota Supra, one of the most iconic sports cars of all time? Well, you’re in luck! In this step-by-step guide, I will walk you through the process of drawing a Toyota Supra, from start to finish. Whether you’re an experienced artist or just starting out, by following these simple instructions, you’ll be able to create a realistic and impressive drawing of this legendary vehicle. So grab your pencil and paper, and let’s get started!
Materials Required
Before we begin, let’s gather all the materials you’ll need to draw a Toyota Supra:
- Paper: Start with a clean sheet of drawing paper. You can use any type of paper you prefer, but I recommend using a heavier weight paper to prevent smudging.
- Pencils: You’ll need a range of pencils with different lead hardness. I suggest using a set that includes HB, 2B, 4B, and 6B pencils. These different lead grades will allow you to create varying shades and textures in your drawing.
- Eraser: Make sure you have a good quality eraser handy. You’ll need it to correct any mistakes or lighten areas of your drawing.
- Sharpener: Keep a pencil sharpener nearby to keep your pencils sharp and ready for use.
- Reference Image: Find a clear and detailed image of a Toyota Supra to use as a reference. You can search online or use a car magazine. Having a reference image will help you accurately capture the proportions and details of the car.
Now that you have all your materials ready, let’s dive into the step-by-step process of drawing a Toyota Supra.
Step 1: Basic Shapes
Start by drawing the basic shapes of the car. Begin with a rectangle for the main body of the car and add a smaller rectangle on top for the roof. Next, sketch two circles for the wheels and connect them with simple lines to form the chassis.
Step 2: Outline the Body
Using the basic shapes as a guide, start outlining the body of the Toyota Supra. Pay close attention to the curves and angles of the car. Take your time to get the proportions right. Remember, it’s always better to start with light and loose lines that you can refine later.
Step 3: Details and Features
Now that you have the outline of the car, it’s time to add the details and features that make the Toyota Supra unique. Start by sketching the headlights, grille, and the distinctive hood scoop. Then, carefully draw the side mirrors, door handles, and any other visible details. Don’t forget to include the iconic rear spoiler!
Step 4: Wheels and Tires
Focus on the wheels and tires. Draw the rims and spokes of the wheels, making sure they are symmetrical on both sides. Add depth and dimension to the tires by shading in the areas that would be in shadow.
Step 5: Shading and Texture
To give your drawing depth and realism, add shading and texture. Use a softer pencil to shade in the darker areas of the car, such as the shadows under the wheel arches and the creases in the body panels. Blend the shading using a blending stump or your finger to create a smooth transition between light and dark areas.
Step 6: Refine and Finalize
Take a step back and assess your drawing. Look for any areas that need adjustment or refinement. Use your eraser to lighten or correct any mistakes. Pay attention to the small details and make sure everything looks balanced and cohesive. Take your time and make any necessary adjustments until you’re satisfied with the final result.
Conclusion
Drawing a Toyota Supra may seem like a challenging task, but with the right techniques and a little practice, you can create a stunning representation of this iconic sports car. By following the step-by-step instructions in this guide and using your creativity, you’ll be able to capture the essence of the Toyota Supra on paper. So grab your materials and start drawing your very own Toyota Supra masterpiece today!