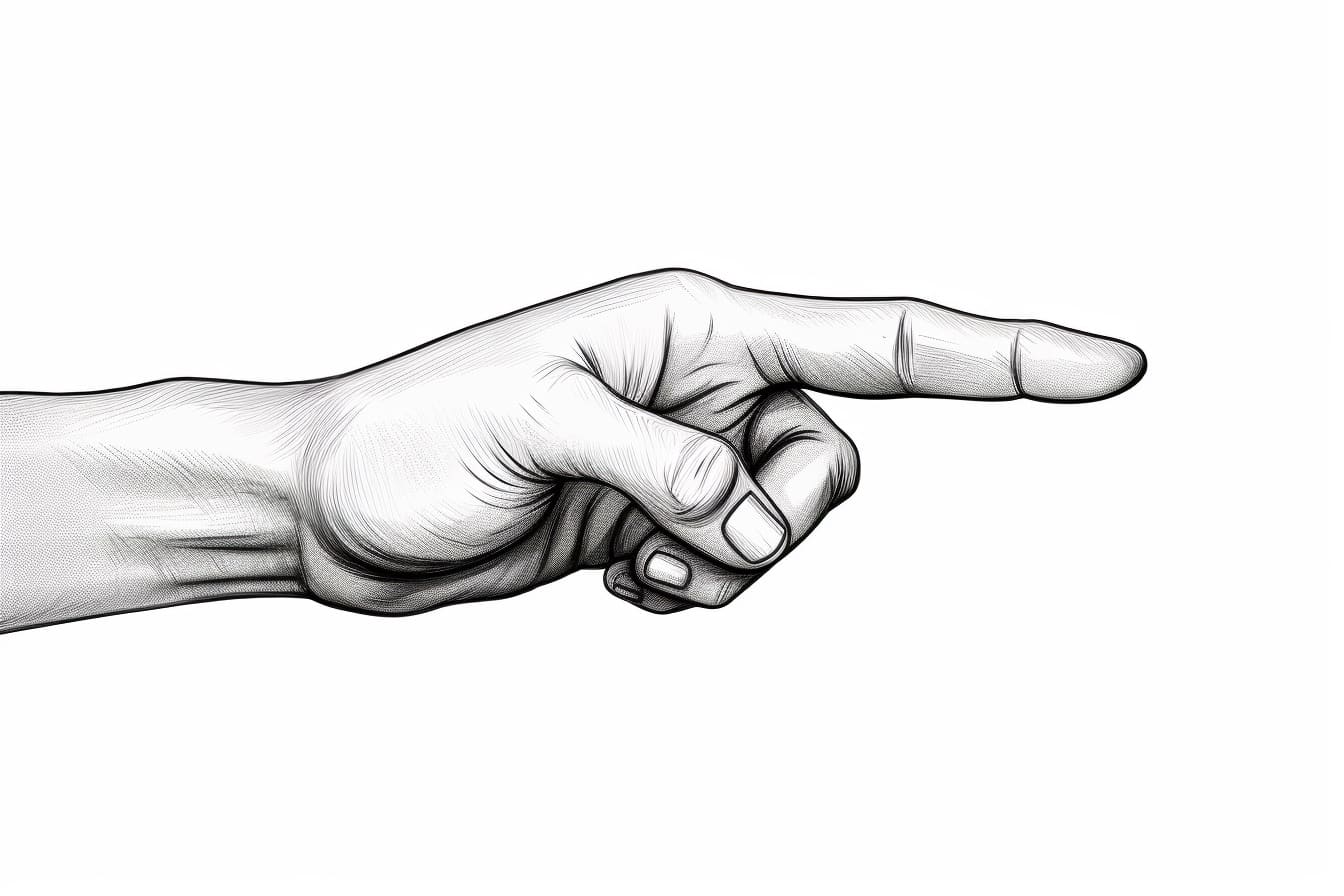
Welcome to this step-by-step tutorial on how to draw a finger. Whether you’re a beginner or an experienced artist, mastering the art of drawing fingers can add a whole new level of realism to your artwork. In this tutorial, I will guide you through the process of drawing a finger in a simple, concise manner. So grab your pencils and let’s get started!
Materials Required:
- A sketchpad or drawing paper
- Pencils (preferably a range of graphite pencils such as HB, 2B, 4B, and 6B)
- A kneaded eraser
- A pencil sharpener
Now that you have all the necessary materials, let’s begin the step-by-step process of drawing a finger.
Step 1: Basic Shape and Proportions
Start by sketching a simple oval shape that represents the basic structure of the finger. Keep in mind that the length of the oval can vary depending on the position and perspective of the finger you want to draw. Once you have the oval, lightly sketch a line down the center to help you establish the direction of the finger.
Step 2: Outlining the Finger
Using a slightly darker pencil, carefully outline the shape of the finger, following the main curve of the oval. Pay attention to the curves and angles that define the finger, making sure they are accurate and proportional to the reference or imagination you are using. Take your time with this step, as it lays the foundation for the rest of the drawing.
Step 3: Adding Details
Now it’s time to add some details to make the finger look more realistic. Start by sketching the joint areas, which can be indicated by small curves or lines. Remember that fingers have three main joints – the knuckle, the middle joint, and the joint at the base of the finger. Add these details gradually, focusing on one joint at a time.
Step 4: Shading and Highlights
To give your finger a three-dimensional appearance, it’s important to add shading and highlights. Start by identifying the direction of the light source, which will determine where the highlights and shadows fall. Using a softer pencil, such as a 4B or 6B, shade the areas of the finger that are in shadow, gradually building up the darkness. Leave the areas that catch the light untouched or lightly toned to create highlights. Blend the shading with a tissue or a tortillon for a smoother effect.
Step 5: Refining the Details
Now that you have the basic form of the finger and the shading in place, it’s time to refine the details. Pay close attention to any wrinkles, creases, or lines that give the finger its characteristic texture. Use a sharper pencil to create fine lines and small details, being careful not to overdo it. Remember that less is often more when it comes to details.
Step 6: Final Touches
Take a step back and evaluate your drawing. Look for any areas that need adjustments or corrections. Use a kneaded eraser to lift or lighten any lines that are too dark, and add more shading or highlights if necessary. Take your time with this step, as the final touches can make a significant difference in the overall quality and realism of your drawing.
And there you have it! By following these step-by-step instructions, you have successfully learned how to draw a finger. Remember to practice regularly, as drawing fingers can be challenging but rewarding. With time and patience, you will continue to improve and refine your skills.
I hope you found this tutorial helpful. Happy drawing!
Conclusion
In this step-by-step tutorial, we have explored the process of drawing a finger. By following these simple instructions, you can enhance your drawing skills and create realistic fingers in your artwork. Remember to practice regularly, pay attention to the details, and have patience with yourself. With time and dedication, you will master the art of drawing fingers. So grab your pencils and start creating!