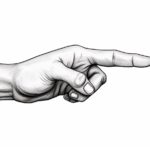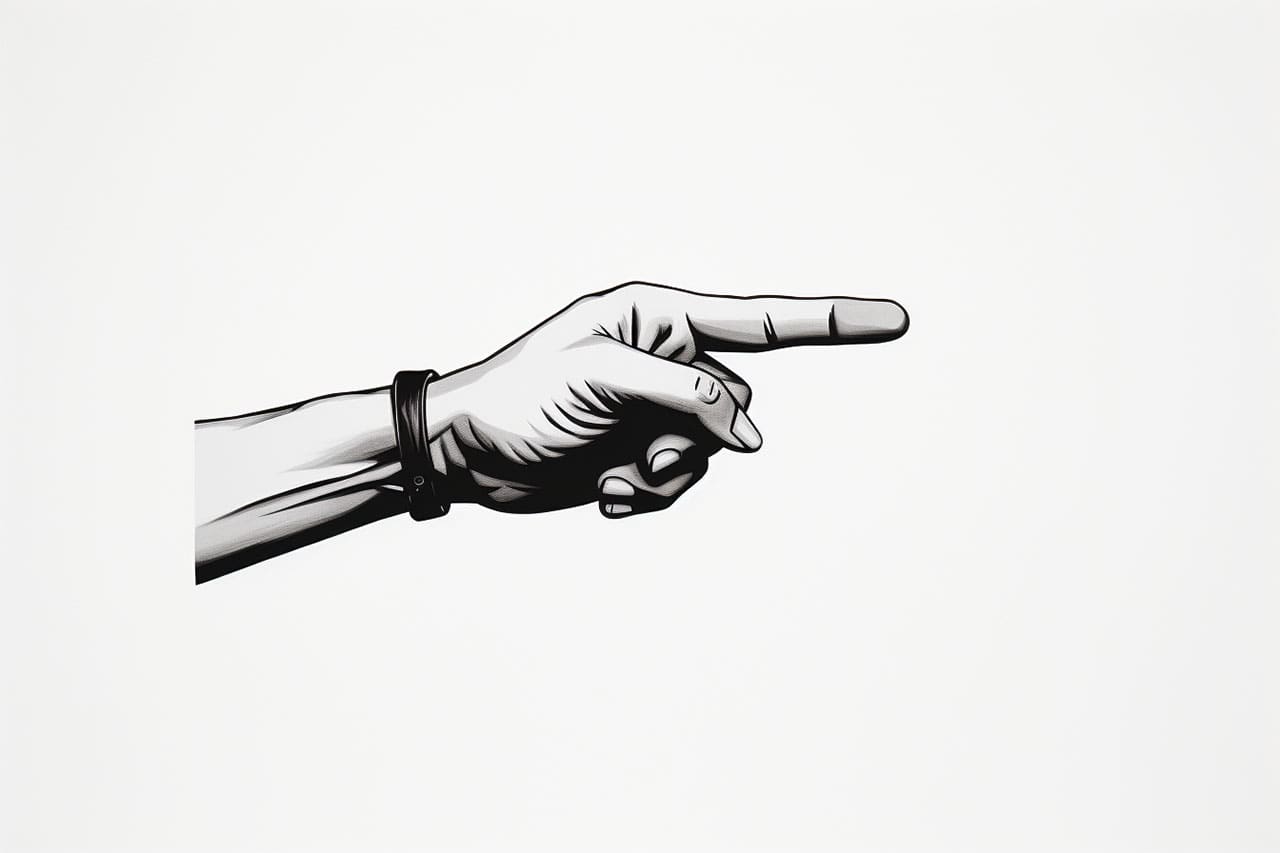
Welcome to this step-by-step guide on how to draw a pointing finger. In this article, we’ll walk through the process of creating a realistic and detailed representation of a finger pointing, suitable for use in various illustrations, artwork, or even as a reference for anatomy studies. So, let’s grab our drawing materials and get started!
Materials Required
Before we begin, make sure you have the following materials prepared:
- Pencil (preferably an HB or 2B for initial sketching)
- Eraser
- Drawing paper or sketchbook
- Fine-tipped pen or ink pen (optional, for inking the final lines)
- Markers, colored pencils, or any other coloring tools (optional, for adding color)
Now that we have our materials ready, let’s begin the process of drawing a pointing finger.
Step 1: Basic Shapes
Start by lightly sketching a rectangular shape for the palm of the hand. This shape should have rounded corners to mimic the natural curves of the hand. Next, draw a long oval shape extending from the rectangle to represent the middle finger. The size of the oval will depend on the desired length of the finger. Remember to keep the lines light and loose for easy adjustments.
Step 2: Outlining the Finger
Using the oval shape as a guide, refine the outline of the finger by carefully adding more curves to indicate the joints and contours. Pay attention to the natural curves and angles of the finger as you go along. Extend the outline slightly past the oval at the tip to create the fingertip.
Step 3: Adding the Knuckles
Now it’s time to add the knuckles to our finger. To do this, sketch small circles or ovals at the joints of the finger. These circles should be placed at the base of each segment of the finger, starting from the palm and ending at the fingertip.
Step 4: Refining the Shape
With the basic structure in place, it’s time to refine the shape of the finger. Use your initial sketch as a guide and carefully adjust the curves and lines to make them smoother and more anatomically accurate. Pay close attention to the proportions and angles of the finger to ensure a realistic result.
Step 5: Adding Details
Now that the finger shape is refined, it’s time to add some details to make it more realistic. Start by sketching the nail on the fingertip. The nail should be slightly curved and extend beyond the flesh of the finger. Next, add lines to indicate the creases and wrinkles on the finger. These lines should follow the natural contours and curves of the finger, emphasizing the joints and folds.
Step 6: Shading and Texturing
To add depth and dimension to our drawing, apply some shading and texturing to the finger. Start by identifying the light source and determining where the shadows would fall. Use hatching or cross-hatching techniques with your pencil to create shading in these areas, gradually building up the darkness as needed. Pay attention to the subtle variations in value and texture to make the finger appear more three-dimensional.
Step 7: Finalizing the Drawing
At this stage, you can choose to ink the final lines with a fine-tipped pen or ink pen, going over the pencil lines you wish to keep. Erase any remaining pencil lines and smudges carefully. If you prefer a colored illustration, this is a good time to add colors using markers, colored pencils, or any other coloring tools of your choice. Be sure to use light and smooth strokes to maintain the realism of the finger.
Conclusion
Congratulations! You’ve successfully learned how to draw a pointing finger. By following these step-by-step instructions and practicing regularly, you’ll be able to create detailed and realistic fingers in no time. Remember to pay attention to the proportions, angles, and details of the finger, and don’t worry about making mistakes—practice makes perfect. So grab your drawing materials and start sketching your way to finger-drawing mastery!