How to Draw a Dress Easy
Learn how to draw with this step-by-step tutorial.
Materials You'll Need
- Drawing paper
- Pencil (HB or 2B)
- Eraser
- Colored pencils
- Markers
- Ruler
- Watercolor paints
Drawing a dress is not just an artistic endeavor; it's a fantastic way to channel your creativity and imagination onto paper. Whether you're a novice looking to improve your skills or an experienced artist aiming to explore new styles, this guide is here to support you. With clear and structured instructions, you'll navigate the drawing process with confidence, transforming your ideas into beautiful designs.
This article will take you step-by-step through the creation of a dress, providing tips on technique and artistic flair. From the initial outline to the finishing touches, each section will encourage you to express your unique style and vision. Get ready to embark on a creative journey that combines fun with learning, and discover how enjoyable it can be to draw your dream attire.
So, gather your materials, ignite your imagination, and let's dive into the art of dress drawing. With each stroke of your pencil, you'll not only enhance your artistic abilities but also develop a deeper understanding of fashion and design. Let's get started!
Materials Required
To get started, you will need the following materials:
-
Paper: Use a clean and smooth paper surface to prevent smudging and ensure better results.
-
Pencil: Choose a pencil that is comfortable to hold and has a range of lead hardness (e.g., HB, 2B, 4B) for shading and outlining.
-
Eraser: Have a good-quality eraser handy to correct any mistakes or make adjustments.
-
Ruler: A straight ruler will help you maintain clean lines and proportions in your drawing.
-
Coloring tools (optional): If you prefer to add color to your dress drawing, have colored pencils, markers, or watercolors available.
Now that you have your materials ready, let's dive into the step-by-step process of drawing a dress.
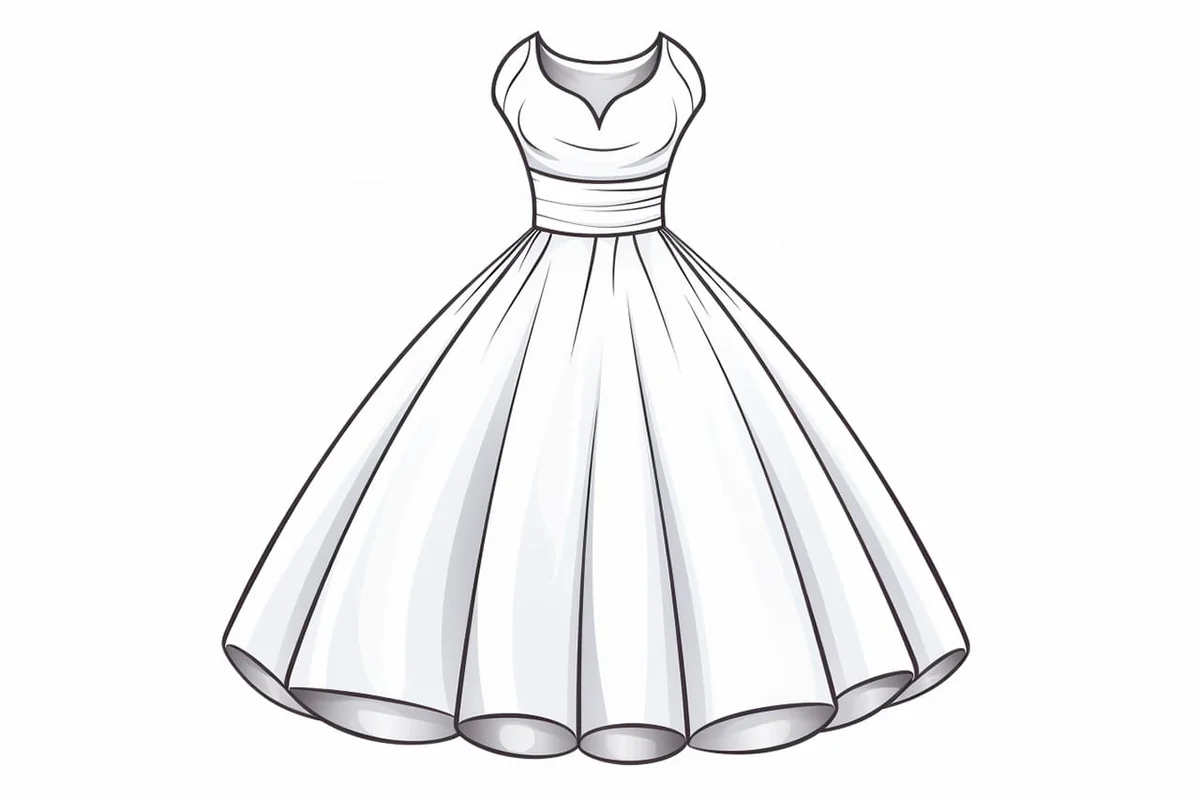
Step 1: Basic Outline
Start by drawing a vertical line in the center of your paper. This line will serve as the reference for the dress's symmetry. From this line, sketch a curved horizontal line at the top, representing the neckline of the dress. Then, draw two curved lines extending downwards from the neckline, outlining the sides of the dress.
Step 2: Bodice and Waist
Next, draw the bodice of the dress by curving the lines inwards from the sides of the neckline. These lines should represent the shoulders and waist of the dress. To create a more realistic look, you can add details like sleeves or straps to the bodice.
Step 3: Skirt
Extend the lines from the waist to create the shape of the skirt. The shape can vary depending on the style of dress you want to draw. For example, a flared dress would have wider lines that gradually taper towards the bottom. Experiment with different shapes to achieve the desired look.
Step 4: Hemline
Add the hemline to your dress by drawing a curved line at the bottom. The length of the hemline can vary depending on the style and length of the dress.
Step 5: Details
Now it's time to add some details to make your dress drawing more interesting. You can add buttons, bows, or any other decorative elements you like. Remember to pay attention to the fabric folds and creases as they add depth and realism to the drawing.
Step 6: Shading and Texture
To bring your dress to life, add shading and texture. Use your pencil to create areas of shadow and highlight on the dress. This will give it a three-dimensional appearance. Pay attention to the direction of the light source to make the shading look more realistic.
Step 7: Optional Coloring
If you prefer to add color to your dress drawing, this is the time to do so. Use colored pencils, markers, or watercolors to bring vibrancy and personality to your creation. Experiment with different color combinations and techniques to achieve the desired effect.
Stitching It All Together...
Drawing a dress can be a delightful and rewarding experience. By following these step-by-step instructions, you can create your own unique dress designs. Remember to have fun and embrace your creativity throughout the process. With practice, you will improve your drawing skills and develop your own style. So grab your pencil, paper, and let your imagination soar as you bring your fabulous dress designs to life.
Tip: When drawing a dress, start by sketching the basic silhouette using light, loose lines; this allows you to make adjustments easily. Focus on the proportions and flow of the fabric by using reference images of dresses to observe how they drape and move. Consider using a pencil with a softer lead, like a 2B, which will give you smoother lines and make it easier to erase any mistakes. Once you're satisfied with the outline, you can add details like seams, folds, and patterns, using a fine-tip pen or darker pencil to emphasize these features. Lastly, remember to play with shading to capture the dress's volume and texture—this will bring your drawing to life!
Gallery of Dress Drawings


