Welcome to this step-by-step guide on how to draw a Dodge Challenger! If you have ever wanted to capture the sleek and powerful lines of this iconic muscle car on paper, then this tutorial is for you. Whether you are a beginner or an experienced artist, this guide will walk you through the process of creating a stunning representation of a Dodge Challenger. So grab your paper, pencils, and let’s get started!
Materials Required
Before we begin, here are the materials you will need:
- Drawing paper or sketchbook
- Pencils (preferably a range of hardness, such as HB, 2B, 4B, and 6B)
- Eraser
- Ruler or straight edge
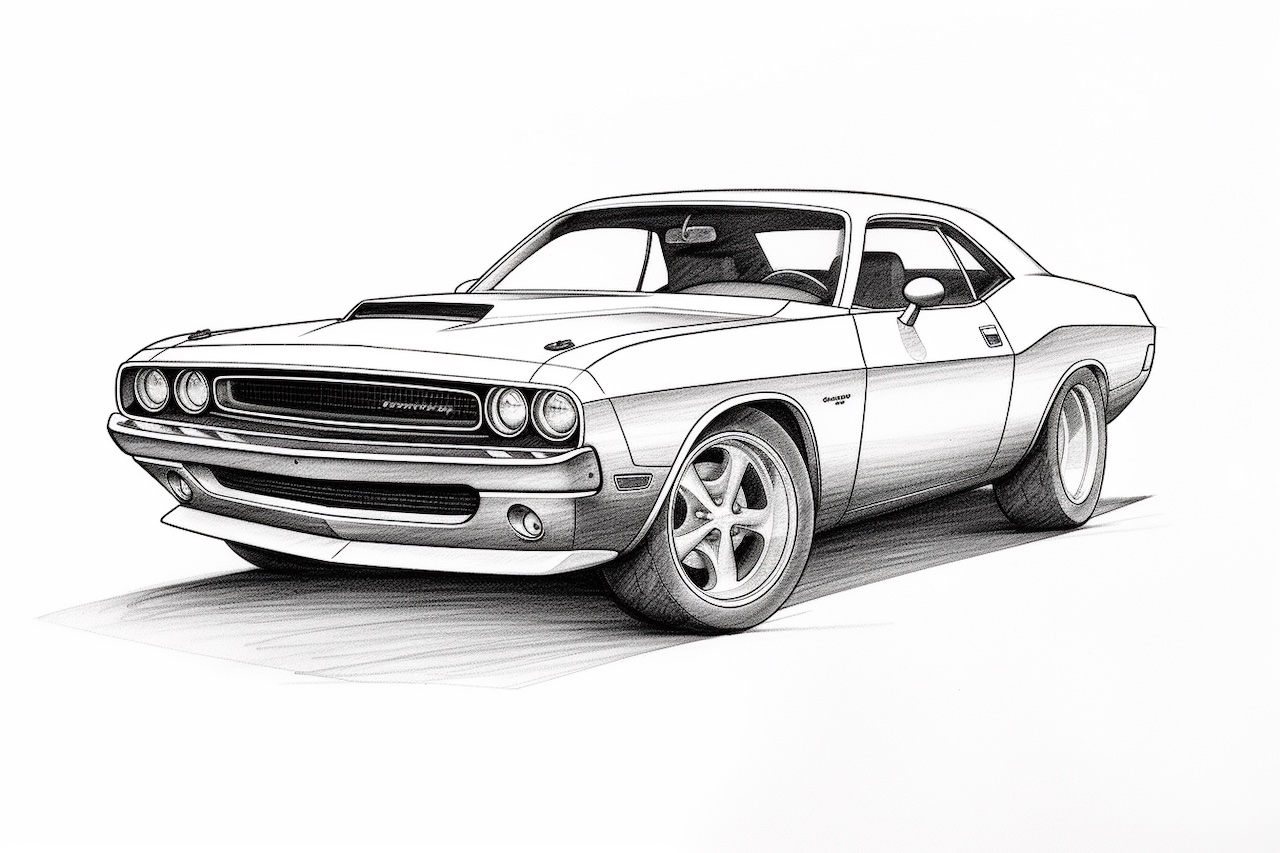
- Reference image of a Dodge Challenger
Now that you have gathered your materials, let’s dive into the drawing process!
Step 1: Establish the Basic Proportions
Start by lightly sketching basic shapes to establish the proportions of the Dodge Challenger. Begin with a horizontal line for the ground and then draw a vertical centerline. Next, sketch a large rectangular shape for the main body, making sure to leave some space for the wheels.
Step 2: Outline the Front Part
Now, let’s focus on the front part of the car. Using your reference image as a guide, sketch the outline of the hood, grille, and headlights. Pay attention to the angles and curves to capture the unique features of the Dodge Challenger.
Step 3: Draw the Wheels
Moving on to the wheels, lightly sketch their basic shapes within the space you left earlier. Remember to consider the perspective and size in relation to the body of the car. Use your reference image to guide you in capturing the details of the rims and tires.
Step 4: Add Details to the Body
With the main structure and wheels in place, it’s time to add more details to the body of the Dodge Challenger. Start by sketching the windows, door panels, and side mirrors. Then, carefully draw the contours of the fender flares, emphasizing the muscular look of this car.
Step 5: Define the Grille and Headlights
Now, let’s focus on the grille and headlights. Use your reference image to accurately replicate the intricate design of the grille. Pay close attention to the spacing between the grille slats and the overall shape. Next, outline the headlights, taking into account their shape and any additional details.
Step 6: Refine the Wheels
With the main body taking shape, it’s time to refine the wheels. Add more details to the rims, such as spokes or patterns, and carefully define the shape of the tires. Don’t forget to include any visible brake discs or calipers.
Step 7: Add Shading and Texture
To bring your drawing to life, it’s time to add shading and texture. Start by identifying the light source in your reference image. Using a range of pencils, apply light shading to the areas that are directly lit and gradually darken the shadows. Pay attention to the curves and contours of the car to create a three-dimensional effect. Use a blending tool or a tissue to smooth out any harsh lines and create a more realistic appearance.
Step 8: Finalize the Details
Now that you have shaded the main elements of the Dodge Challenger, take a step back and assess your drawing. Look for any areas that need improvement or additional detail. Add any missing elements, such as logos, badges, or vents. Fine-tune the shading and refine the lines to create a polished and professional-looking drawing.
Conclusion
Congratulations on completing your drawing of a Dodge Challenger! By following this step-by-step guide, you have learned how to capture the essence and details of this iconic muscle car. Remember, practice makes perfect, so don’t be discouraged if your first attempt isn’t flawless. Keep honing your skills and experimenting with different techniques to further enhance your drawings. Enjoy the process, and happy drawing!