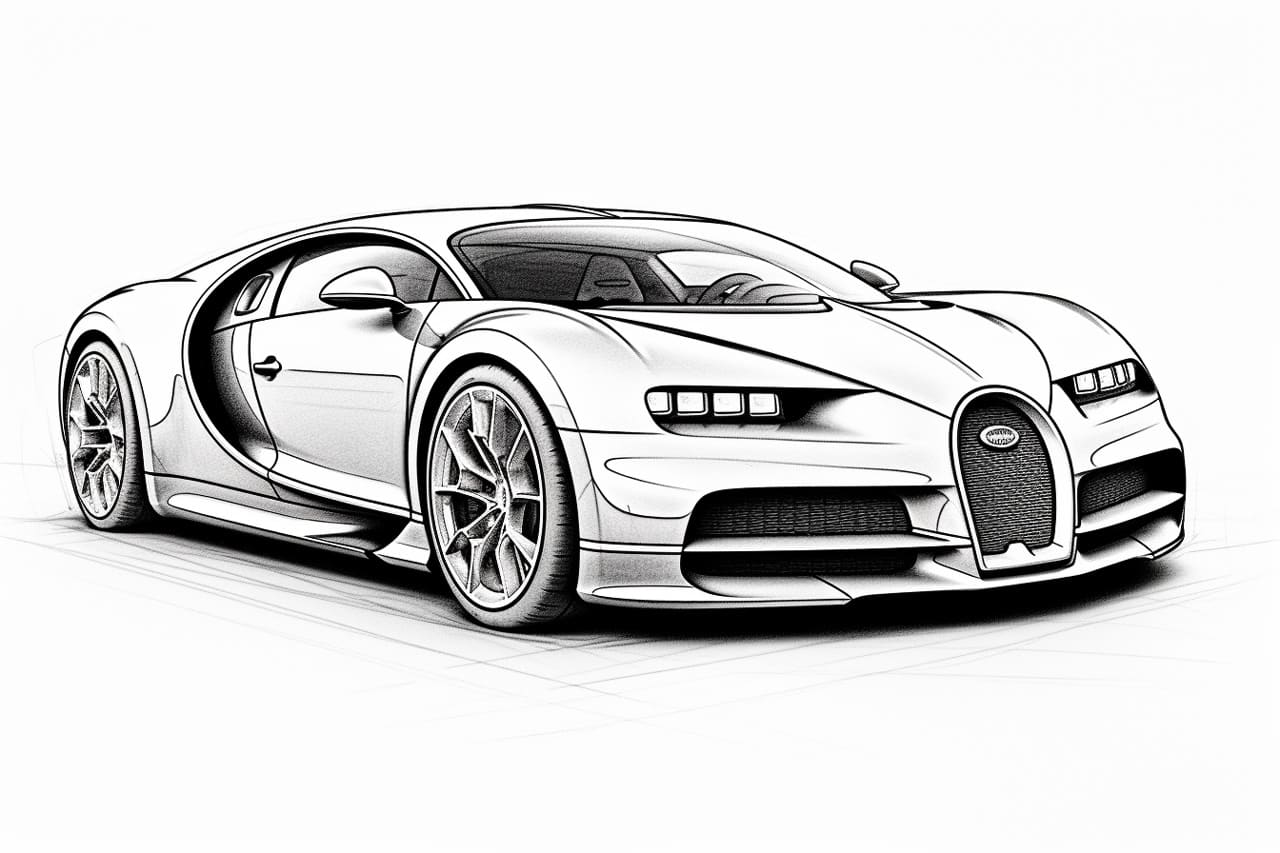
Welcome to this step-by-step guide on how to draw a Bugatti! This tutorial will walk you through creating a detailed and realistic drawing of this iconic sports car. Whether you are an experienced artist or a beginner, this guide will provide clear instructions to help you achieve impressive results.
Materials Needed
Before we begin, let’s gather the materials you will need for this drawing tutorial:
- Drawing paper: Choose a high-quality, heavy-weight paper that can handle various drawing techniques.
- Pencils: Have a range of graphite pencils, including H, HB, and B grades, for different levels of shading and detailing.
- Eraser: A kneaded eraser is ideal for making subtle corrections and lightening lines.
- Blending tool: Use a blending stump or tortillon to create smooth gradients and textures.
- Reference image: Find a clear and detailed reference photo of a Bugatti to guide your drawing.
Now that you have all your materials ready, let’s begin the drawing process!
Step 1: Sketch the Basic Shapes
Start by lightly sketching the basic shapes of the Bugatti. Begin with a rectangle for the main body of the car, and then add circles for the wheels. Make sure to keep these shapes loose and faint, as they will serve as guidelines for the rest of your drawing.
Step 2: Refine the Outline
Using the basic shapes as a guide, start refining the outline of the car. Pay close attention to the curves and angles of the Bugatti, making sure to capture its unique and sleek design. Take your time during this step, as getting the outline right is crucial for a realistic drawing.
Step 3: Add the Details
Now that you have the general outline, it’s time to add the details that make the Bugatti recognizable. Start by sketching the headlights, grille, and other prominent features of the car. Pay attention to the proportions and placement of these elements, as they play a significant role in capturing the essence of the Bugatti.
Step 4: Shading the Body
To give your Bugatti drawing depth and dimension, it’s important to master shading techniques. Begin by identifying the light source in your reference photo. Use light, even strokes with your pencil to gradually build up the shading on the body of the car. Pay close attention to the reflections and highlights on the car’s surfaces.
Step 5: Render the Wheels
The wheels of the Bugatti are an important aspect of its design. Make sure to carefully sketch the spokes and rims, paying attention to their accurate placement and proportions. Add shading and details to create a realistic and three-dimensional effect.
Step 6: Refine the Details
Now that you have the basic structure and shading of the Bugatti, it’s time to refine the details further. Use a sharper pencil to add fine lines and textures to the body, emphasizing the contours and features of the car. Take your time during this step, as it can greatly enhance the overall realism of your drawing.
Step 7: Final Touches and Highlights
In the final stages of your Bugatti drawing, focus on adding the finishing touches and highlights. Use an eraser to selectively lighten certain areas and create highlights that effectively capture the reflections and shines on the car’s surface. Pay attention to the details such as logo, mirrors, and windows, ensuring they are accurately represented.
Conclusion
Congratulations! You have successfully learned how to draw a Bugatti. Following these step-by-step instructions, you should now have a detailed and realistic drawing of this iconic sports car. Remember, practice makes perfect, so keep honing your skills and experimenting with different techniques. Now go ahead and showcase your masterpiece!