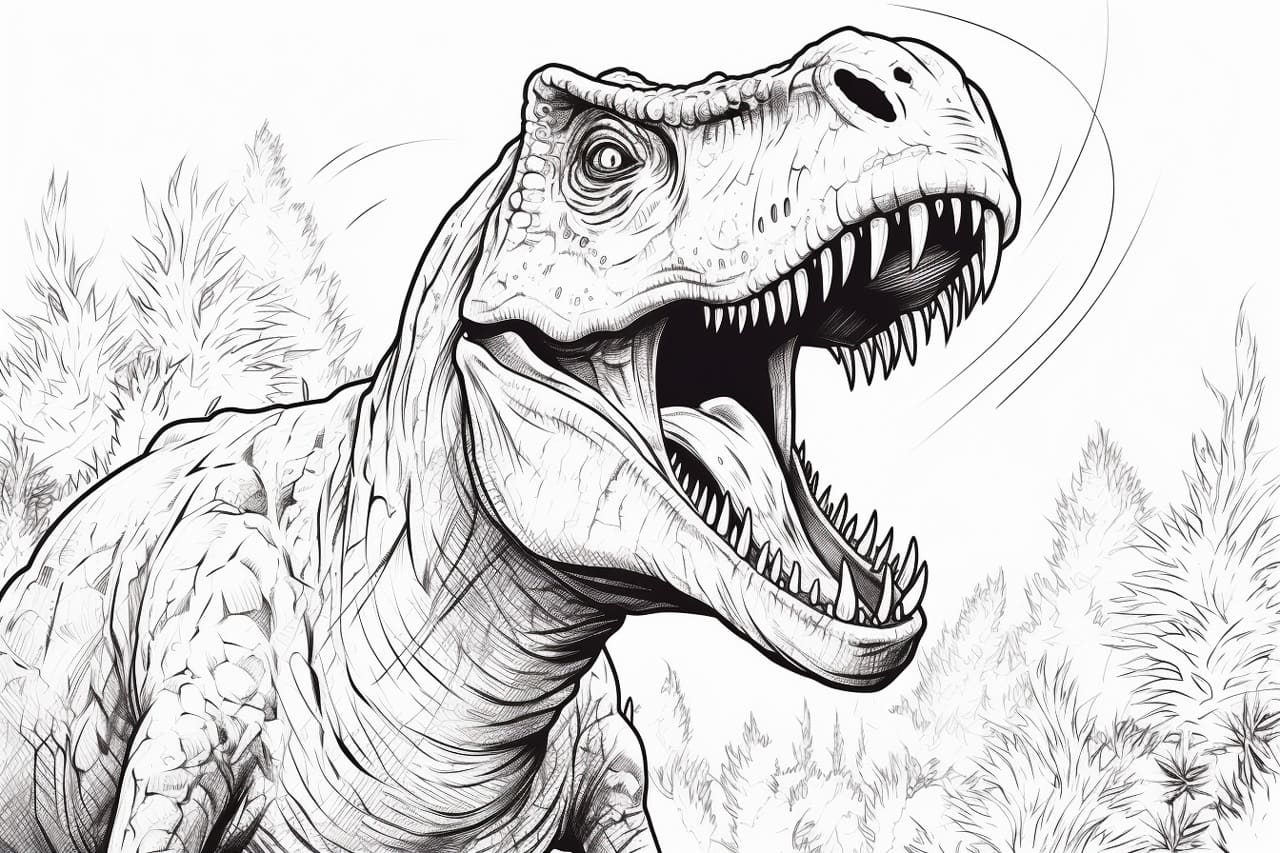
Are you fascinated by dinosaurs? Have you ever wanted to bring these majestic creatures to life on paper? Well, you’re in luck! In this step-by-step guide, I will show you how to draw a cool dinosaur. Whether you are a beginner or an experienced artist, this tutorial will provide you with easy-to-follow instructions to create your very own prehistoric masterpiece.
Materials Required
Before we delve into the exciting world of dinosaur drawing, let’s make sure you have all the necessary materials at hand. Here’s what you’ll need:
- Drawing paper
- Pencil
- Eraser
- Fine-tipped markers or pens
- Colored pencils or markers (optional)
With these supplies ready, let’s begin our artistic adventure!
Step 1: Sketch the Basic Shape
To start, lightly sketch the basic shape of your dinosaur. Begin by drawing an elongated oval for its body. Add a smaller oval on one end, slightly overlapping the larger one, to represent the head.
Step 2: Outline the Head and Neck
Next, outline the head and neck of your dinosaur. Use curved lines to define the shape of the head, and then extend a longer line to form the neck. Experiment with different angles and positions to achieve the desired look.
Step 3: Draw the Limbs and Tail
Now, it’s time to draw the limbs and tail. Begin by adding four small ovals at the bottom of the body to represent the legs. Connect these ovals with curved lines to form the limbs. For the tail, extend a long, curving line from the back of the body. Feel free to make the tail as long or as short as you like, depending on the type of dinosaur you’re drawing.
Step 4: Add Details to the Head
Let’s focus on the head now. Add the eyes by drawing two small circles inside the head. Place a smaller circle inside each eye to create the pupils. Then, draw a curved line for the mouth, and add teeth along the upper and lower jaws. You can also add a few lines and curves to depict the dinosaur’s scaly skin.
Step 5: Define the Body and Limbs
Now, it’s time to add more details to the body and limbs. Use short, curved lines to outline the muscular structure of the dinosaur. Add some bumps and curves to give it a more realistic appearance. Don’t forget to add claws to the feet!
Step 6: Refine the Tail
Refine the shape of the tail by adding more curves and bumps. Experiment with different textures to make it look scaly and rugged. Remember, dinosaurs come in various shapes and sizes, so feel free to get creative with your tail design.
Step 7: Erase Unnecessary Guidelines
At this stage, you can erase any unnecessary guidelines that you may have drawn earlier. Carefully remove the light pencil marks so that your dinosaur stands out more prominently on the page.
Step 8: Add Color (Optional)
If you prefer a colorful dinosaur, grab your colored pencils or markers and bring your creation to life! Choose vibrant shades that complement each other, and carefully fill in the different parts of your drawing. Take your time and enjoy the process of adding color to your artwork.
Conclusion
Congratulations! You have successfully drawn a cool dinosaur. By following these step-by-step instructions, you have created a stunning piece of prehistoric art. Whether you decide to keep it as a stand-alone drawing or incorporate it into a larger scene, your dinosaur will undoubtedly impress those who lay eyes on it.
Remember, practice makes perfect, so don’t be discouraged if your first attempt doesn’t turn out exactly as you envisioned. Keep practicing, experimenting, and exploring different dinosaur species. With time, you’ll refine your skills and create even cooler dinosaurs!
So why wait? Grab your pencils, paper, and let your imagination run wild as you embark on your dinosaur-drawing adventure!


