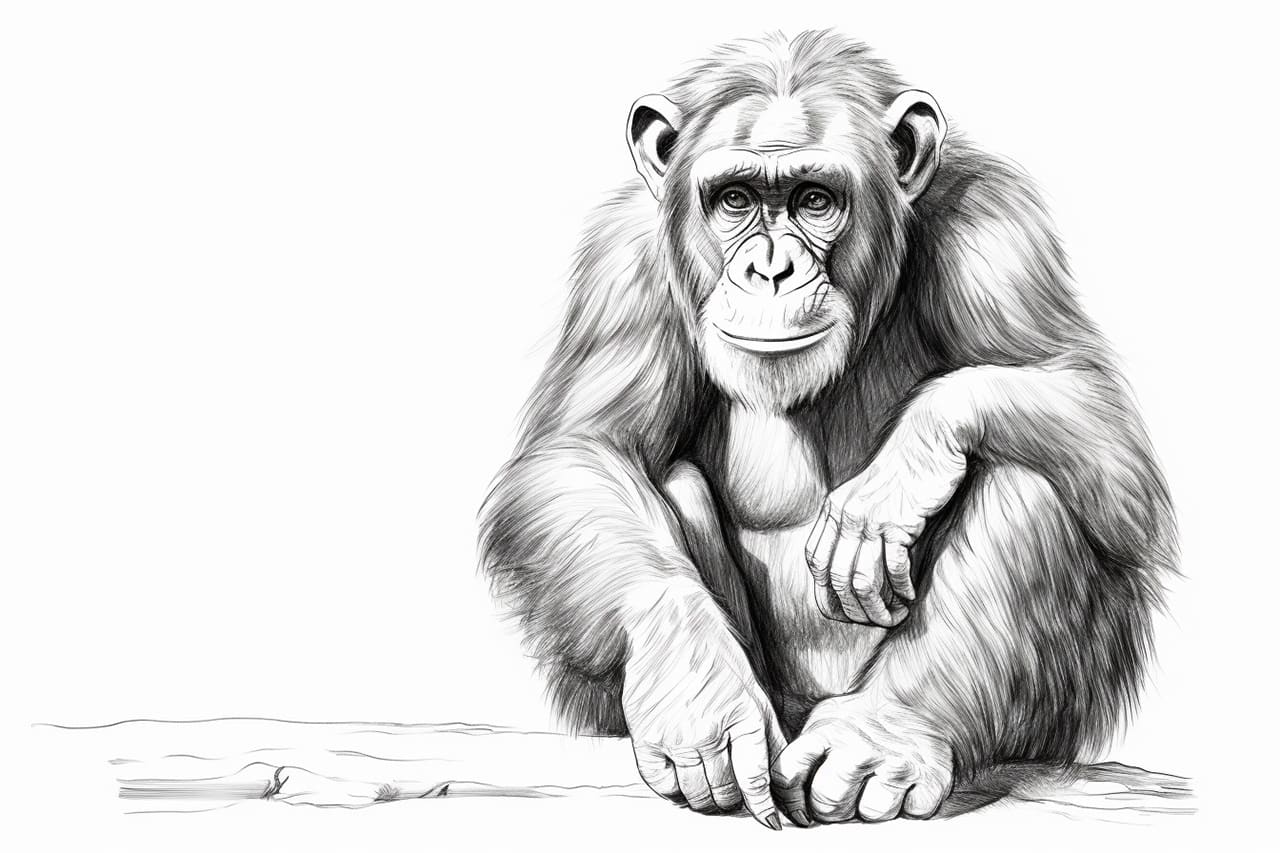
Are you ready to learn how to draw a chimpanzee? In this step-by-step tutorial, I will guide you through the process of capturing the essence of this amazing creature on paper. So grab your pencils and let’s get started!
Materials Required
Before we begin, make sure you have the following materials handy:
- Drawing paper: Use a medium-weight paper that is suitable for pencil drawings.
- Pencils: You will need a range of pencils with different lead softness, such as HB, 2B, 4B, and 6B.
- Eraser: Have a soft eraser on hand to correct any mistakes.
- Blending tools: You can use a blending stump or a piece of tissue paper to create smooth shading.
Now that you have everything you need, let’s dive into the process of drawing a chimpanzee.
Step 1: Observe and Sketch Basic Shapes
Start by observing the overall shape of a chimpanzee. Notice the proportions of its head, body, and limbs. Begin your drawing by lightly sketching basic shapes to outline the head, body, and limbs of the chimpanzee. Use simple shapes like circles, ovals, and rectangles to represent different parts of the body.
Step 2: Add Facial Features
Once you have the basic shapes in place, focus on adding the facial features of the chimpanzee. Pay close attention to the placement and size of the eyes, nose, and mouth. Use light, curved lines to indicate the shape of the face and the contours of the features.
Step 3: Refine the Outline and Add Details
Now that the basic structure is in place, it’s time to refine the outline and add more details to your chimpanzee drawing. Use darker pencil strokes to define the contours of the body, limbs, and facial features. Pay attention to the texture and muscle definition in the chimpanzee’s skin. Take your time to capture the unique characteristics of this fascinating creature.
Step 4: Start Shading
To add depth and dimension to your chimpanzee drawing, start shading the different areas of the body. Determine the direction of the light source and use softer pencils to create gradual transitions between light and shadow. Pay close attention to the play of light on the chimpanzee’s fur and emphasize the texture by using short, hatched strokes.
Step 5: Refine the Shading and Add Texture
Continue refining the shading by adding more layers of pencil strokes. Take note of the areas where the fur appears thicker or darker. Use a blending stump or tissue paper to smudge and blend the pencil strokes, creating a smoother transition between light and shadow. Keep building up the layers until you achieve the desired level of realism.
Step 6: Final Touches
In the final stage of your chimpanzee drawing, review the overall composition and make any necessary adjustments. Use an eraser to lighten areas that need more contrast or to correct any mistakes. Pay attention to the small details, such as the texture of the chimpanzee’s face and the wrinkles on its skin. Take your time and add the finishing touches that will bring your drawing to life.
Conclusion
Congratulations on completing your chimpanzee drawing! By following these step-by-step instructions and using your observation skills, you have been able to capture the essence of this incredible creature on paper. Remember, practice is key to improving your drawing skills, so keep practicing and experimenting with different techniques. With time, patience, and dedication, you’ll be amazed at how much progress you can make. Happy drawing!