Welcome to this step-by-step guide on how to draw a chameleon. In this tutorial, I will walk you through the process of creating a lifelike and vibrant representation of this incredible reptile. Whether you are a beginner or an experienced artist, these instructions will help you capture the unique features and charm of a chameleon. So let’s get started!
Materials Required
Before we begin, let’s gather the materials you’ll need for this drawing:
- Drawing paper
- Pencil (preferably an HB or 2B)
- Eraser
- Fine-tipped markers or colored pencils (optional)
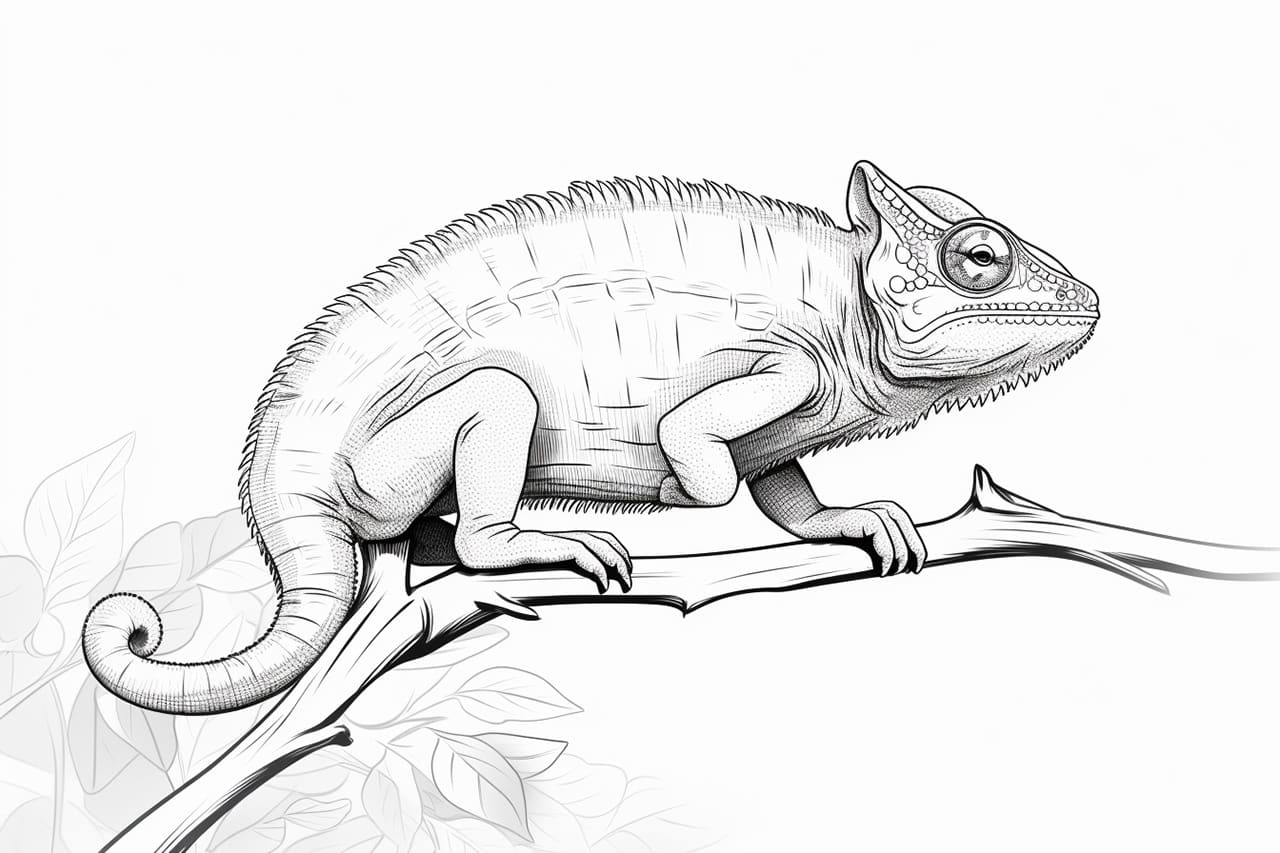
- Reference photo of a chameleon (you can find one online or use a printed image)
Step 1: Observe and Sketch the Basic Shapes
To kick off our chameleon drawing, start by observing the reference photo closely. Pay attention to the overall form and shape of the chameleon’s body, head, limbs, and tail. Begin with a light pencil sketch, using basic shapes to establish the overall proportions. Start with an oval for the body and add circles or ovals for the head, limbs, and tail.
Step 2: Define the Body and Limbs
Once you have the basic shapes in place, it’s time to add more detail to the chameleon’s body and limbs. Using your reference photo as a guide, carefully refine the shapes and add more curves and angles to capture the unique structure of the chameleon. Pay close attention to the proportions and the placement of limbs.
Step 3: Add the Head and Facial Features
Next, shift your focus to the chameleon’s head and facial features. Sketch the eyes, which are typically large and protruding. Pay attention to the shape and angle of the eyes as they can vary between different chameleon species. Add a curved line to indicate the mouth and a small triangle for the nose. Don’t forget to include the distinctive crest on top of the head, which is a common feature in many chameleon species.
Step 4: Refine the Features and Patterns
Now that the basic structure is in place, it’s time to refine the features and patterns of the chameleon. Take a closer look at your reference photo and observe the details of the chameleon’s skin texture and color patterns. Add curved lines or small dots to represent the scales on the body and limbs. Pay attention to any unique patterns or markings on the chameleon’s skin and capture them with your pencil.
Step 5: Shade and Add Depth
To make your chameleon drawing appear more three-dimensional, we need to add shading and depth. Start by identifying the light source in your reference photo. Shade the areas that would be in shadow, gradually building up the tones with your pencil. Use hatching or cross-hatching techniques to create a sense of depth and texture. Remember to blend the shading smoothly to create a seamless transition between light and dark areas.
Step 6: Finalize the Details
As we near the end of the drawing process, it’s time to add the final touches and details to your chameleon. Pay attention to the smaller features, such as the claws and the texture of the skin. Add any remaining scales or patterns that you may have missed. Take your time and make any necessary adjustments to ensure accuracy and likeness to your reference photo.
Step 7: Optional: Color the Chameleon
If you prefer to add color to your drawing, now is the time to do so. Use fine-tipped markers or colored pencils to carefully color your chameleon. Refer to your reference photo for guidance on the colors and patterns of the chameleon’s skin. Take your time and layer the colors gradually to achieve a realistic and vibrant appearance.
Conclusion
Congratulations on completing your chameleon drawing! By following these step-by-step instructions, you have learned how to observe and capture the unique features of a chameleon. Remember, practice makes perfect, so don’t be discouraged if your first attempt doesn’t turn out exactly as you envisioned. Keep exploring and experimenting with different techniques, and soon you’ll be creating stunning chameleon drawings with confidence.