Introduction
Welcome, aspiring artists! In this step-by-step guide, we will learn how to draw a cattail, a unique and beautiful plant that can be found near ponds, marshes, and other wetland areas. By following these instructions, you will be able to capture the essence and details of this plant with ease. So, let’s grab our drawing materials and get started!
Materials Required
Before we begin, make sure you have the following materials:
- Paper: Use a smooth, heavyweight paper that can handle your drawing tools.
- Pencil: A mechanical pencil or a set of drawing pencils with different lead grades (HB, 2B, 4B) would be ideal.
- Eraser: Have a kneaded eraser or a soft vinyl eraser on hand.
- Fine-tipped Pen: A pen with a fine point, such as a Micron pen or a technical pen, will be useful for adding intricate details.
- Colored Pencils (optional): If you want to add some color to your drawing, have a set of colored pencils ready.
Now that we have everything we need, let’s dive into the step-by-step process of drawing a cattail.
Step 1: Sketch the Basic Shape
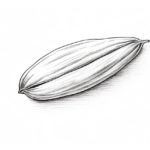
Start by lightly sketching an elongated oval shape in the center of your paper. This will serve as the main body of the cattail. Remember to keep your lines light and loose, as we will refine them later.
Step 2: Add Details to the Shape
Next, add the characteristic details of the cattail. Draw a slightly curved line from the top of the oval, extending upwards. This represents the seed head of the cattail. At the tip of the seed head, draw a small knob-like structure, which will be the actual seeds of the plant. Also, draw a few thin, vertical lines along the length of the seed head to represent the individual seeds. These lines should be uneven and vary in length, adding to the natural look of the cattail.
Step 3: Create the Stem
Now it’s time to draw the stem of the cattail. From the bottom of the oval shape, draw two slightly curved lines extending downwards. These lines should be thin and taper towards the tip. At the tip of the stem, draw a small, oval-shaped bulge to represent the root system of the plant. This will give the cattail a more realistic appearance.
Step 4: Refine the Details
With the basic structure in place, it’s time to refine the details of the cattail. Go over your initial sketch, making the lines darker and more defined. Pay close attention to the curves and proportions of the cattail, ensuring that they look natural and balanced.
Step 5: Add Texture
To add texture to the cattail, we will focus on the seed head. Use short, hatched lines to create a rough, fibrous texture on the seed head and the individual seeds. Vary the length and direction of these lines to give a sense of depth and dimension to the drawing.
Step 6: Ink the Drawing
Once you are satisfied with the pencil sketch, it’s time to ink your drawing. Use a fine-tipped pen to carefully trace over the final lines of the cattail. Start with the outline and then work your way towards the inner details. Take your time and be patient to achieve clean and precise lines.
Step 7: Erase the Guidelines
After the ink has dried, erase any remaining pencil guidelines using a soft eraser. Be gentle to avoid smudging the ink. This step will help your drawing look neat and polished.
Step 8: Optional – Add Color
If you want to add some color to your cattail drawing, now is the time to do it. Use colored pencils to carefully shade the different parts of the plant. Use light strokes and gradually build up the color to create depth and volume. Consider using shades of brown, green, and yellow to achieve a realistic look.
Conclusion
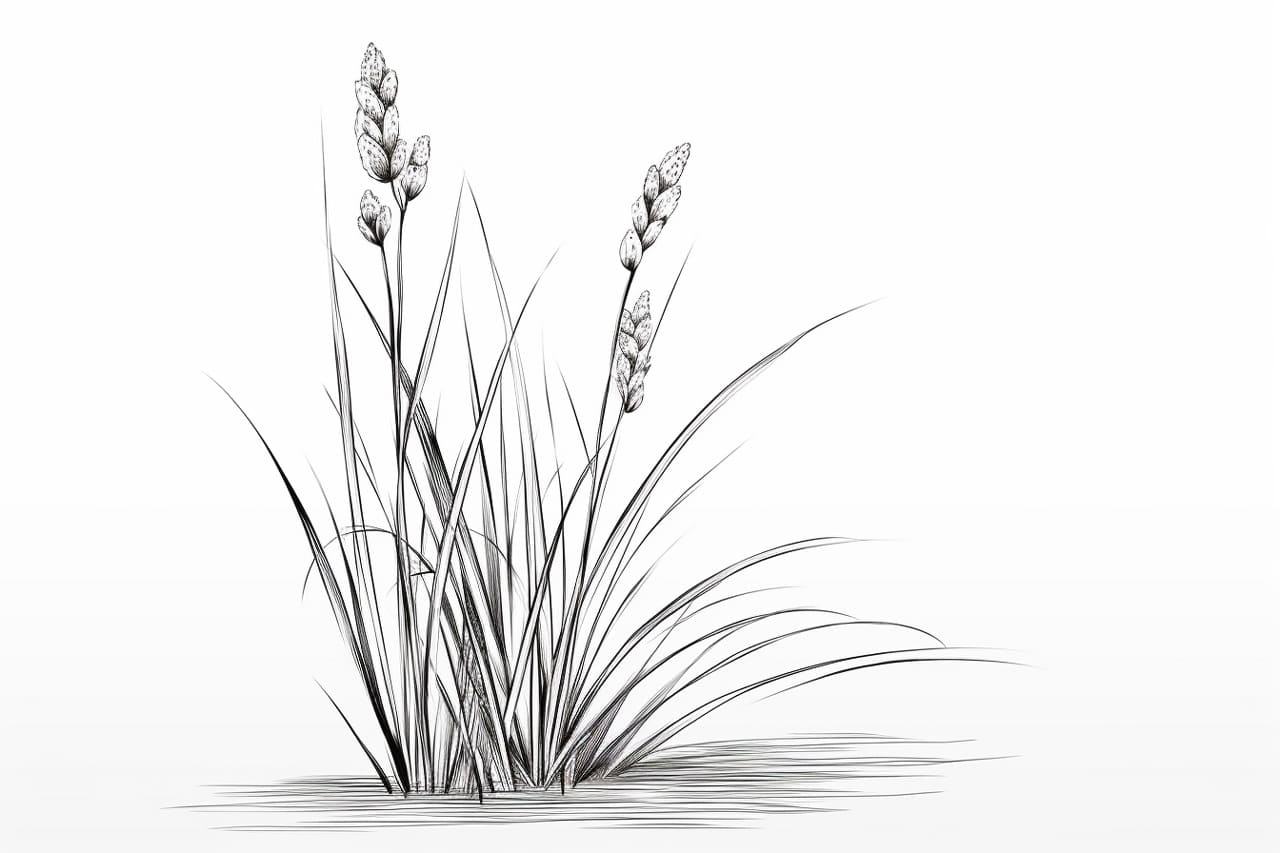
Congratulations! You have successfully learned how to draw a cattail. By following these step-by-step instructions, you have captured the beauty and uniqueness of this wetland plant. Remember, practice is the key to improvement, so keep honing your drawing skills and explore different techniques. Have fun and keep creating!